The 9 Most Important Tools You Need For Canning Tomatoes
We may receive a commission on purchases made from links.
Chef Pasquale Sciarappa sits in a chair in front of his open garage with a paring knife in his hand, a storage bin on one side, and a crate of tomatoes on the other. He's going to teach his YouTube followers to can tomatoes. It's a warm evening in late summer and this grandpa is preparing dozens of jars of tomato sauce while his extended family plays touch football in the background. He stews the plum tomatoes for hours over an open fire, occasionally stirring with what simply looks like a big stick.
Chef Sciarappa, born in 1939 (as per the AARP), nostalgically recalls his childhood in Orsara, Italy. During the tomato harvest, all of his neighbors could be found on the street in front of their homes, cutting out stems and getting ready for canning. They all used to sing together, "Orsara, Orsara, now is the time can anybody make sauce."
Chef Sciarappa says, "I was look at my mother and my father the same way they was make and I make the same thing ... for 71 years." He doesn't need much for his sauce — beautiful tomatoes, a huge pot, a paring knife, and jars. Today, we have many more canning tools available, but you'll be surprised at how little you actually need once you get started.
1. A paring knife
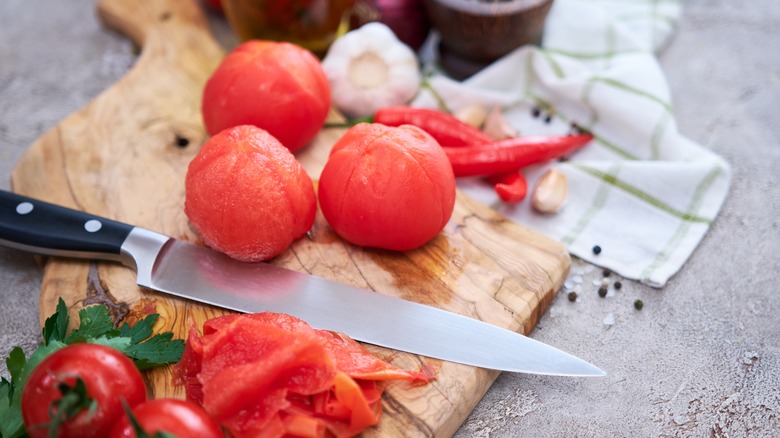
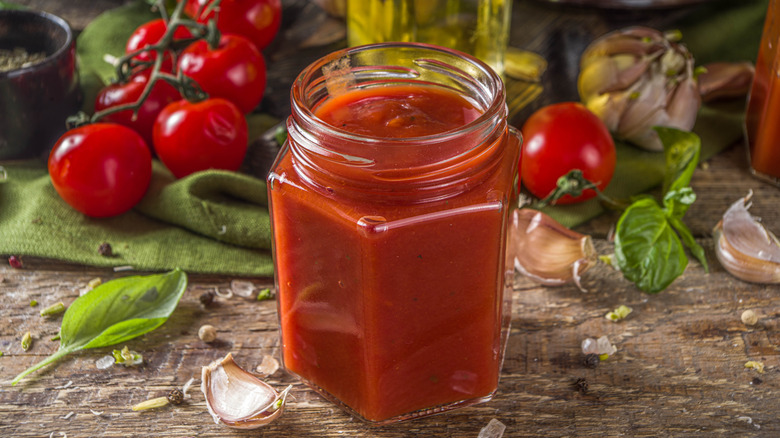
You've got an overflowing bucket of plum tomatoes from your garden. There's no way to eat them all before they go bad, and besides, you want to enjoy the refreshingly sweet taste of these sun-ripened tomatoes all winter long. It's time to pull out your paring knife and start cutting some tomatoes for canning.
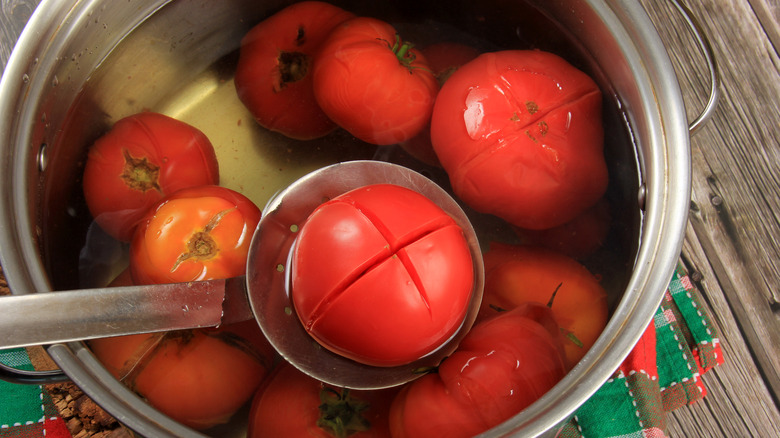
Chef Billy Parisi follows his Italian grandmother's recipe. It starts with coring the red vegetables and cutting out any discolored spots with a paring knife. Then, he slashes a quick x onto the bottom of the tomatoes before blanching them — that means putting them in hot water for around 30 seconds to loosen up the skin for peeling. Finally, paring knives are the perfect tool to scrape off the skin and chop the tomatoes into large cubes.
Cook's Illustrated endorses the Victorinox 3.25-inch paring knife, but also provides plenty of general recommendations for choosing a good knife. Paring knives should be light and comfortable to hold. Cooks often use them in the air — imagine coring a tomato with the tomato in one hand and the knife in the other. If you're preparing a full crate of tomatoes, your hand will get tired quickly if the knife isn't light. Thin, sharp blades between 3 and 3.25 inches with pointy tips are the most efficient for removing stems and blemishes.
2. A large pot
Using the right stock pot will make canning tomatoes easier since you can use the same one in several stages of the process. You'll need a large pot to blanch and stew tomatoes, sterilize jars, and process filled jars, according to Chef Parisi. A word to the wise: If you plan on using a stock pot for sterilizing and processing jars, place a canning rack on the bottom. This will prevent the jars from cracking or breaking when boiling water starts making them dance.
Aspiring canners may want to purchase a canning pot specifically designed for processing jars of vegetables. New equipment can be expensive, though, especially if you're just trying out canning for the first time to see if it's for you. Using your trusty, already worn-in stock pot will work perfectly as long as it has the right dimensions.
Colorado State University says the pot needs to be deep enough so that 4 to 5 inches of water covers the tops of the jars. Amazon's listing for quart-size jars says they are 6.7 inches tall. That means that your stock pot should be at least 11 inches deep if you plan to use it for hot water bath canning. The National Center for Home Food Preservation says to use only flat-bottomed pots with an electric range. Finally, the diameter of the pot should not exceed that of the burner by more than 4 inches.
3. A big bowl
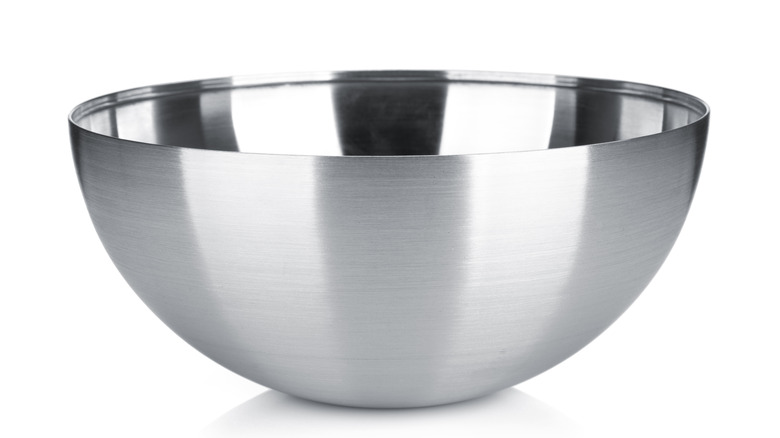
Just because this piece of equipment is common, doesn't make it any less vital to canning tomatoes. You'll need a mixing bowl filled with ice water to cool blanched tomatoes before peeling them, according to Ohio State University Extension. The ice bath helps the skins slip off effortlessly.
If you were hoping to skip peeling your tomatoes, you're probably out of luck. This step in the canning process may seem mind-numbingly dull by the time you're on tomato number 47, but Iowa State University Extension and Outreach says it's a safety measure. The skin is home to bacteria which could cause the spoiling of the final product. Additionally, skins could mean that jars heat unevenly during hot water bath processing. Finally, skipping this step could affect the texture and taste of your sauce as well.
A large bowl can also be the perfect place to wash tomatoes before getting started. Alternatively, you can keep chopped and peeled tomato chunks here before stewing and ladling them into jars. You'll find plenty of uses for your mixing bowl while canning, so have a couple on the counter.
4. A jar funnel, flexible cutting board, or liquid measuring cup
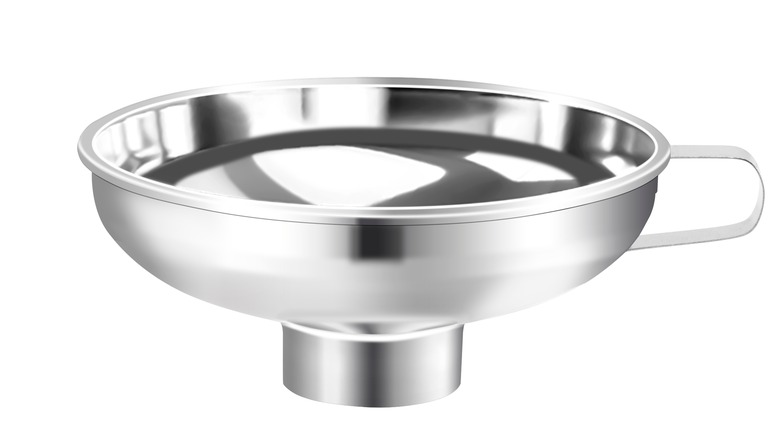
When thinking about canning tomatoes, you'll probably worry about finding the best quality tomatoes, or whether or not to stick in a few basil leaves. How you actually plan to get the hot, goopy crushed tomatoes into jars may be far from your thoughts. However, once you're there in the middle of the action with a pot of simmering tomatoes and jars with what seem to be impossibly small mouths, it will be your top concern. No one wants to clean up a kitchen covered in splattered tomatoes.
Chef Billy Parisi simply uses a liquid measuring cup with a spout to scoop up his crushed tomatoes and pour them. Linnette Goard, the State Food Safety Leader of Ohio State University Extension uses a jar funnel and a ladle to avoid making a mess. Mike Greenfield of ProHomeCooks also chooses a jar funnel, but his companion, Christina, a professional Italian cook, has an innovative approach. After blanching and slipping the tomatoes from their skins, she chops them on a flexible chopping board. Then, she bends the mat and scrapes the tomatoes directly into the jars.
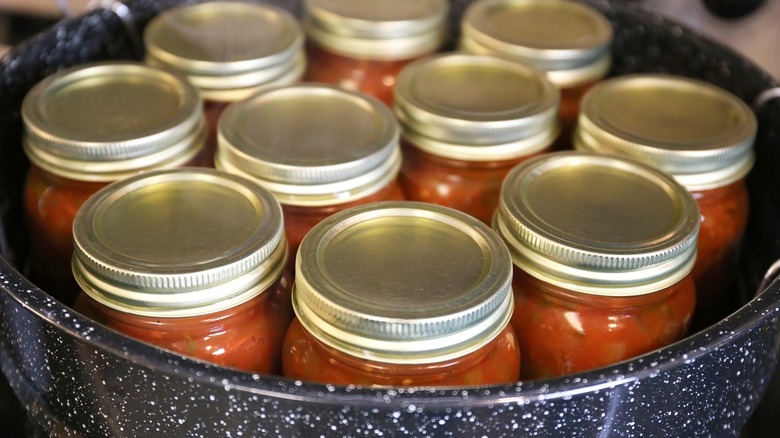
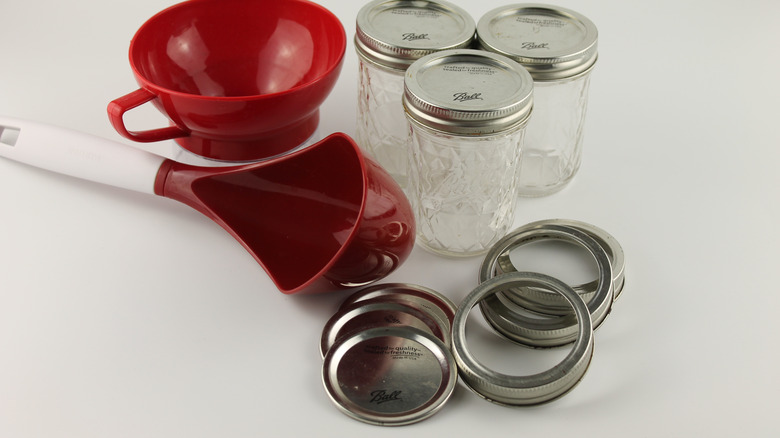
5. Jars
Canning jars are glass containers that come in varying shapes and sizes — half pint, pint, quart, and half gallon. There's so much variety, which makes it hard to choose. Paying close attention to a few characteristics, though, guarantees food safety and ease while canning.
The National Center for Home Food Preservation (NCHFP) advises against using jars with wire bales and glass caps. These may make cute, rustic kitchen decorations, but do not seal well enough to keep harmful pathogens from growing in preserves. Closing canning jars with self-sealing lids and screw-on rings is your best bet to keep food from spoiling.
As far as size is concerned, jars must be smaller than half a gallon, according to PennState Extension. Tomatoes cannot be safely stored in such large jars, as they are not acidic enough. Acidic fruit juice from apples and grapes creates an unwelcoming environment for food-spoiling microbes and also heats through completely during processing, meaning that these products can be safely stored in larger containers. Thick, less acidic crushed tomatoes only reach a microbe-killing temperature when processed in smaller jars.
Finally, selecting wide-mouth jars makes it easier to fill them, according to the NCHFP.
6. Lids
Few things compare with the letdown you feel when you open a jar of canned tomatoes and discover an unpleasant odor — your hard work spoiled. You put in a lot of effort to grow the red veggies in your garden. Then you bought canning supplies and spent all those hours peeling, chopping, and stewing. The best way to keep food-spoiling microorganisms, like bacteria and mold, from getting into jars is by sealing them tightly with the right kind of lid, according to the NCHFP.
The right kind of lid is a metal disc, called self-sealing because it has a rubber lip that creates a vacuum with the glass jar when the heated contents shrink upon cooling, per the NCHFP. During processing, this lid is kept in place with a metal, screw-on ring. Later, canners remove the rings before storing jars to prevent rusting. The rings and jars are multi-use, but the lids must be new. They need to be in perfect condition — no dents or dings. The most efficient practice is to purchase only what you'll need in one year.
The experts at the NCHFP warn against using zinc caps with separate rubber rings.
Canning lids are available for purchase at plenty of online and in-person stores. Most canning jars come ready to use with lids and rings included. However, if this is the second or third time you're using the same jars, many retailers sell new lids separately.
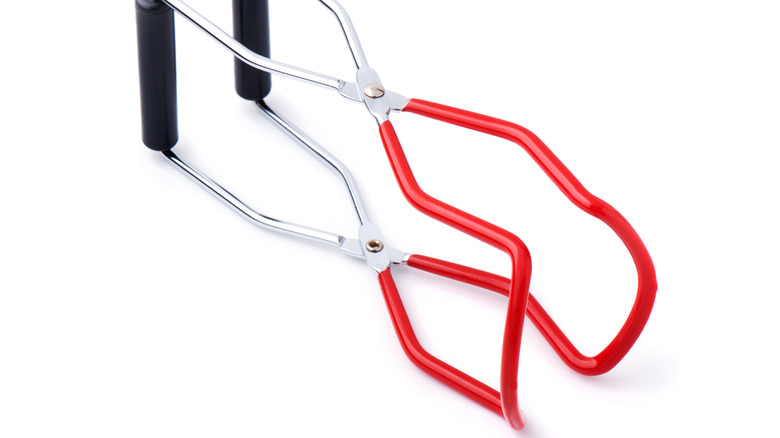
7. Tongs
Tongs are so versatile that when America's Test Kitchen reviewed this tool, testers had to fry tortillas, sear steak, and serve angel hair pasta in order to evaluate them. It's not surprising, then, that tongs also come in handy when canning tomatoes. There are two types of tongs you'll need before you put the water on to boil — traditional kitchen tongs and rubber-coated jar-lifting tongs.
Chef Billy Parisi uses traditional tongs to put the tomatoes in boiling water so it doesn't splash out and cause burns. He uses the same tongs to put the tomatoes in an ice bath and then in a strainer or colander. Not every home food preserver uses tongs for these steps, though. Linnette Goard of Ohio State University Extension preferred a strainer. Using a slotted ladle or dumping the pot of tomatoes over a colander are other options, but tongs appear to give cooks the most control and seem least likely to cause burns.
Jar lifters, or rubber tongs, on the other hand, are kitchen tools with just the right shape to grab jars securely under the lip. Chef Parisi uses these tongs to place jars in and out of boiling water during sterilization and processing. Cook's Illustrated says the best lifters are those that can grip any size of jar and have a spring hinge to automatically open them when released. Their favorite model was the Ball Secure-Grip Jar Lifter.
8. Pressure canner
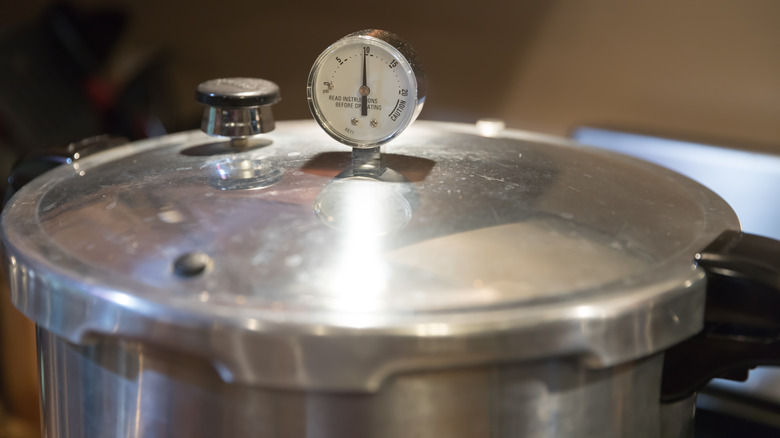
As you prepare your jars of crushed tomatoes you may want to know what the difference is between processing them in a hot water bath as opposed to a pressure canner. First, it's important to know that processing means heating the closed jar and its contents to a temperature that kills microbes, like those that cause botulism, according to the College of Agriculture, Forestry, and Life Science at Clemson University. Hot water baths with boiling water reach lower temperatures than pressure canners and are best for processing acidic foods.
Either method can be used for crushed tomatoes, according to Colorado State University Extension. However, it's important to note that, when using hot water baths, citric acid or lemon juice must be added to the canning jars in order to reach the necessary level of acidity. Additionally, processing tomato sauce with meat or vegetables requires higher temperatures created by a pressure canner, since the additional ingredients lower the acidity.
The NCHFP says tomatoes processed in a pressure cooker are more nutritious and of higher quality. On the other hand, using boiling water in a big pot is faster, so if you have to process a large batch of jars, you'll be better off using this method.
According to Amazon, hot water bath canners can cost as little as $44.99 whereas pressure canners start at over $100. If you're canning on a budget, it's probably best to stick to the products you can process in a hot water bath.
9. A kitchen timer

Botulism is the boogeyman of all home canners. According to the Centers for Disease Control and Prevention, the bacteria that cause this disease only create the deadly toxin in the right environment — one with no air, the right amount of water, low acidity, and low sugar. In 2018 at least three cases of the illness had links to home-canned foods like peas and beans as per the CDC.
Killing these bacteria requires following the steps for the safe processing of home-canned goods. That means heating jars to a high temperature, but also maintaining that temperature for the correct amount of time according to Colorado State Extension. To do that, you're going to need a timer. To correctly process your canned goods, only start time once the water returns to a boil after putting the filled jars in the canner. Processing times can depend on elevation, jar size, and the recipe you used. For example, crushed tomatoes take 40 minutes in pint-size jars at low elevations. Whole and halved tomatoes will take more than double that.