8 Tips For Making Beautiful Latte Art Slideshow
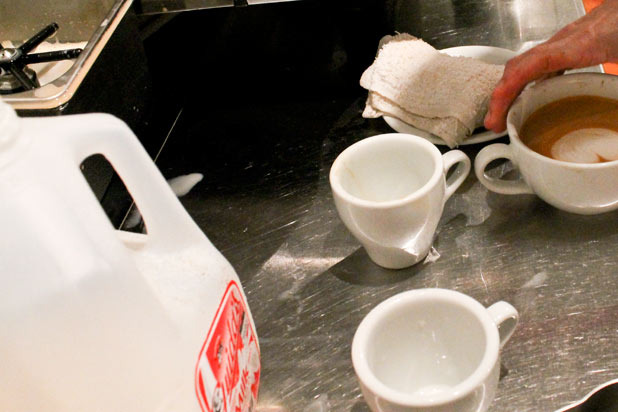
Get a good cup to pour into; it should have more curvature on the bottom, which will make it easier to pour (rounded is much better than flat or square). Also, the more surface area on the top of the cup, the easier it will be to make designs (it means more space to work with when youre pouring).
The Equipment
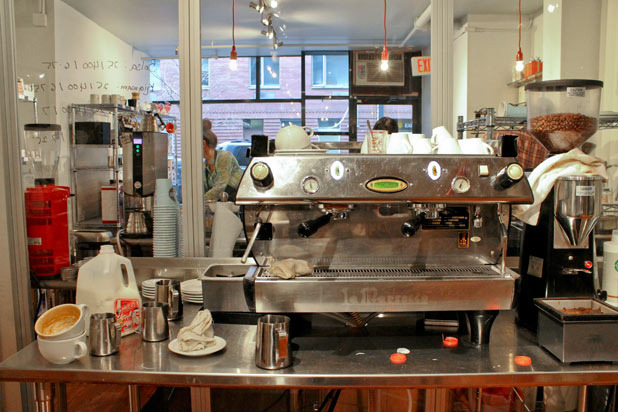
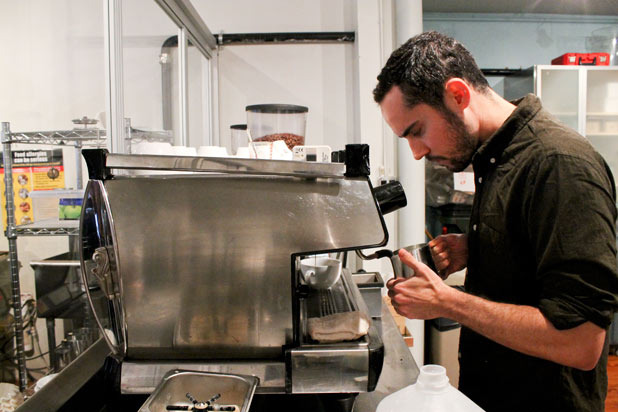
Use a dual boiler if possible, which will allow you to make espresso and steam milk at the same time. If you do one after the other and they have time to sit, you will lose texture and pressure; if they sit, the crema in the espresso will die and the milk will separate. Breville makes a great double-boiler for people who want one for their home. Get the right pitcher for the serving size you'll be preparing at home; the pitcher should have a sharp spout.
Ingredients
Milk is the most important part of the pouring process. Dont use ultra-pasteurized milk (like many organic varieties) the milk is not homogenized so it will taste sour after it is steamed. The more fat you have in your milk, the more air you have to introduce (skim milks have almost no air, but it depends on what you want for your drink). At Joe the Art of Coffee, the baristas use Guida milk with vitamin D, a non-organic, high-quality milk with no hormones. And of course, dont forget your espresso and have it ready!
Creating Latte Art: Prep Work
- Both your milk and your pitcher should be really cold. This will give you a larger window of time to work with; if you start colder, it will take longer for the pitcher to become the temperature of your hand. This will also give your milk a better texture.
- Introduce a little bit of air (small amount for a latte, slightly more for a cappuccino) into the drink, but don't add too much air too soon.
Creating Latte Art: How-To
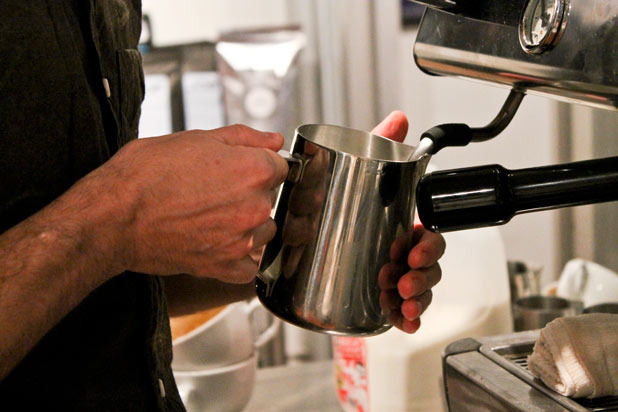
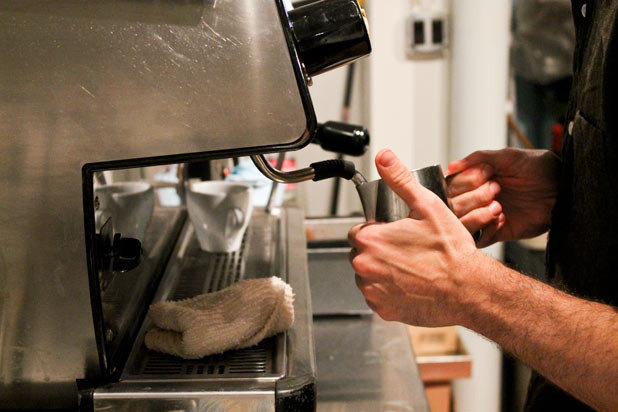
- Completely submerge the wand in your pitcher of milk (the fuller your pitcher of milk is, the easier it is to steam because the wand will be completely in the milk). The wand should be completely submerged but not touching the bottom of the pitcher; the closer the wand is to the cup, the fewer bubbles there will be. Angle the wand when steaming to create a whirlpool, which will break up the large bubbles.
- Steam the milk at about 140 degrees to bring out the most sweetness (any hotter, and it will lose its sweetness). Keep your hand on the pitcher while you steam. When the pitcher is the same temperature as your hand, the milk should be ready.
- To get rid of any extra bubbles, you can try a Joe trick — smack the pitcher of steamed milk against the counter right before pouring.
Creating Latte Art: Basic Pouring Tips
- The espresso to milk ratio: in a 12-ounce cup, there should only be about 2 ounces of espresso; the rest will be the steamed milk.
- Pour off the top of the pitcher. Though it's easier to steam milk with a full pitcher, it's easier to pour with less milk.
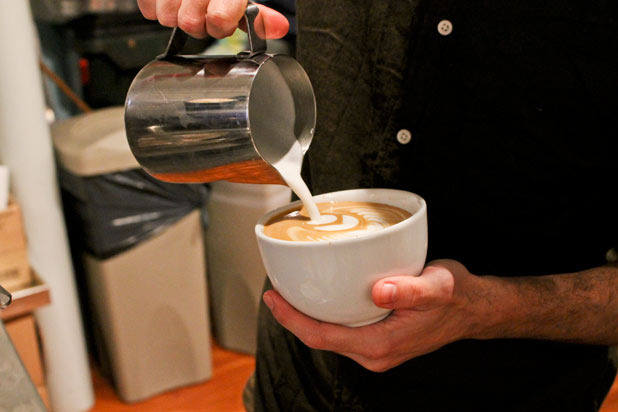
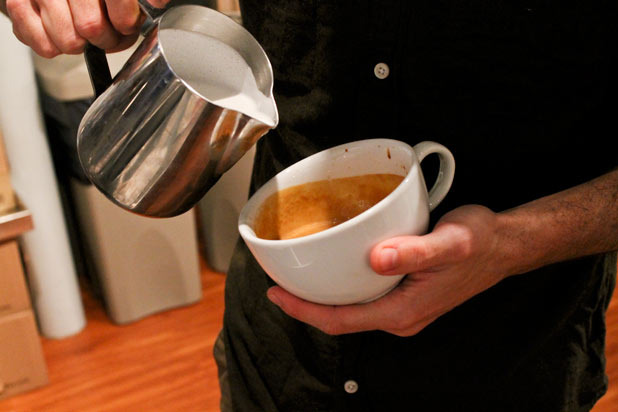
- Hold both the pitcher of milk and the cup in your hands when pouring; it makes it easier to manipulate the design (because you can shift the cup as needed). Make sure you are holding the cup level.
- Start by sinking some of your milk (pouring it straight in so it doesn't show on the surface). "You initially want some of the milk to sink, or it will 'white out' the coffee [the entire surface will be white with foam]," said Rose. "The art in the design is about the play between the dark espresso and the white foam."
- When you begin to make your design, you should tilt the pitcher at about a 45-degree angle. Without the tilt (pouring milk straight into the cup), the milk will sink beneath the espresso and the white cream will not appear on the surface. Rose always sinks a bit of the milk when first beginning the pour, and swirls the milk and espresso together; but when beginning the actual design, the tilt is crucial or the design will not appear on the surface.
- Experiment with distance or proximity of pitcher to cup; the technique will vary with design. If you pour close to the cup, you'll get good textures but you won't get a lot of contrast. That works if you're looking to make hearts, but not good for a trickier design, like the rosetta. Also try varying your pacing; experiment with fast and slow pouring to make designs easier.
Creating Latte Art: More Pouring Tips
- When you begin to make your design, you should tilt the pitcher at about a 45-degree angle. Without the tilt (pouring milk straight into the cup), the milk will sink beneath the espresso and the white cream will not appear on the surface. Rose always sinks a bit of the milk when first beginning the pour, and swirls the milk and espresso together; but when beginning the actual design, the tilt is crucial or the design will not appear on the surface.
- Experiment with distance or proximity of pitcher to cup; the technique will vary with design. If you pour close to the cup, you'll get good textures but you won't get a lot of contrast. That works if you're looking to make hearts, but not good for a trickier design, like the rosetta. Also try varying your pacing; experiment with fast and slow pouring to make designs easier.
The Fun Part: The Designs
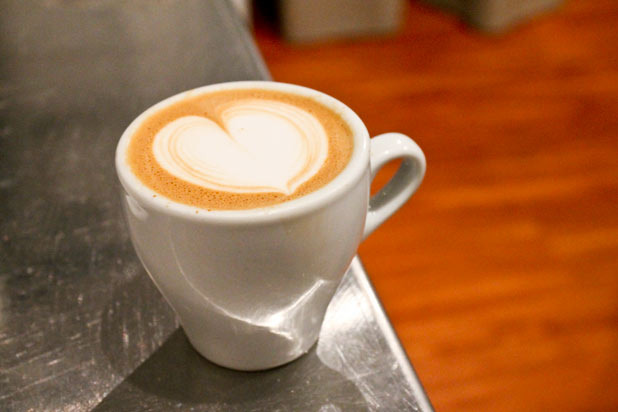
The heart design is the easiest: once you master it, you can master harder designs.
- Start by holding the cup in your hand and pouring the pitcher at a 45-degree angle.
- Pour from a distance (pour high) at first for the milk to sink until the cup is about halfway full.
- Then, bring the pitcher down close to the rim of the cup and pour down. You should only pour into one spot; if you imagine there are crosshairs in your tilted cup, aim for the center of where the crosshairs would be.
- To finish, pull back on the milk so the stream of milk from the pitcher is thinner — if you don't let off, it will drag through and mess up your heart. Bring the milk straight through your design to create the point (pull through like you're drawing a line through your design).
- Note: You can keep your hand still when making your heart or wiggle it like directed for the rosetta. The motion will give your heart little stripes, but won't change the design.
The Tulip Design
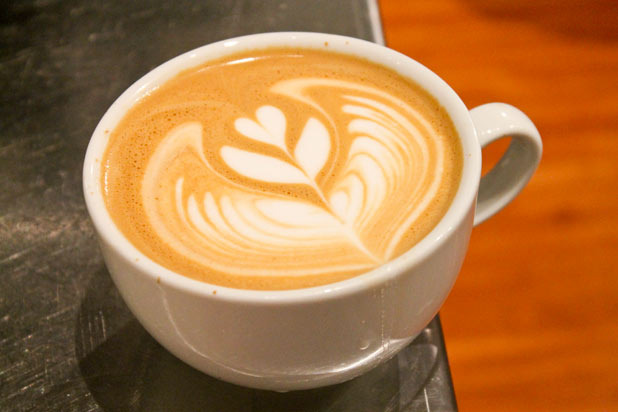
This is easy to do once you've learned the heart design, simply by making multiple hearts in your drink (as many as you want, though Rose couldn't imagine any more than 10).
- Pour your first heart, but pause before your heart is finished (depending on how many hearts you want to create, you will have to stop earlier or later) and stop the flow of milk from your pitcher into the cup.
- After you've completely stopped the flow of milk, begin your second heart where you left off, and continue forming hearts and pulling away for as many hearts as you want to create, getting closer to the rim as you go.
- To finish, draw through the center just as you did with the heart.
The Rosetta Design
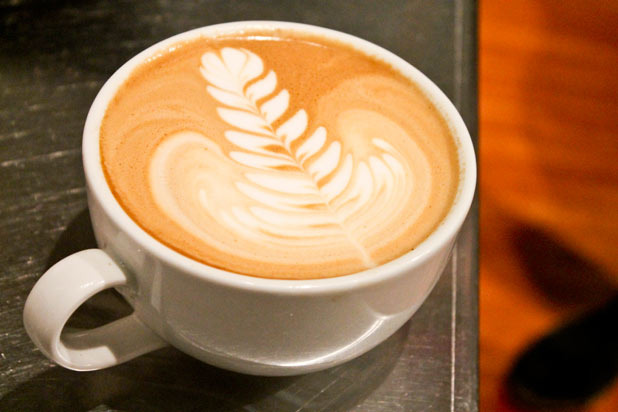
This is the hardest to master, even for the most talented of baristas — but it's doable with practice.
- Start at a 45-degree angle and pour into the crosshairs of your cup.
- Start your pour high (meaning at a far distance from the cup, not at a high angle, which would be sinking your milk) and then bring your pitcher down close to the rim of your cup.
- Grip your pitcher loosely and wiggle it back and forth. "You should grip the pitcher loosely and wiggle," Rose said. "It should be easy, not aggressive — almost like ice-skating."
- Finally, pull the pitcher back as you pour. This is the only difference between the heart and the rosetta; you only pour into one place for the heart, and for the rosetta you create movement by pulling back.
- Finish by pulling the line through the center, like with the heart.
Troubleshooting: Common Mistakes
- If your heart is off-center, you're either not holding your cup at a stable level or you're not pouring your milk in the center of your cup (the imagined crosshairs).
- If your design is very blobby, you're either not pouring your milk fast enough or there's not enough contrast between the coffee and the milk. This means you're bringing the pitcher down the edge of the cup too soon, or you're wiggling the pitcher too much which will create tiny, blurring ridges rather than distinct loops or strokes.
- But, if you wiggle the pitcher too much or too quickly, you'll lose all variance in your drink and there won't be enough contrast in your drink. You need to use larger strokes loops to get a good contrast. (The less you wiggle, the more the espresso will show through.)
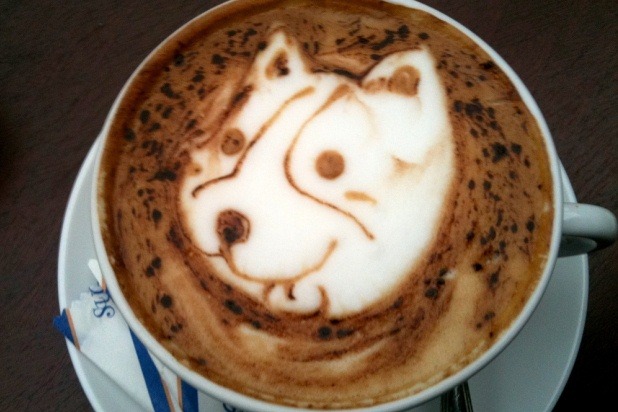
The Corgi
Want some latte art inspiration? See some of the craziest, most creative latte art from cafes around the world.
Click here for the World's Most Creative Latte Art Slideshow

