Cake Pops Are Better Than Regular Cake

In preparation of a chocolate-themed birthday party (who's excited? MEEEEE.), I had to find a recipe that could feed many, shock most, and indulge everyone's sweet tooth.
Enter the cake pop. A chocolate cake pop. Dipped in milk chocolate. Yes.

Prep Time: 15 minutes
Cook Time: 60 minutes (I'm including the cake baking time as well as freezing and chocolate dipping here)
Total Time: 85 minutes
Servings: 25-30
Ingredients:
1 container of chocolate frosting
1 box of Duncan Hines Chocolate Cake Mix
2 eggs
1 cup water
1/3 cup oil
11 oz semi-sweet chocolate chips
Additional Items:
Cupcake tin
Wooden spools
Directions:
1. Prepare the cake according to the package directions; fill cupcake tins 3/4 full and bake at 350°F for 19-21 mins.
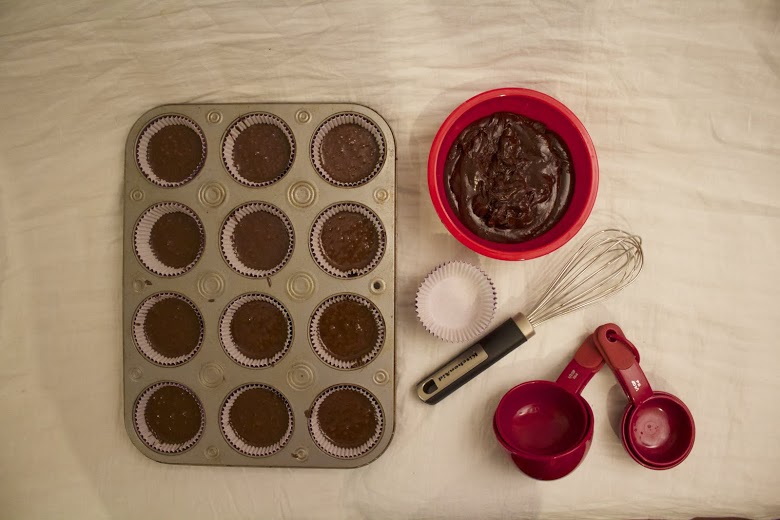 Photo by Lauren Reilly
2. Set cupcakes on the counter to cool; they should be cool to the touch before you begin working with them. (If you're crunched for time, once the cupcakes are done, chill in freezer for 10-15 mins.)
3. When the cupcakes are cool, rip each cupcake into pieces, creating fine crumbs; put them in a separate bowl. You'll need 4 cups' worth. (The crumbs should resemble sand.)
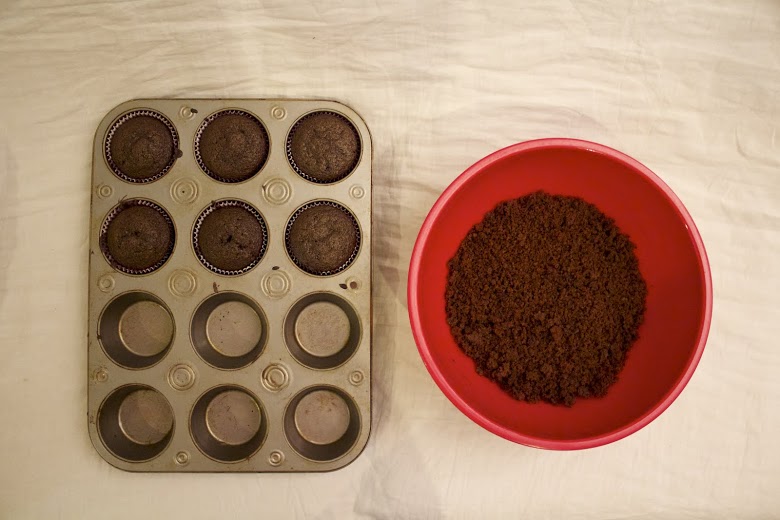 Photo by Lauren Reilly
4. Add 1/4 cup and 2 tablespoons frosting to your cake crumbs. Get ready to get your hands dirty. Smoosh (official term) the frosting and the cake together until there are no extra crumbs and you can handle the chocolate cake mass like you would handle cookie dough.
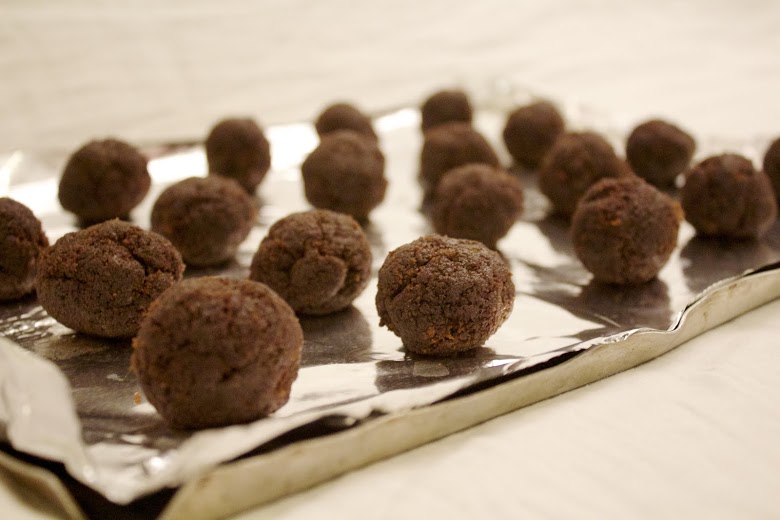
5. Roll ping-pong size cake bites onto a cookie sheet covered in aluminum foil. When you're done, pop them in the freezer for an additional 10 minutes.
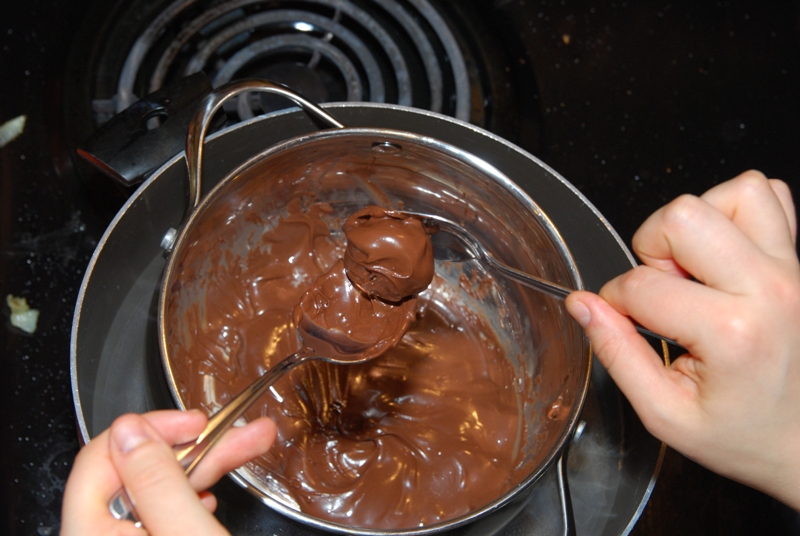
6. While the cake pops are firming up, melt an 11 oz bag of semi-sweet chocolate on the stovetop on the lowest possible heat. (To avoid the chocolate from burning, use a double boiler or boil a pot of water and place a heatproof bowl with the chocolate in it.)
7. Take your cake pops from the freezer. Put one cake ball in the chocolate glaze and with two spoons, roll it around to make sure it's fully coated. Pick up the cake ball (using said spoons) and drop it back on the aluminum foil. Repeat this for all of the cake balls.
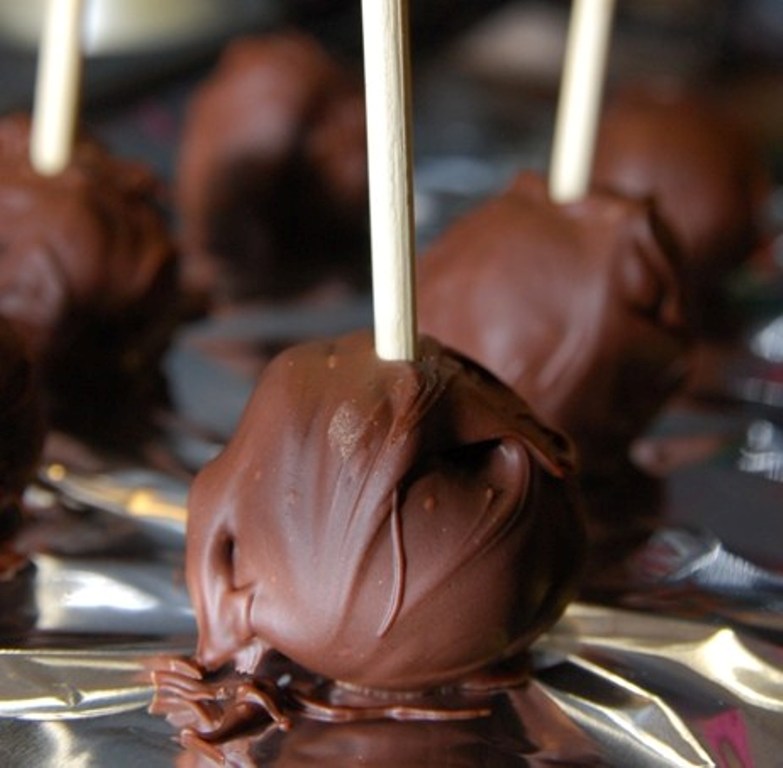
8. Pop them in the fridge until the chocolate becomes smooth to the touch. Then, push your wooden spools about 1/3 of the way into each cake pop. Enjoy!
The post Cake Pops are Better than Regular Cake originally appeared on Spoon University. Please visit Spoon University to see more posts like this one.
