14 Mistakes Everyone Makes With Royal Icing

We may receive a commission on purchases made from links.
Royal icing is a thick icing that dries smooth and shiny, most often used to decorate cookies. In essence, royal icing is to cookies what buttercream frosting is to cakes — a reliable go-to for professionals and home chefs alike. However, although most royal icing recipes are simple and use less than a handful of ingredients, a lot of people struggle with making and using it.
I spent more than fifteen years working in bakeries frequented by celebrities, politicians, and other household names. Before launching my own official career in the food industry, I spent most of my life in these establishments helping out in the family business. With all these years of experience, I can tell you with absolute certainty that creating and working with royal icing can be a challenge — especially if you're just getting started. That's because this icing is finicky, and I'll be the first to admit that even I still mess up once in a blue moon. To help you on your cookie decorating journey, here are 14 mistakes everyone makes with royal icing and what to do if you're facing them.
1. Mistake: Not letting your cookies cool first

I know it's exciting when you have a perfect cookie design in your head — you don't want to wait to get started. I've been there, but trust me, you need to wait until your batch of cookies cools first. Trying to decorate hot or even warm cookies will ruin your icing efforts every time. That's because the cookies will transfer heat to your royal icing, which, in turn, causes it to melt and run everywhere.
Instead, I encourage you to practice patience. Let cookies sit long enough that they're cool to the touch before you begin icing them. I like to bake mine the night before to be certain they're cool and also make the waiting easier. Oh, and don't pop those cookies in the fridge. Let them cool on the counter at room temperature. Placing them in the fridge while still warm causes condensation to form on the outside of the cookie. In turn, this can alter your cookie's taste and make icing it a different kind of nightmare.
2. Mistake: Using too much or too little liquid
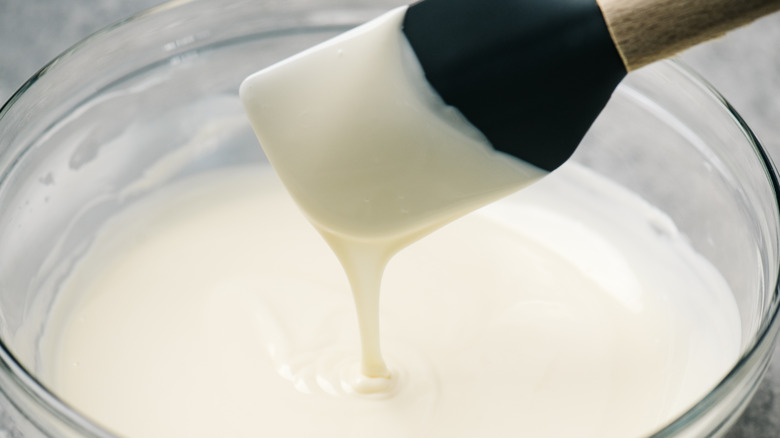
With royal icing, getting the right proportions of each ingredient can feel impossible. Sometimes, you end up using too much or too little liquid even when you've followed a recipe exactly. That's because something like the temperature or humidity in the room can throw off your royal icing batch.
Too much liquid will make your royal icing runny and designs won't hold their shape. Even worse, it may not dry properly — or dry ever. Thankfully, you can fix runny royal icing by sifting in very small amounts of high-quality powdered sugar and hand mixing until you get the right consistency for your needs.
Of course, too little liquid is also a problem — although, admittedly, it's one I've faced far less often. When your royal icing is too thick, it's hard to pipe or spread. But, there's an easy fix for this issue, too. Add tiny amounts of water to your royal icing and mix by hand until you get the right consistency — and I do mean tiny amounts. Don't add more than a teaspoon of water at a time, or you risk going too far in the opposite direction.
3. Mistake: Over-mixing or under-mixing
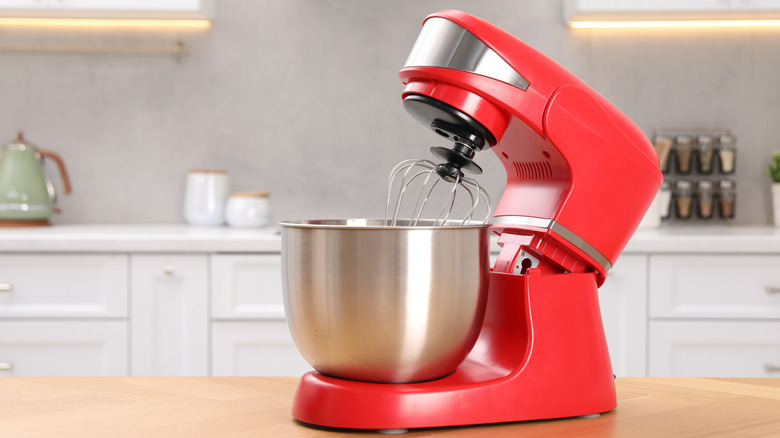
Over-mixing and under-mixing are among the most common mistakes I've seen people make with royal icing. Over-mixing leads to runny icing that potentially has air bubbles in it. Those air bubbles make your final design look splotchy or otherwise non-uniform. On the opposite end, under-mixing will lead to icing that's chunky. Getting a smooth, uniform consistency is key to professional-looking cookies.
Royal icing should be mixed in a stand mixer on the lowest setting for five to 10 minutes, depending on the ideal consistency for the decorating technique you'll be using. If you don't have a stand mixer, I highly recommend the KitchenAid Classic Series 4.5 Quart. I've used KitchenAid mixers at home and in bakeries for years, and I'm a huge fan of the classic series.
There are two primary consistencies to look for in your royal icing. The first is what you'll use when outlining, accenting, and bordering your cookies. For this, you'll want royal icing that's thick and holds its shape. The second consistency is for flooding your designs. For this, you'll want royal icing that quickly and easily bends over on itself if you raise a spatula with some on it.
4. Mistake: Using low quality food coloring
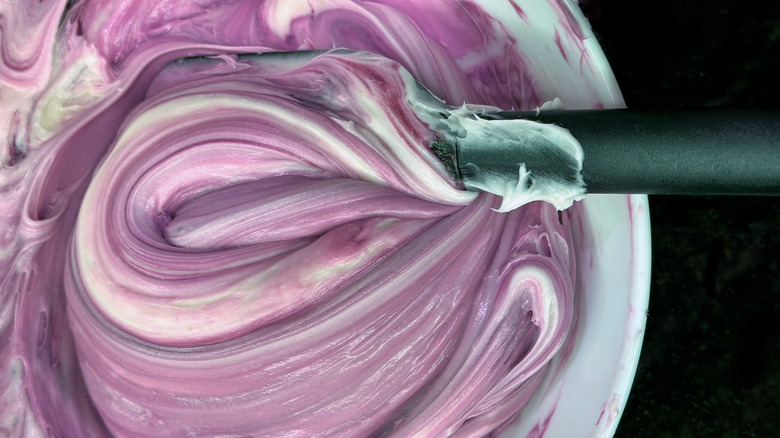
Low quality food coloring might work with some things. In fact, I've never had a problem with lower quality options for dying cakes or cupcakes. I've even gotten away with it for buttercream frosting in a pinch. But, royal icing is one place you want to splurge on the good stuff. Since royal icing is so temperamental, there are several ingredients it won't work right with. Some of those ingredients find their way into lower quality food coloring, where they can cause the colors to bleed while piping or during the drying process. Other problems could include matte finishes, splotchy patterns, challenges getting the right color, and the icing not drying properly.
Instead of choosing the cheapest available option, I recommend using concentrated gel food coloring for royal icing. I've personally bought and used the AmeriColor Soft Gel Paste with great results. They have an eight pack that comes with a nice color variety at a reasonable price. (Of course, if you're looking for more extensive coloring choices, you could try the AmeriColor Nifty Fifty Pack instead.) Only add a drop or two of this coloring to your icing during mixing since it's so concentrated.
5. Mistake: Using low quality powdered sugar
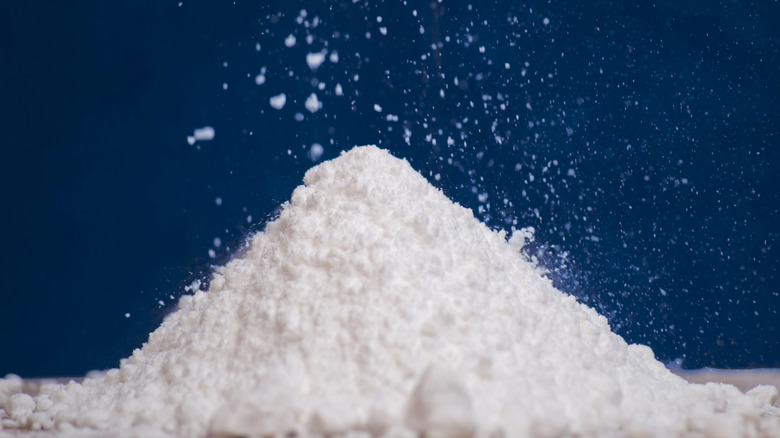
Powdered sugar, also known as confectioner's sugar, is the single most important ingredient in your royal icing — after all, it makes up most of the recipe. Unfortunately, many people make the mistake of grabbing whatever they see on the shelf. But, using lower quality options can negatively affect the taste, texture, and final appearance of your royal icing. Maybe it's just me, but there's no flavoring that can cover the taste of poor quality sugar in royal icing.
Instead of just grabbing something off the shelf, purposefully choose powdered sugar from a reputable brand that contains only cane sugar and cornstarch. Personally, I've always used Domino 10-X Confectioners Sugar, and it originally came as a recommendation from one of the highly experienced bakers I trained under. But, while I've never personally tried it, I have also heard good things about C&H Premium Cane Powdered Sugar.
6. Mistake: Forgetting to experiment with flavoring
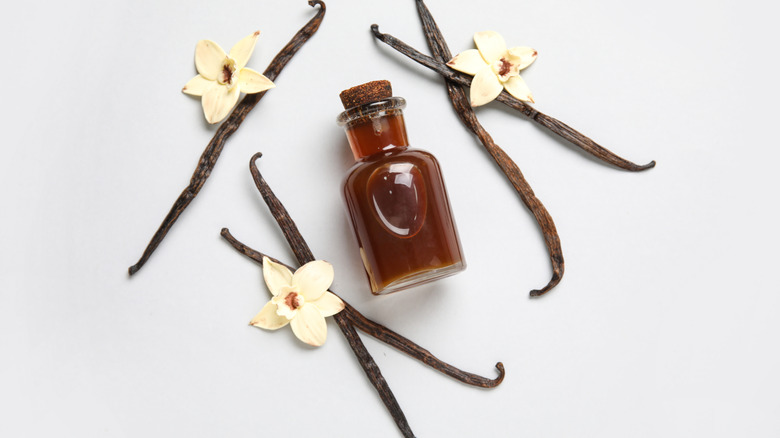
The idea of royal icing being difficult to master shouldn't steer you away from flavor experimentation. A few drops of flavor extract can really level up your cookies by creating a layered taste profile. Most royal icing recipes call for vanilla extract, but that's far from the only option available.
I love adding a few drops of lemon into the icing when baking lemon cookies for a zingy, citrusy taste. A few drops of cinnamon extract pair perfectly with classic butter cookies, providing a subtle warm flavoring. For the holidays, I add a few drops of peppermint extract to both my sugar cookies and my royal icing to create the perfect minty pairing for homemade hot chocolate.
The one thing to be cautious of is the type of extracts you use. Avoid anything oil-based because it can mess with your royal icing's consistency. Watch for ingredients like vegetable oil or olive oil, as well as anything labeled "extract oil."
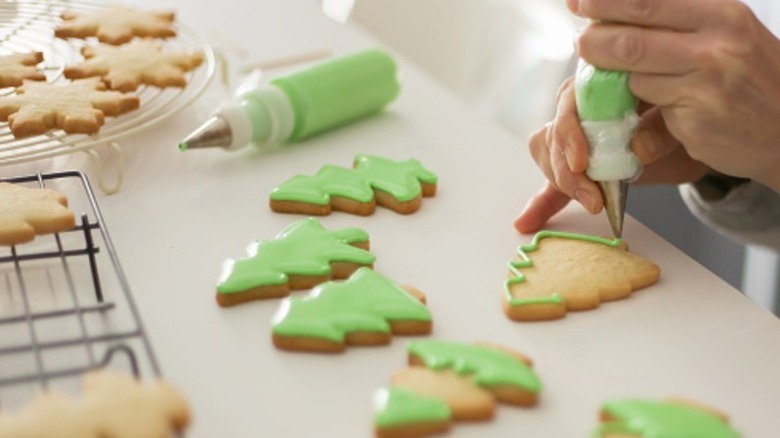
7. Mistake: Forgetting to outline
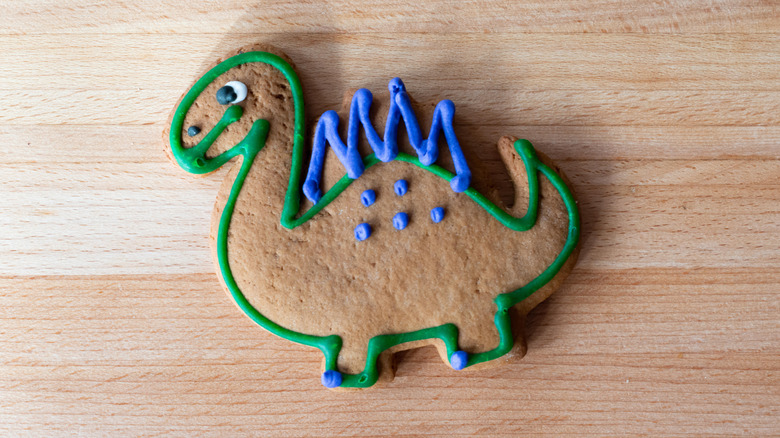
Whether you're creating a basic one-color cookie or an intricate multi-layered option, outlining is crucial to a well-decorated product. Outlining is done using a slightly thicker royal icing and helps you know precisely where to flood. It also keeps your flooding from running off the sides or blending into other sections.
I like my outline to be a little dry before moving on to flooding because it holds better, in my experience. But, you don't have to interrupt your workflow between each cookie. Rather, start by outlining all your cookies at once. Not only does this give your icing time to harden, but it saves time by streamlining your efforts. Once all your cookies are outlined, I suggest taking five minutes to tidy up your workspace — make sure your tools at least make it into the sink and your counters or table are wiped to avoid accidental smudging. Then, move on to flooding all the cookies.
8. Mistake: Not letting your icing dry

Decorating with royal icing requires a lot of patience and waiting — especially if you want designs that are fun, exciting, and professional-looking. Many designs require at least two layers. One layer is your base, while the second is your details (like a mouth, leaves, or raised border).
Royal icing needs to be completely dry between every layer. Otherwise, you may not even be able to pipe your top designs without them melting or blending away. For example, if you make this beautiful icing daffodil, you don't want it to melt away into your base layer.
Plus, anything decorated with royal icing needs to air dry completely before being stored or packaged to avoid smearing. This requires a minimum of six hours, but could be as much as 24 hours, depending on the design and piping technique. Air drying on the counter or other safe, flat surface will help avoid smudging, drying delays, and other issues.
9. Mistake: Holding your hand too low or close
Proper hand placement is key when working with royal icing or doing any other decorating, whether it be on cookies, cakes, cupcakes, or other sweet treats. If you hold your hand too low or close, you run the risk of smudging your icing. Plus, I find that I have less control when my hands are positioned too close to the product or too far down on the piping bag.
Practice with your hand positioned further up the piping bag. I'm a two-hand piper, so for me, that means one hand at the very top of the bag and the other hand about three-quarters of the way up. If you have the hand and arm strength to ice with one hand, you should position it about 75% to 80% of the way up. Your hands should also be raised enough that the bag's tip never touches the actual cookie. Instead, hover just above to avoid accidentally smearing your designs with the tip. I like to hold mine at a slight angle so my hands are off to the side, just to be safe.
10. Mistake: Not using steady pressure when piping

Mastering steady pressure is the key to professional-level decorating, but it was the thing I struggled with most in the beginning of my career. Why is it so hard? The hand cramps. Once you spend a few minutes (or a few hours) steadily piping out royal icing, your hands begin to ache. The good news is these cramps will fade with practice, the same as working out any other part of your body. It just takes time.
Different techniques require different amounts of pressure. You'll want to use a slightly stronger pressure for flooding, and a little less for outlining. Detailing and bordering can fall somewhere in the middle. The best way to master this skill is practice. Mix up a batch of royal icing and grab a plate or cake board. Practice using the right pressure, with the right grip on your piping bag, until you feel confident in the results of your efforts. This is what I did when I first started out and it helped tremendously.
11. Mistake: Working too slowly or too fast

Like most other things with royal icing, there's a delicate balance to how fast you should work. If you work too slowly, your icing will begin to dry while you're still working on it, leading to cracks and a non-uniform appearance. If you rush, the icing will likely run or smudge. Either way, you won't get the results you're looking for.
Your goal should be to work as quickly as you can while maintaining absolute accuracy. This will look different for everyone, so find your own perfect pace. For reference, it takes me 30 seconds to two minutes to outline or flood a cookie, depending on the size and design complexity. Adding design elements varies wildly, but something simple (like what might be required for a basic pumpkin design) takes me about one minute. Practice makes perfect. Don't let a few small mistakes ruin your desire to work with royal icing. Trust me, errors and mishaps are part of the learning curve and you'll be an expert in no time.
12. Mistake: Using the wrong piping bag
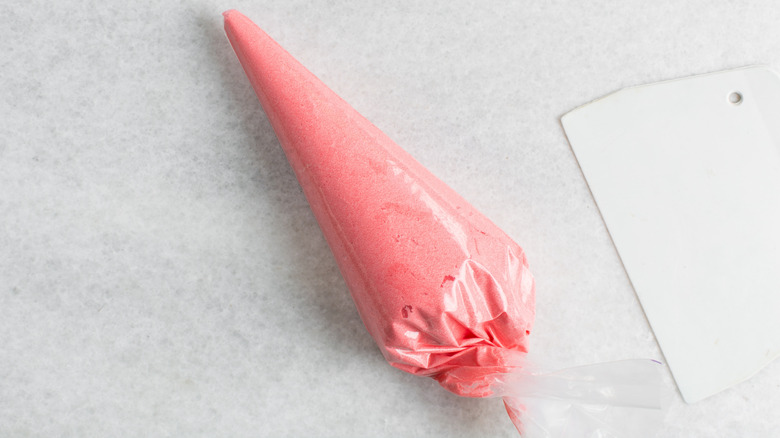
When working with royal icing, some people like to use a piping bag without a tip to decorate their cookies. This limits some of the design elements you can create, but it can also be much simpler. However, if you're looking for an alternative that doesn't require piping tips, you could try a squeeze bottle instead.
If you prefer an untipped piping bag, be cautious about how large you cut the hole at the end. For outlining and details, keep the hole as small as possible to ensure precision. For flooding, you want the tip to be about half as big as your pinky — this ensures it's large enough to flood, but small enough the royal icing won't run everywhere.
The type of bag you use is also important. I recommend skipping parchment bags when working with royal icing and opt for plastic ones instead. These disposable frosting bags have a textured outside to make them easier to hold. Plus, they're reinforced to prevent bursting while you work on your hand pressure.
13. Mistake: Using the wrong piping tip

Some people like to use piping tips instead of just the bag. This is my own preference because it allows for more intricate cookie designs. Each tip has a distinct purpose, which you'll want to learn if this is the decorating route you choose to go. For example, you would use a Round Tip to pipe bubbles, dots, or lines — thus, this would be the tip needed for outlining or flooding. A Closed Star Tip creates perfect stars or rosettes. To create leaves or ribbons, you'd want to use a Leaf Tip. Although you can choose tips in varying materials, I recommend stainless steel because they're durable, easier to clean, and less likely to stain.
If you don't already have piping tips or icing tools, Amazon has many affordable set options perfect for beginners. Based on reviews, I recommend this Piping Bags and Tips Set because it comes with everything you need to get started. Not only do you get 12 stainless steel piping tips and two reusable piping bags, but it also comes with couplers, silicone rings, and plastic scrapers. Among the tips in this set are two perfectly sized Round Tips for outlining and flooding your cookies.
14. Mistake: Not cleaning up your work area right away
Since the coloring used in royal icing is usually so concentrated, it easily stains anything it touches. If you want to avoid pink splotches on your counters and red streaks on your table, clean your work area as soon as you decorate your last cookie. The same holds true with your hands, decorating tips, and any other tools you used.
I like to fill my kitchen sink with hot soapy water before I start decorating cookies (or anything else). Once I'm done with a tip, tool, or reusable bag, I throw it in right away. Not only does this prevent staining, but it avoids your royal icing from crusting up on anything. You may also find it helpful to keep a spray bottle near your workstation to clean up accidents on the spot. Water with a few drops of dish soap usually suffices if you wipe up immediately.