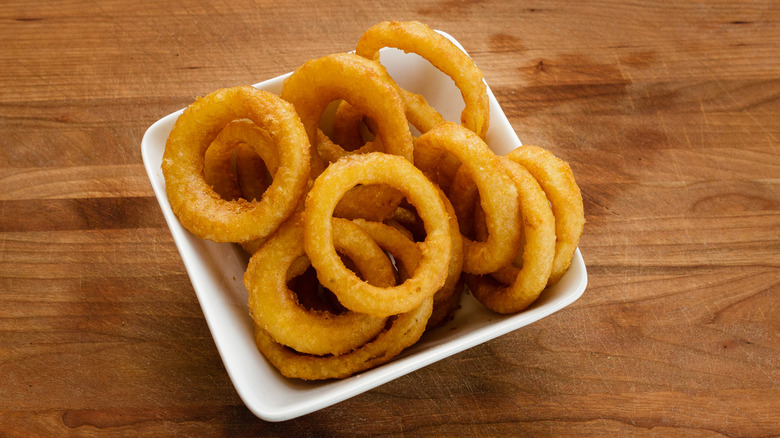
11 Tips For Making Frozen Onion Rings Crispy
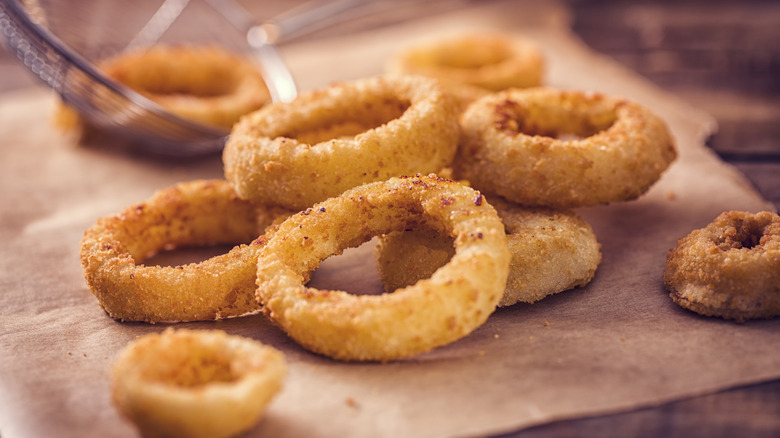
Frozen onion rings are a funny thing, y'all. If you looked at any bag of them, you'd assume that they're the crispiest food in existence: The pictures on the front promise onion rings that shatter into crunchy shards when bitten into, which are packed full of flavor and promise. However, anyone who's actually cooked and eaten frozen onion rings will know how rare this crunch actually is. Most of the time, frozen onion rings come out slightly crunchy at best — and most of the time, they're depressingly limp and floppy.
So how on earth do we make them like the restaurants do, and produce ultra-crispy onion rings straight from the freezer? Well, just as there are plenty of creative ways to upgrade onion rings, there are plenty of creative ways to produce more crispiness for the frozen kind. Some of these methods are fairly simple to execute, and involve merely cooking them in a slightly different way. Others take a little more work, but will produce a crunch on the outside of your onion rings that you've never experienced before. The best part is that all of these tips can be easily achieved in your own home, and don't need any specialist equipment.
1. Make sure that your onion rings are spread out
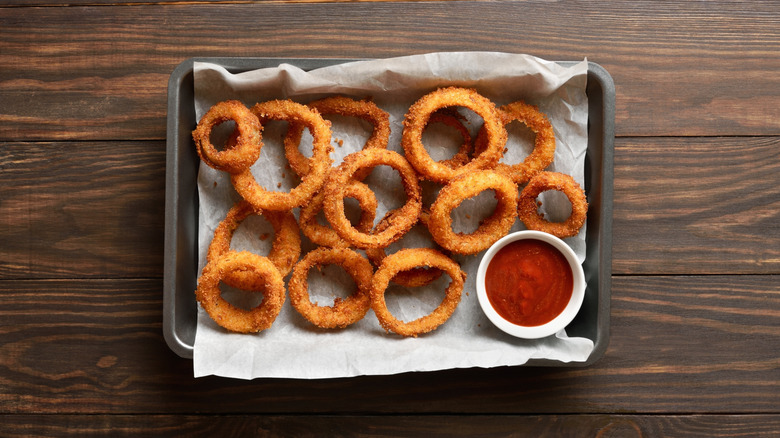
One of the biggest errors you're probably making when cooking your onion rings is that you're trying to make too many at once. Hey, we understand: These things are delicious, and you always want to sneak a couple more onto your tray before it goes in the oven. The problem with that, though, is that adding too many onion rings to a cooking tray can end up crowding it, which can lead to each one not crisping properly.
It's important to remember that when you crowd any food in a pan, the moisture that comes off it as it cooks will get trapped instead of being wicked away quickly. This results in the food beginning to steam, instead of crisping up. This can be a particular issue with frozen food that may have excess moisture on it, thanks to ice crystals forming on their surface in the freezer. The solution? Spread your food out. Give each onion ring an ample amount of space on your baking sheet, so that any moisture coming off them evaporates instead of working its way into the food itself. If you need to, it's always better to use two separate sheets instead of trying to cram all of them onto one.
2. Your air fryer is your best friend
If you're not using your air fryer to cook your frozen onion rings, you're missing out on a lot of crispiness. With air fryers, the clue's in the name: They allow you to get a fried effect on loads of different types of food, without the use of too much oil. In truth, air fryers are just small convection ovens, with the food not really being fried. So the technology that they use to cook food is the same as an oven, but it's their snug dimensions and ultra-fast air circulation that help to concentrate the cooking effect and wick away moisture more quickly. This leads to a better overall crispiness a lot of the time, particularly for frozen foods like onion rings.
When air frying onion rings, though, it's important to avoid double-stacking them. The smaller size of air fryers can lead to folks piling up their onion rings in the basket, but this can stop the air inside the machine circulating properly around the food. This overall coverage is key to generating as much crispiness as possible, and you may instead find that your onion rings have some soggy patches due to the generation of steam around them. If you don't have enough room in your air fryer to cook all your onion rings at once, try cooking them in batches, and then popping the finished ones in a low oven to keep them warm while you finish up the others.
3. Use a wire rack to bake your rings
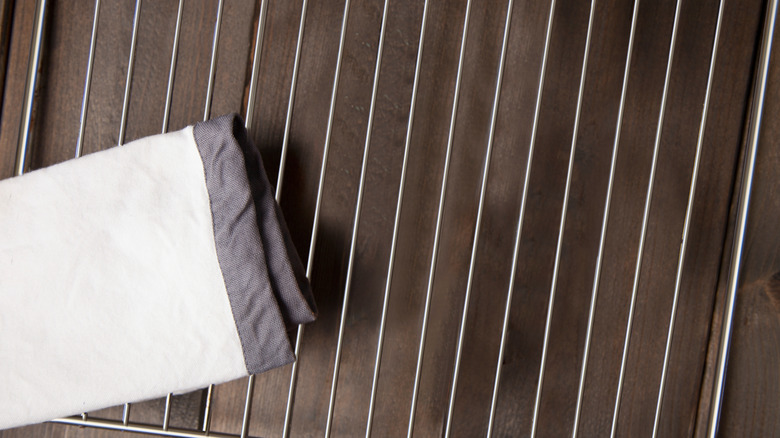
If you have a wire rack and you're not using it when you bake frozen food, you're doing things wrong. Although cooking frozen foods like onion rings on a tray can produce crispy results, a wire rack in your oven is the key to ensuring that the heat and hot air can fully envelop them. When the air is able to get around your onion rings, it'll cook them on both sides at once and ensure that any steam released doesn't collect in the food. It also stops you from having to flip them halfway through, although we'd still recommend doing so to ensure that they're as evenly cooked as possible.
If you're using a wire rack, try to ensure that there's a good distance between the rack and the tray underneath. If it's too flat, the air will have a harder time getting around it — so try to get a rack with built-in legs, so it can prop up. You should also oil your wire rack before putting your onion rings on it. Frozen onion rings generally have a good fat content, but this doesn't always prevent them from sticking to your cooking surface. Oiling the rack will allow you to release them easily, and stop any pieces of batter from sticking to the metal.
4. Pan-fry your frozen onion rings in oil for maximum crispiness
A lot of folks don't have the time to make homemade onion rings at home. We get it, it can take a while. That's why frozen onion rings are such a good alternative. However, you can take some of the cooking methods used to make regular onion rings and apply them to the frozen version without too much hassle. Although regular onion rings are usually deep-fried, you can pan-fry the frozen version to achieve a super-crispy exterior, by glugging around an inch or two of oil into a skillet and cooking them on the range. You don't have to buy any special equipment, and you get a superior crunch to cooking them in the oven. You basically end up with restaurant-quality onion rings.
To pan-fry frozen onion rings, heat your oil, and then pop a wooden spoon into it. If small bubbles start forming around its edges, it's hot enough to put the rings in. You can also use a cooking thermometer if you have one: You're aiming for around 375 degrees Fahrenheit here. Because the onion rings likely won't fully submerge in the oil, you'll probably have to flip them halfway through. Generally speaking, you should follow your manufacturer's instructions as to how you fry them. If the package says deep fry from frozen, you should pan-fry using the same method and avoid thawing them. This can cause them to get overly mushy and cook irregularly.
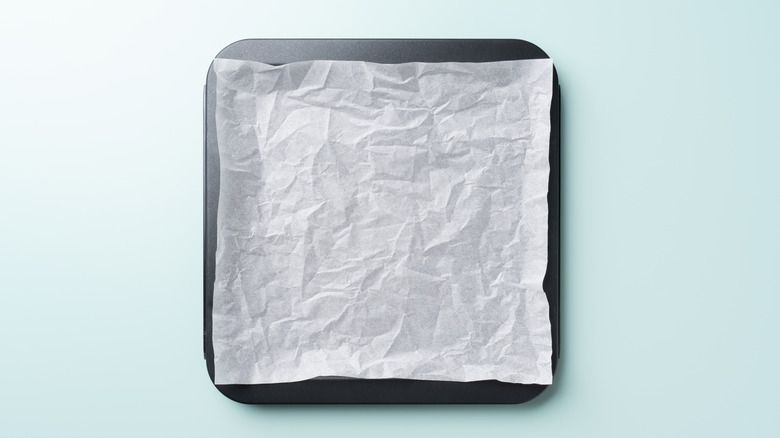
5. If cooking your frozen onion rings in the oven, preheat your tray
When cooking frozen onion rings in the oven, the tray you use can be your best friend or your worst enemy. Your onion rings will necessarily have to sit on the surface to cook, but this creates a barrier between the bottom of the rings and the tray. This barrier can stop them from cooking as effectively as the top side, and while there are ways to get around this (by flipping them halfway through, for instance, or using a wire rack), you may be looking for a different way to do things.
Well, folks, we've got one for you: Try preheating your tray before you add your onion rings to them. Preheating your pan raises its temperature, which allows your onion rings to start cooking more quickly and limiting the amount of steam they produce. It also helps them start to crisp gently on their bottom side from the outset. You can preheat your tray and then line it with parchment paper before putting your onion rings on top, if you want to save on the dishes. However, you might also want to preheat it with a little oil coated on it, so that you can achieve a fried effect on the bottom of the onion rings when you add them to the tray.
6. Add an egg wash to your onion rings
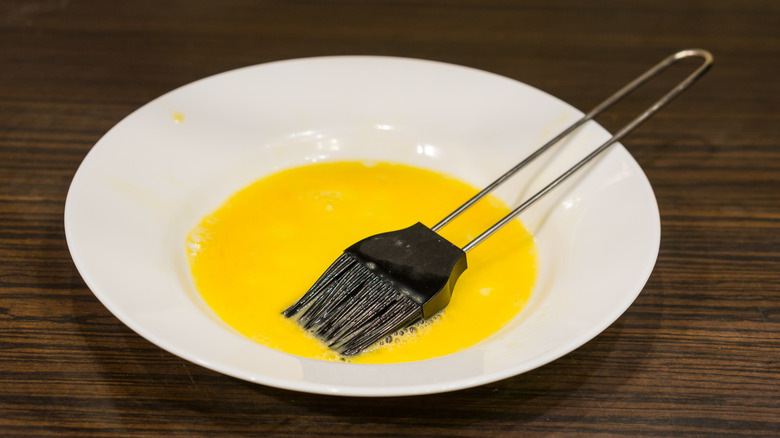
Adding an egg wash to your frozen onion rings may sound like more trouble than it's worth — but trust us when we say that it'll make a surprising amount of difference. Egg washes are used on baked goods to give them a crispier crust, as well as improve their color. The same principle applies when you add it to onion rings, with the carbohydrates and proteins in the wash caramelizing in the high heat of the oven, creating an extra crunch and deepening the flavor of your rings.
Making an egg wash couldn't be simpler, either. Just beat an egg thoroughly, and then use a pastry brush to lightly coat your onion rings with it. Try not to add too much egg wash, as this can soak into the onion ring batter and make it overly soggy. It'll also make it taste too eggy, which we're guessing you don't want. If you don't have any eggs to hand, you can use an egg wash substitute. Try using a little milk or cream instead, although you may find that doing this will give your onion rings a slight note of dairy.
7. Spray them with some extra oil to generate more crispiness
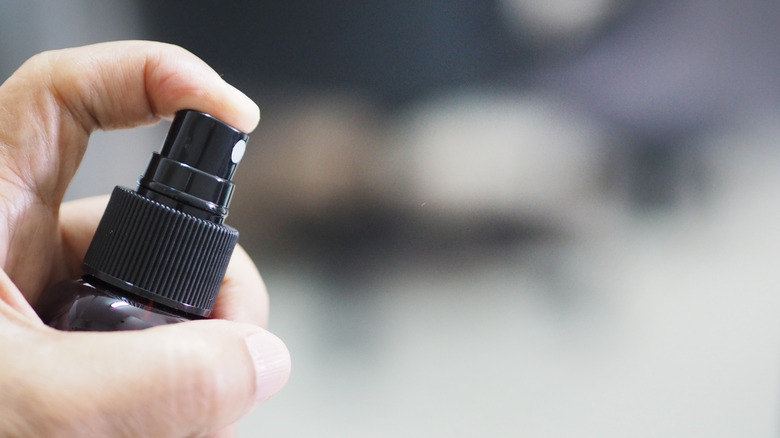
A lot of people assume that frozen onion rings don't need any more oil, and we understand why. They tend to be pretty greasy anyway, and can come out of the oven with an oily exterior. However, it's useful to remember that this oil is sometimes released during the cooking process, instead of being on the surface to begin with — and adding a touch of extra oil onto their surface helps them to crisp way more effectively. Spraying them with extra oil will essentially help them "fry" in your oven or air fryer, without the need to deep fry them in loads of fat.
If that wasn't all, coating them with extra oil can also help make them taste better. As well as adding a boost of richness and fattiness to your onion rings, a few sprays of oil can create an adhesive effect for any additional seasonings you want to add. Try spraying them with oil, and then sprinkling over some granulated garlic, smoked paprika, or black pepper. You'll get extra crispiness, and you'll also get a little bit more flavor.
8. When cooking in the oven, ensure that you flip your onion rings
We're all about easy actions creating excellent results, and this next tip couldn't be simpler. When you're cooking frozen onion rings in the oven, you should always aim to flip them halfway through the process. The reason for this is simple: When your onion rings are resting on a tray, they're essentially experiencing two different cooking methods. The top side is being cooked by the hot air of the oven, while the underside is being cooked by the hot tray. The trouble is that steam can collect between the tray and the onion rings, rendering them soggy on one side, while the top side generates crispiness.
Flipping them over, though, prevents this from happening. When you expose the soggy underside to the hot air of the oven, it'll crisp up, and the already-cooked side remains crunchy and firm. If you're air frying your onion rings, you should also try to flip them halfway through to ensure the cooking process is as even as possible. This is especially important if you're using a basket liner to save on the washing up. These liners are great, but they also limit the air flow in your air fryer to the underside of your food.
9. Add extra batter to your onion rings
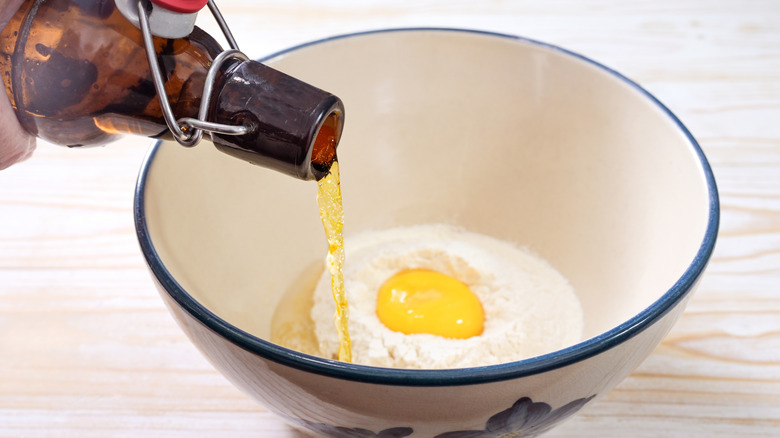
Adding extra batter to your onion rings might seem a little pointless. After all, frozen onion rings are usually battered (if they're not the breaded kind, that is), so why would you go to the trouble of piling even more on? Plus, wouldn't it make the onion rings soggy? Well, not quite. The reason you'd do it is because adding extra batter gives them almost a double-fried effect. By battering the outside of your rings, you're creating a fresh coating which crisps beautifully, while the batter underneath cooks and firms simultaneously. The result is pretty heavenly.
It's worth pointing out that if you're doing this, you're going to want to cook your onion rings in a deep fryer or by pan-frying them. This immediate heat is what you need for the batter to firm up properly, and while you can try to cook them in the oven or air fryer after battering them, you're more likely to end up with a soggy mess. Whip up a simple beer batter using an egg, some beer, and some flour, and then dip your rings in before plopping them straight in your hot oil. You don't need to worry about thawing them: They'll thaw and cook in the oil just fine. As a final bonus, you can also use this batter as a vehicle for additional flavor. Try mixing in your seasoning blend of choice before dipping your onion rings in. You'll thank us later.
10. Be flexible with your cooking times, and don't be afraid to go over the clock
Most of us have suffered the experience of cooking frozen onion rings as per the times cited on the back of the bag, and finding them they come out soft and floppy. Importantly, this may not be the fault of the manufacturers themselves. Ovens are notorious for not always generating the heat you set them to, and the older your oven is, the more likely it is to be inaccurate. Your oven may run too cold, or conversely it may be way hotter than expected.
You can accurately assess your oven's temperature by buying a clip-on thermometer that you can place inside it. However, you can also take a slightly more flexible approach to cooking your frozen food. For example, if your onion rings say that you should bake them for 14 to 16 minutes, check them at around the 12-minute mark. If they're already crispy, they may well be fine to pull out then and there, with your oven having run a little hot and done its job already. If they're still floppy and uncooked, though, don't be afraid to cook them for 18 or 20 minutes instead. Slightly overcooking them will help them harder and generate extra crunch, and also add a little extra color to the outside (although you'll want to be careful not to burn them).
11. Try grilling your frozen onion rings for a smoky, crispy finish
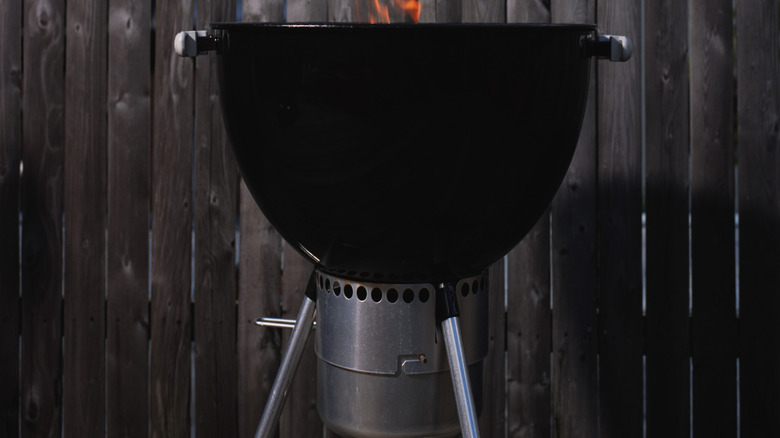
Grilled onion rings may sound a bit wild — and for a food that cooks so capably in so many other ways, it might also seem a little extravagant. However, if you want real crispiness, then all you need is a grill for next-level onion rings. Grilling frozen onion rings allows you to immediately apply high heat to them, which generates a super-crispy, somewhat charred exterior. With this char comes a smokiness that will deepen their flavor.
Although you can pop your frozen onion rings straight onto your grill, this may not be the best move. Depending on the size of your grill, your onion rings may be in danger of falling through the slats onto the burning charcoal or gas range below. Instead, it might be better to put them in a grilling basket before putting them on the grill. Doing this will ensure that they remain in place, and will allow you to flip them way more easily. It's also worth remembering that you may not want to grill them on too high of a heat, as this can cause them to cook on the outside too quickly while the inside remains frozen.