The One Tool You Need To Temper Chocolate The Right Way
We may receive a commission on purchases made from links.
Tempering chocolate is a useful skill for any home pastry chef. It's the best way to get that professional couverture on truffles, fruits, or candies. Plus, you'll need it for picture-perfect chocolate-dipped strawberries. However, tempering requires more effort and supplies than simply melting chocolate would. So, if you're wondering what materials you need, you've come to the right place. And to determine the most important tools for tempering chocolate, we turned to Nicole Patel, owner and Chocolatier of Delysia Chocolatier.
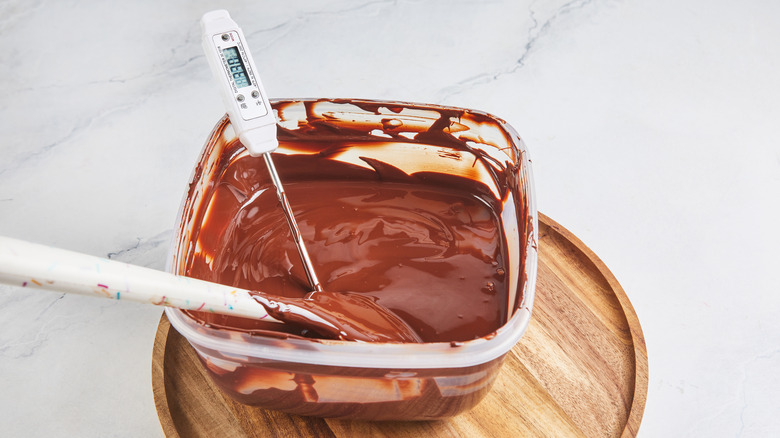
In an exclusive interview with Daily Meal, Patel shares that "The most important piece of equipment for tempering chocolate is a thermometer." It makes sense since tempered chocolate must remain within a certain temperature range when melting, cooling, and reheating. To be more specific, Patel recommends "a digital candy thermometer to accurately measure the chocolate's temperature throughout the process." You can easily purchase one online, like this Digital Candy Thermometer which comes with a handy pot clip and long probe.
If you already have a candy thermometer, you're on your way to becoming a professional chocolatier. But before you go tempering chocolate, you should learn exactly how to use it. So read on for a detailed description along with other recommended supplies.
How to use a candy thermometer to temper chocolate
When tempering chocolate, you should check the temperature when heating, cooling, and reheating. If the chocolate overheats during these phases, it begins to break down on a molecular level, which is what we want to avoid. If chocolate heats up too quickly, it can seize. This results in a lumpy texture that won't have that satisfying snap.
We'd rather play it safe than sorry, so monitor your chocolate as you go. Give it a good stir before dipping the candy thermometer inside. The maximum temperature depends on the type of chocolate you use, with white chocolate requiring lower temperatures than dark. During the initial heating, white or milk chocolate can reach 105 degrees Fahrenheit while dark chocolate can reach 122 degrees Fahrenheit. At this point, remove it from the heat and add your seed. Make sure the temperature doesn't fall far below 90 degrees Fahrenheit as you add the seed, or it can become chunky. If the chocolate cools too quickly, put it back over the heat or use this heating pad hack to keep tempered chocolate warm.
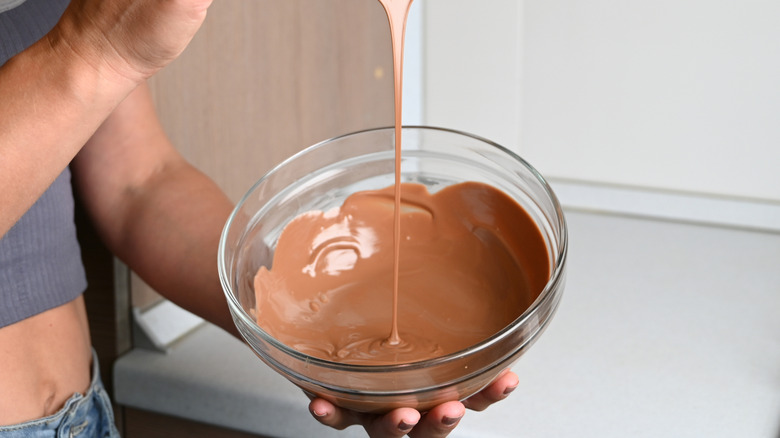
A good working temperature is between 84 to 86 degrees Fahrenheit for white or milk chocolate and 86 to 90 degrees Fahrenheit for dark chocolate. That should allow you to dip, drizzle, or spread the tempered chocolate as you please. Once the chocolate hits room temperature, it'll begin to set naturally, creating a beautiful shiny glaze.
Other recommended supplies for tempering chocolate
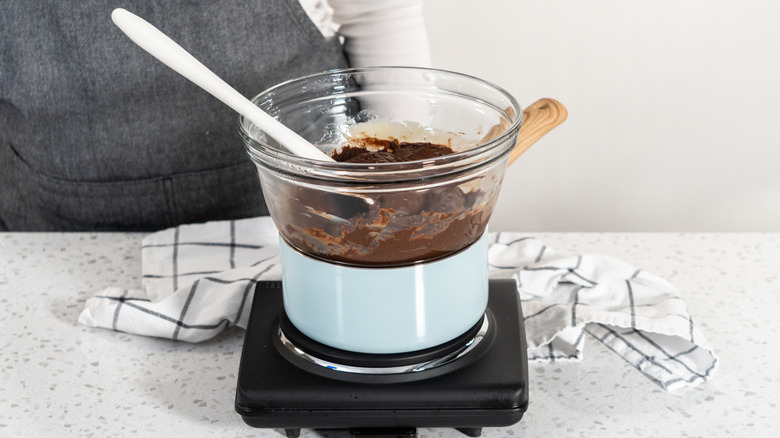
A candy thermometer isn't the only item Patel recommends. She also suggests using "A heatproof bowl, spatula, double boiler or microwave, and parchment lined sheet pan." All these items serve a specific function in the tempering process and some help with temperature control.
A heatproof bowl is any bowl that can handle high heat, like ones made of stainless steel or Pyrex glass. You can buy a pot and bowl separately, but why not feed two birds with one scone? You can purchase this double boiler pot set which comes with a boiling pot and a heatproof bowl. The detached bowl fits snuggly inside the pot, yet is easily removed when it reaches the desired temperature.
The spatula is necessary to mix and keep the chocolate at the same temperature. When you add the seed, make sure to stir continuously so the chocolate can melt evenly. When you have your desired amount of chocolate, the parchment-lined pans will come in handy. They give the chocolate somewhere to set without sticking. You can place chocolate-coated candies directly on the paper or make a nut and fruit chocolate bark.


