11 Tricks For Carving A Rotisserie Chicken Like A Pro
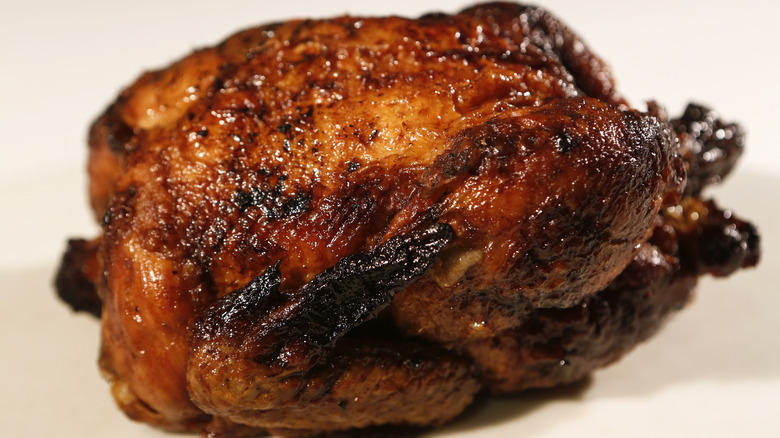
Cooking a chicken rotisserie-style takes it to the next level. These chickens are almost unbelievably delicious, with the meat tasting so good thanks to the unique cooking style. Since rotisserie chickens are widely available at grocery stores, you get all of that glorious flavor for absolutely no work and barely any expenditure. What does take work, though, is carving the chicken when you get home. This is where things can start to go really wrong. Without the right carving technique, you can end up completely destroying your rotisserie chicken, leaving you with misshapen lumps of meat and loads of protein left on the bones.
That's why it's worth listening to how the pros do it. Carving a rotisserie chicken takes a fair amount of skill, and there are loads of industry tips and tricks that help you rapidly level up your slicing game. To find out all of that insider info, we spoke with Michael Handal, professional chef and chef-instructor at the Institute of Culinary Education. Handal told us everything we need to know about how to carve rotisserie chickens perfectly every time, and we're here to pass on that crucial knowledge.
1. Ensure you have the right tools for the job

Trying to carve a rotisserie chicken without the right equipment will leave your meat in tatters, and you cursing your lack of preparation. The first trick you need to pull off is preparing properly. Luckily, you don't need to spend thousands of dollars on expert cookware. "If you have a dedicated carving set complete with a knife and fork, this is more than adequate to tackle the task at hand," explains Michael Handal. "If not, you should be able to carve an average-sized roast chicken with a sharp, 5- to 6-inch utility or prep knife or a standard 6-inch boning knife." Using a sharp knife that's not too long will help you get perfectly-cut slices of meat, and will allow you to maneuver your chicken easily and gracefully.
Remember that you'll need to think about how to keep your chicken in place, too — and how to do so without damaging it. "A large kitchen or roasting fork will also help stabilize the chicken during carving, as will a pair of tongs, but care must be taken not to rip or tear the skin on the breast or legs when using tongs," says Handal. The pressure from the tongs can easily damage the skin if your chicken starts to wiggle around underneath it, so try to keep it as steady as possible.
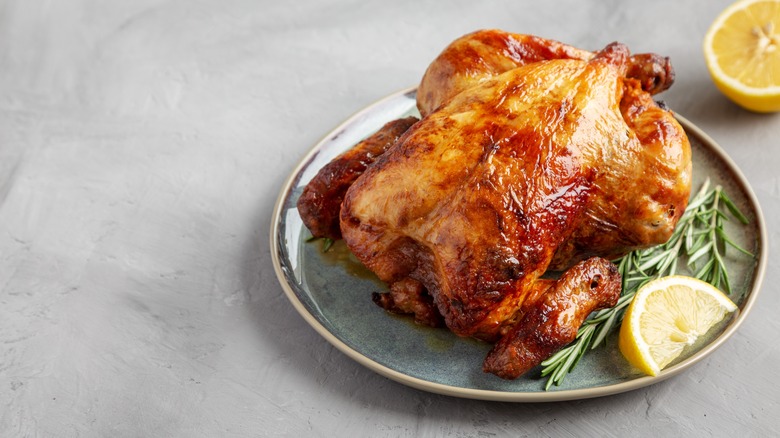
2. Before carving, rest your chicken
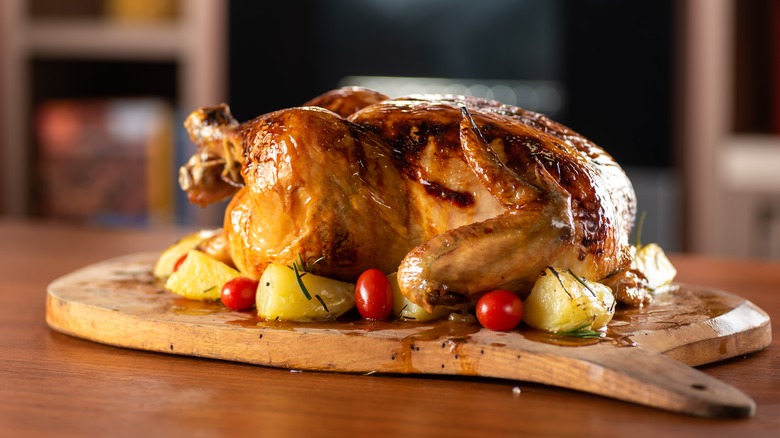
If you're buying a rotisserie chicken from a store, it'll likely already have rested for long enough for you to carve it. If, however, you're making a rotisserie chicken at home (which is prone to a lot of other mistakes), or you've bought one that's fresh off the spit, you'll need to allow it to rest. "Before carving the chicken, allow it to rest at room temperature for 10 to 15 minutes. This will allow the chicken to cool, which prevents it from crumbling during carving," states Michael Handal. If you try to sink your knife into it too early, the flesh will be too tender, and it'll turn into annoying little flakes instead of staying solid.
Resting your chicken does more than just make it easier to carve, too. "Resting also allows the juices to re-distribute throughout the chicken, which helps to keep it moist and flavorful," states Handal. As the chicken gently cools, the moisture that's forced out of it reincorporates with the meat. Just make sure that you're not resting your chicken under foil, as this will ruin its gloriously crispy skin.
3. Remove any trussing string still attached to the chicken
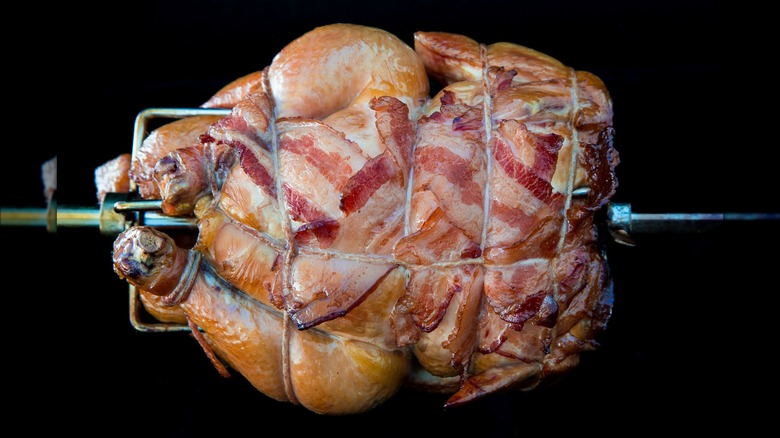
Rotisserie chickens are usually bound together with a trussing string. This tends to be around the legs, and it can sometimes also be wrapped around the outside of the chicken. Trussing birds with twine helps to keep the wings and legs tucked into the carcass, which prevents them from cooking unevenly and helps to keep the chicken moist. This is especially important for rotisserie chickens, which are of course cooked while being rotated, meaning that juices can drip from them more easily and dry them out — so keeping as much moisture in is essential.
However, it's all too easy to forget that it's there and carve your chicken without removing the trussing string, leaving you picking pieces of twine out of your teeth. As such, make sure you're checking your bird thoroughly for any string before you start carving it. This won't just prevent you from chewing through twine — removing the trussing string will make your bird way easier to carve, particularly around the legs and wings. You need the bird's limbs to be as loose as possible to properly get the knife into the joints to separate them. Don't peel off the twine too quickly, though, as you may end up tearing the chicken's skin.
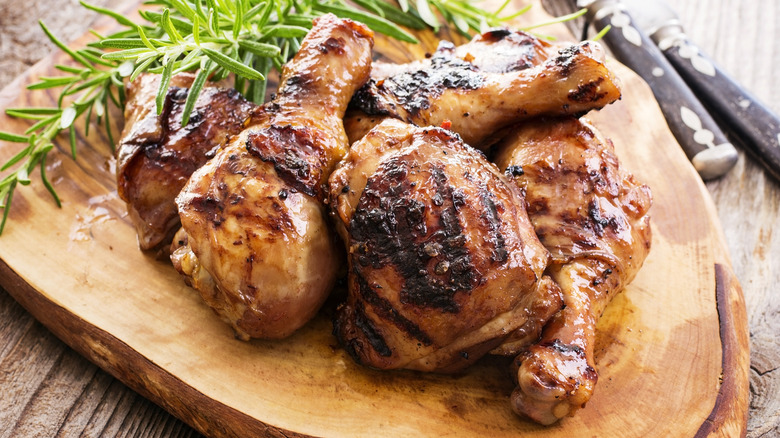
4. Start with the legs and thighs
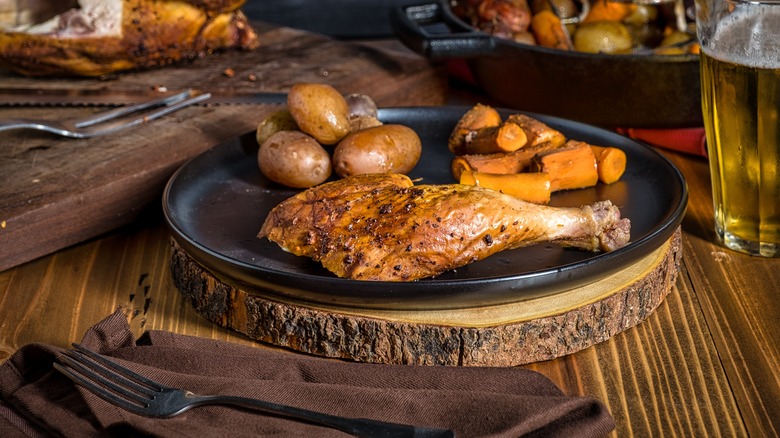
When carving, it's easy to be tempted to begin at the top of your chicken and work your way down. Michael Handal, however, suggests doing the opposite, and starting with the lower portions of the bird. "With the ends of the drumsticks and the tail of the chicken facing towards you, cut the skin with your knife between the outside of the breast and the inside of the leg and thigh sections," he says. Doing this will create a useful gap between the breast and the legs and thighs, which will give your knife better access to the joint within.
Then, Handal advises that you "follow the inside of the thigh section to the base of the chicken, which is in effect, the thigh bone. Release the thigh and leg piece by inserting the tip of the knife at the joint and cut along the bone on both sides of the joint to remove the thigh/leg sections, intact." You shouldn't get any resistance here; if you do, it could indicate that the chicken isn't properly cooked. Once you've removed the two cuts together, you can focus on separating them from each other.
5. To separate the legs and thighs, look for the bulge
Once you've removed the legs and thighs, you'll be left with one long piece of chicken — which may be substantial, but is definitely pretty clumsy to try and eat together. From here, you'll need to cut them apart, and this can be a little trickier than you think when the chicken is cooked. "In its raw state when boned from a chicken, there is a distinct line running across the width of the inside of the thigh," says Michael Handal. He points out that this line makes raw chicken much easier to cut. "However, when cooked, this line of fat may have melted and disappeared."
So, how do you know where to slice? You need to look for the bulge. "Since the chicken has naturally tightened during the roasting process, the attachment of the thigh and leg may be located where the drumstick and kneecap bulge at the apex of this attachment," Handal says. "Cutting with your knife parallel to the thigh, but slightly closer to the leg, you should be able to cut right through this joint." It's not uncommon to cut into bone here, but if you do, don't be tempted to pull your knife out and approach at a different angle. Instead, Handal suggests that you "wiggle your knife closer to the leg section to separate the two sections."
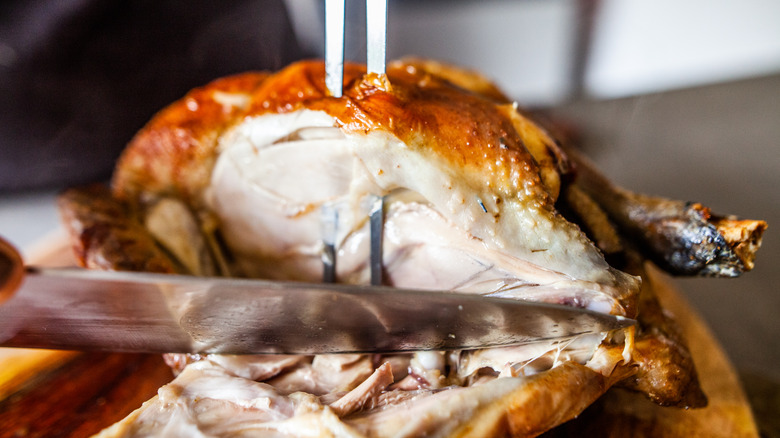
6. To carve the breasts, stay close to the bone
Carving breasts off a rotisserie chicken should be easy, but it's harder than you think. Plunge your knife in at the wrong angle, and you'll completely ruin it, ending up not with a plump breast but a series of small chunks of chicken that will satisfy nobody. So, make sure you're looking for the breast bone. "The breast bone has two distinct sections, a large section of bone, with a smaller section of cartilage at the front of the breast," says Michael Handal. With the wings and neck of the chicken facing you, the bonier part of the breast bone will be nearer your body, Handal states. "After roasting it should be outlined a bit by the top skin, with some of the breast meat slightly shrunken away from the sides."
Once you've located the bone, the trick is to cut along it at a 90-degree angle, Handal says. Work from the back end of the chicken to the front of it, slicing in a smooth, easy motion. "Stay along the side edge of the bone, but don't be alarmed if you have cut through the cartilage section at the tip. This is easily removed from the chicken later on," he advises. Once you've sliced your breasts off the chicken, what you do with them is up to you. Serve them whole, cut them into chunky pieces, or slice them into wafer-thin strips and arrange them on a platter.
7. When carving your breast meat, be wary of the tenderloin
Have you ever wondered where chicken tenders really come from? Contrary to popular belief, they aren't just breast pieces cut into a long, thin shape — they're actually a separate part of the meat itself. The tenderloin sits just underneath the breast bone and has a slightly flap-like appearance that distinguishes it from the breast meat. They don't taste any different from the breast meat, so a lot of people eat them with the breast without realizing, but separating them can give you a nice, slim piece of chicken that's begging to be nibbled on its own.
When you're carving your rotisserie chicken, keeping your knife as close as possible to the breast bone is key to separating the tenderloins. "You definitely do not want to lose meat here," warns Handal. Cut gently but confidently, ensuring that your knife doesn't wiggle to one side, as this can see you slicing straight through the tenderloin itself. Once the meat's out, you can then trim the tenderloin from the breast.
8. If you slice your breasts right, your wings should detach easily
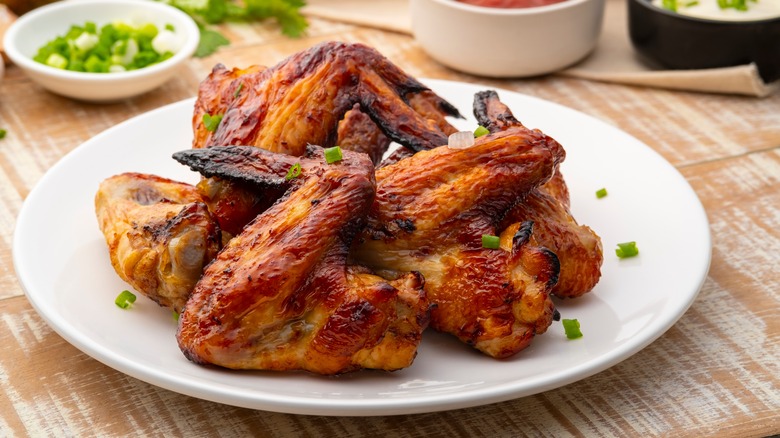
Cutting a rotisserie chicken is kinda like a math equation: If you get every part right, things just fall into place. This is definitely the case when it comes to separating the wings, which can be notoriously tricky to separate from the carcass. The trick is to focus not on the wings themselves, but on the breasts. Once you've sliced your chicken breasts off the chicken, working your knife down to where the wing meets the body, "the joint should be visible and you will be able to remove the breast from the carcass," says Michael Handal. "If the wing detaches at this point, no worries, as we would have then removed it from the back of the breast here."
In short: Cut your breasts properly, and your wings should come right off. If they don't, look for the joint where the wing meets the body, and slice through it to remove it. Once you've removed the wing, slice through the joint that connects the wing tip to the wingette, and then slice again between the wingette and the drumette. Keep the wing tips as they can be great to throw into homemade stock, or simply just nibble on.
9. To slice your rotisserie chicken properly, ensure it's not too cold or hot
Carving a rotisserie chicken isn't just about technique: It's also about temperature. To slice your rotisserie chicken properly, you'll need to make sure it hasn't been sitting in the fridge, or has just come straight out from under a heat lamp. "A warm chicken is fine, but not hot; cold is not preferable. Carving the chicken hot will cause it to crumble and be dry and tasteless," says Michael Handal. On the other hand, slicing it when it's cold will leave you contending with tough, dense chicken that doesn't carve easily. This may leave you with imperfect slices of meat, and more meat left on the bone than you'd like.
You should also try to avoid reheating your chicken if it's cold, as this "may cause an undesirable drying of the chicken," says Handal. Instead, the best thing to do is to carve your rotisserie chicken the moment you get it home from the store. Chances are it'll still be warm to the touch, but not too hot to handle or cause crumbling. If you have put your chicken in the refrigerator, leaving it out to come to room temperature can help to make it easier to slice.
10. To know if your chicken is fully carved, look for meat scraps
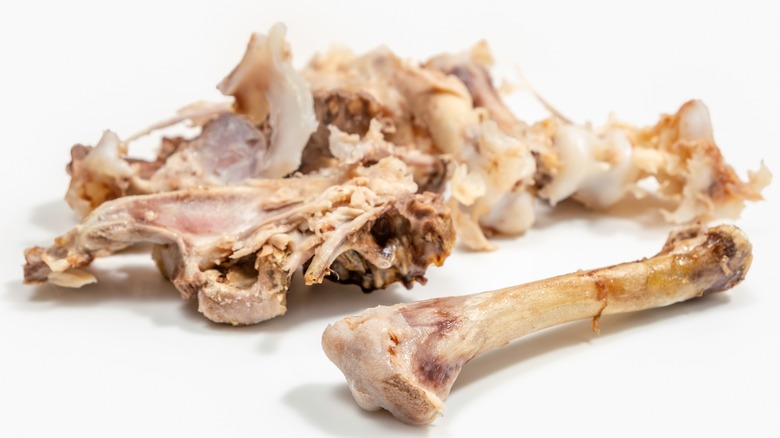
So, you've carved your rotisserie chicken, and you've got a stack of meat sitting next to you. Good job! Are you entirely finished yet, though? If your carcass looks clean and shorn to the bone, then yes, you are. "To be honest, when the chicken is carved correctly, most of the chicken has already been taken off the carcass," says Michael Handal. However, if your carcass has pieces of meat still left on it, you may still have to do a little slicing to get bits off. It's surprisingly easy to leave a lot of chicken on the bone, and doing so will prevent you from getting your money's worth.
To get smaller pieces off the bone, you may need to switch to a smaller knife. Switching to a 4-inch knife can help you get around the carcass easier, and slice off those little chunks you may have missed. Don't be scared to use your hands, either. Sometimes, using your fingers to strip off those stubborn bits of chicken is the easiest way to remove them and make the most of your purchase. While they may not be great for serving to guests, you can then pop these shreds of meat into a stir fry, curry, or stew.
11. Once you've finished carving, keep your carcass
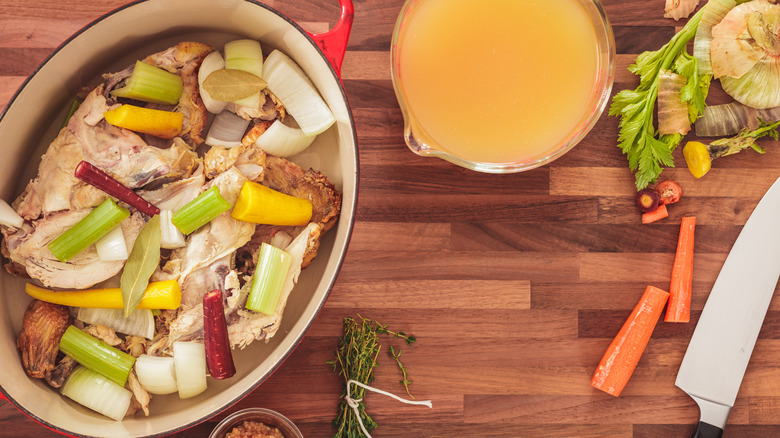
There are few things as satisfying as carving a rotisserie chicken to completion. Your bones are stripped clean, your towering pile of meat sits next to you, and your guests are about to eat very well. The natural next step, of course, is to start tidying things up — but before you throw that carcass in the trash, think about what you can do with it. "A leftover carcass is the star ingredient in a brown chicken stock," says Michael Handal. "A brown (roasted) stock is definitely a fantastic version of a regular, white (unroasted) stock for use in almost any recipe that calls for chicken stock."
Brown chicken stock has much more depth of flavor than a white stock, and if your rotisserie chicken was pre-seasoned, the liquid will also get all of that delicious flavor. Making chicken stock is a breeze, too. Just pop your carcass into your slow cooker and add in some chopped vegetables, aromatics, a couple quarts of water, and salt to taste. Simmer the mixture on high for about six hours, before straining the stock. You can then pop it in your refrigerator or freezer until you're ready to use it.