8 Mistakes Everyone Makes When Cooking Rotisserie Chicken At Home
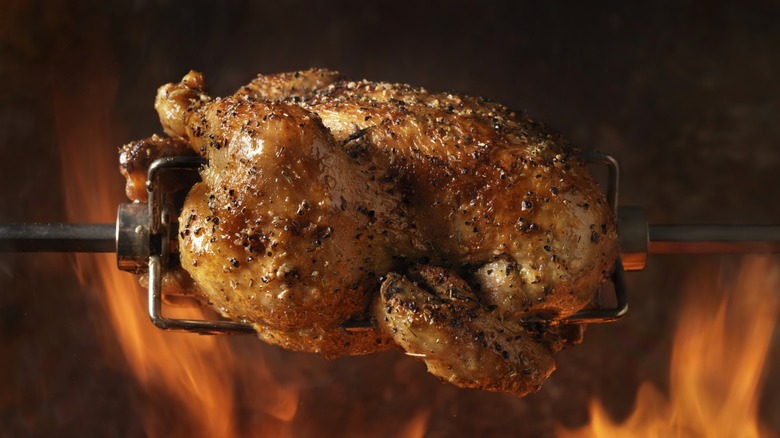
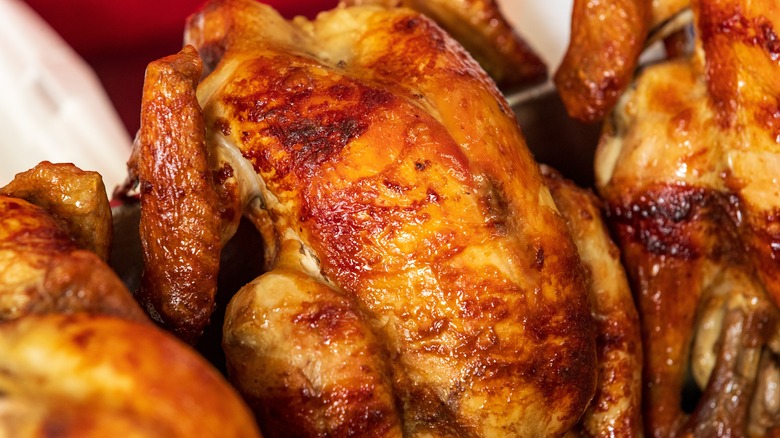
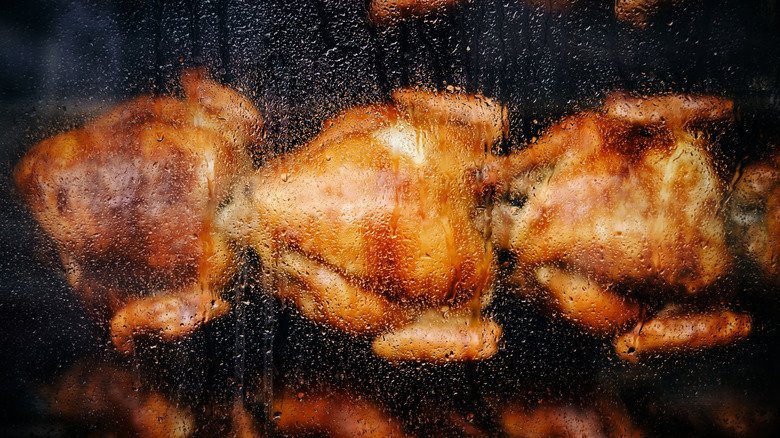
Working in restaurants and grocery stores, I was often tasked with making lots of rotisserie chicken for the hungry masses. I'd brush the outside of each chicken down with a light coating of oil, then rub every corner and crevasse down with spices, usually involving some variation of salt, pepper, garlic, paprika, and dried herbs. Then the chicken would be loaded up onto metal spears — commonly referred to as the spit. As the chicken leisurely rotates in the warmth of the rotisserie oven, luscious juices drip down the skin, deepening its flavor. The end result is consistently delicious, evenly-cooked rotisserie chicken that's beautifully golden brown.
That said, mistakes can be made along the way that can end up ruining the chicken. The good news? Even though cooking rotisserie chicken at home may seem a bit complicated and overwhelming, the truth is that it's actually quite simple if you know what you're doing. If you've ever wanted to whip up an extra juicy chicken on your rotisserie at home that's bound to make mouths water, then you're in the right place.
1. Mistake: Forgetting to truss the chicken
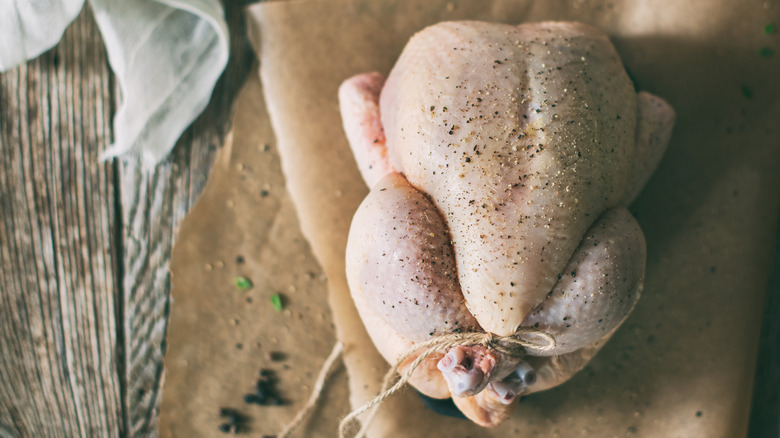
Trussing chicken refers to tying its legs and wings close to its body with butcher's twine. Whole chickens at grocery stores aren't typically trussed in production. This means that when you buy a whole chicken at the store, its legs and wings are loose and untied. Can you cook chicken totally untrussed? Of course you can. But like it or not, we eat with our eyes at first, and the appearance of food matters. Untied, the legs and wings will freely dangle in the rotisserie, and the bird is bound to become quite unsightly by the time it's done cooking. Our goal here is to create the most delicious rotisserie chicken we can. Making sure its legs don't look like gnarled tree branches by the time it comes out of the oven is important. Trussing also helps the chicken cook and brown more evenly.
The first step to trussing chicken is getting some butcher's twine. This won't melt in the oven and is strong enough to snugly hold everything together. If you're going to stuff the middle of the chicken with aromatic ingredients like fresh herbs or lemon, it's best to do this before the chicken gets trussed, because tying its legs together will cover up the cavity. Once the chicken is stuffed and seasoned, crisscross the string around its legs and pull it tight. Then wrap the twine around the frontside of the chicken and tie it into a knot. Snip off any excess twine with some scissors and your bird is good to go.
2. Mistake: Not rotating the spit during seasoning
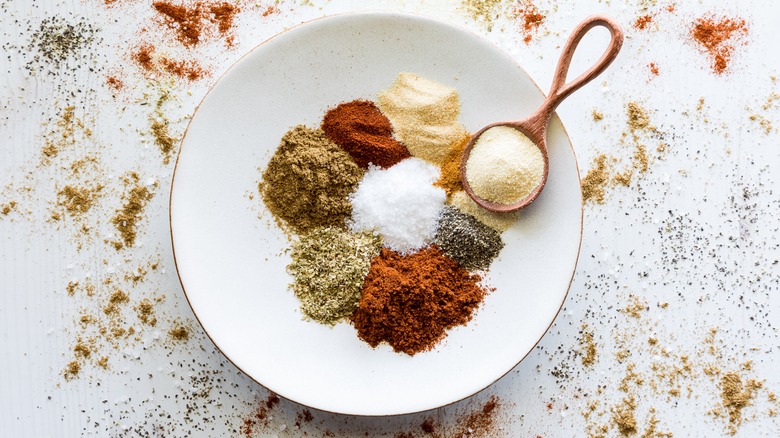
One of the most valuable lessons that I've learned from other chefs is to consolidate my movements in the kitchen. This is often just a matter of thinking ahead and using the right technique during preparation to be as productive as possible. If you're preparing some chicken for the rotisserie, you can use its ability to rotate on the spit to your advantage during seasoning.
I would often do this by positioning the speared chicken onto a large sheet pan. Then I would sprinkle the seasoning blend over the chicken, rotate the spit, and repeat that process until the whole chicken is evenly seasoned. This approach is especially helpful if you're cooking several chickens, since it allows you to season multiple chickens at once. To properly dry-brine your chicken, it's also important to leave your seasonings to sit for about half an hour, to let them infuse and maximize the chicken's flavors.
3. Mistake: Defrosting on the counter
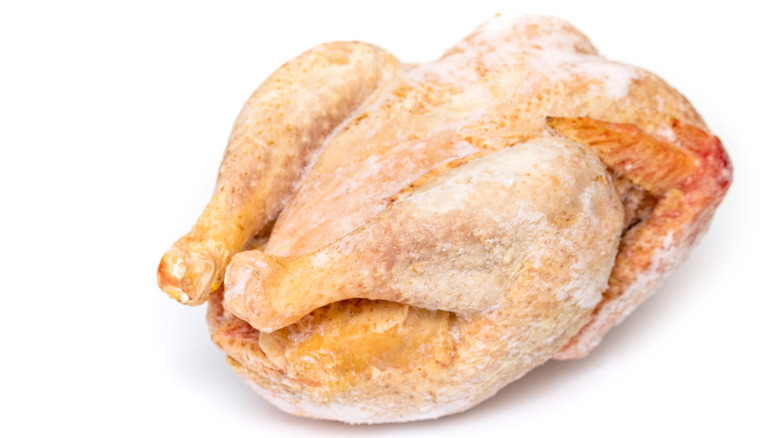
Defrosting chicken at room temperature on the counter is extremely unsafe, and may lead to food poisoning from bacteria when consumed. The best way to defrost meat is to relocate it from the freezer to the fridge a day or two before you plan to cook it. This will allow the chicken to slowly and safely defrost in a temperature-controlled environment. In the same way that food should be cooked to a specific internal temperature to prevent food-borne illness, food should also be thawed in the correct way.
The issue with thawing chicken on the counter is that when chicken warms above 40 F and stays at room temperature for more than two hours, it's primed to grow bacteria. If you forgot to transfer your frozen chicken to the fridge and you need to defrost it faster, you can defrost a chicken under cold water. Place the frozen chicken inside a plastic bag, then place the plastic bag in a bowl inside a clean sink and keep it submerged under a steady stream of cold water until it's thawed. Be sure to change out the water in the bowl every 30 minutes.
4. Mistake: Not removing the giblet bag
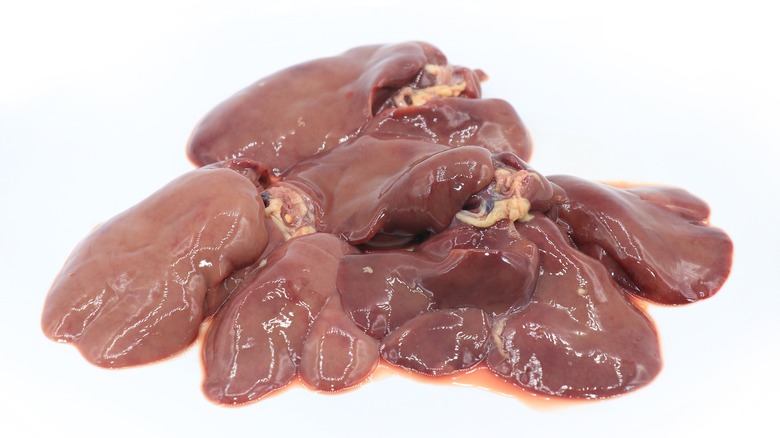
Whole chickens are usually sold containing a plastic bag with organs and other innards such as the heart, liver, and neck. These organs and innards are often referred to as giblets. Most people probably associate the word with turkey giblets, but whole chickens contain giblets, too. Before you bake your chicken, be sure to remove the giblet bag. If the giblet bag melts inside the chicken during cooking, it may leach chemicals into the food.
Giblet bags are easy to remove. Simply reach your hand into the rear cavity of the chicken and you should feel the plastic bag. Once the plastic bag is removed, you can cut it open and use the giblets or freeze them to use at a later date. Giblets are commonly used to enhance gravy, since they are rich in flavor. If you want to pair your rotisserie chicken with some homemade gravy (which is highly recommended) then be sure to save the giblets and also reserve some of the drippings — more on that in a bit.
5. Mistake: Forgetting to dry the skin
Drying the skin is such a small, simple step that doesn't take much time and can make a big difference in the chicken's texture. It also happens to be easy to forget to do. When chicken has excess moisture on the surface and on the inside, that moisture eventually turns into steam during the cooking process. The problem here is that, ideally, we want our chicken skin to have some nice texture, and steam isn't exactly conducive to crispiness.
To dry the skin of your chicken, simply take a paper towel and press it down all over the chicken until the moisture has been absorbed. There tends to be excess moisture inside the chicken as well, so be sure to ball up a paper towel to use inside the chicken's cavity. Once the chicken has been dried off, it can be rubbed with oil and seasoning before cooking.
6. Mistake: Not basting the chicken in butter
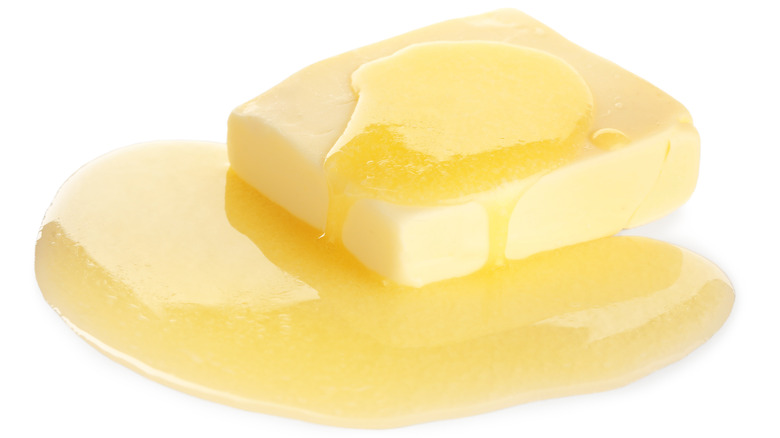
Add this to the seemingly endless list of things butter can be used for: Basting your rotisserie chicken. When I'm making rotisserie chicken, I like to have a small bowl of softened butter ready to baste the chicken with. Basting chicken with butter does a couple of important things. First, and perhaps most importantly, it helps make the skin crispy. The fat in butter allows the skin to crisp while also keeping the meat moist. The other benefit here is that basting in butter also gives rotisserie chicken that picturesque golden brown sheen you're looking for.
One thing to keep in mind here is whether to use salted or unsalted butter. If the seasoning blend on the skin of your rotisserie chicken is lighter and less salty, then using a salted butter should be okay. But if the seasoning on the chicken is already salty, then basting the chicken in salted butter might be overkill. The bottom line is that you should consider the seasoning on your chicken when you select a butter for basting, to avoid making the chicken overly salty.
7. Mistake: Throwing away the drippings
I don't think it's an exaggeration to say that half the reason I make rotisserie chicken is simply for the drippings. Sure, having some juicy chicken breasts, thighs, and wings is great — but having those drippings is even more exciting to me. Why? Because the drippings can be used in so many different ways to enhance so many different meals. For this reason, throwing away chicken drippings is a big mistake.
Drippings are made of the melted fat and little bits of roasted chicken that slid off while the chicken was cooking in the oven. This luscious liquid is teeming with umami and can serve a variety of purposes in the kitchen. The most obvious choice is making some gravy. Sauté minced onions, carrots, and celery in butter, then add some flour. Once the flour has been incorporated, pour in the chicken drippings along with a little splash of Worcestershire sauce. Whisk until smooth and let it simmer over low heat on the stove until thickened, for a truly delicious yet easy-to-make gravy. Drippings can also be used to flavor soups, rice, roasted vegetables, and more.
8. Mistake: Forgetting to soak the equipment after use
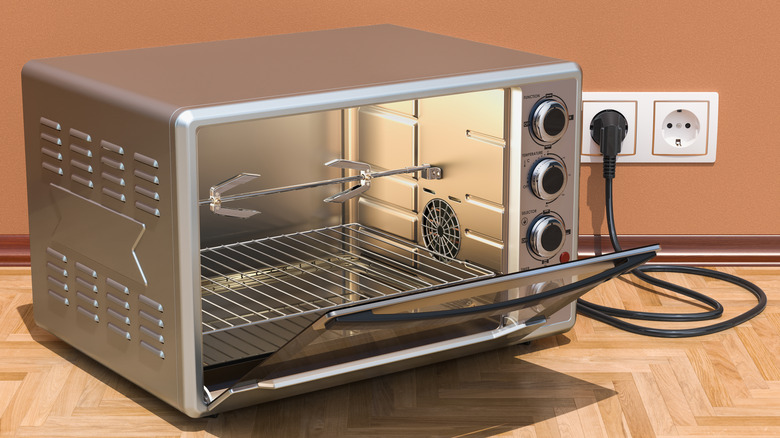
Whether you have a smaller rotisserie that fits inside a toaster oven or a bigger model built for cooking in bulk, rotisseries tend to have multiple moving parts including metal rods, baskets, spears, and pans. After a rotisserie chicken is done cooking, all of that equipment is bound to be covered in fat drippings. At first, it may seem like cleaning all of that equipment will be difficult and time-consuming, but if you let it soak for a while in some hot and soapy water, it'll scrub off with ease.
The trick here is waiting for the equipment to cool off enough until it's safe to handle. Once the rotisserie cools down a bit and won't burn you, you can take it apart and let it soak in soapy water for at least half an hour. The soap will loosen up any residue left behind and a gentle scrub with minimal pressure should be enough to make everything clean again so that you're ready for the next batch.