Yes, Your Air Fryer Filter Needs To Be Replaced Regularly. Here's How
The air fryer market seems to have grown exponentially in just a few years, namely because they're so versatile yet relatively small and energy efficient compared to standard ovens. Like with larger appliances, though, maintaining your air fryer is essential to keep it running properly and to make sure your food isn't negatively affected. That includes replacing the filters.
Without regular cleaning, germs can build up in a dirty air fryer, contaminating food and leading to foodborne illnesses. Many people may not be aware that air fryers even have filters. Not all brands and models do, so you may need to consult your device's manual to find out. If yours has filters, it's just as important to replace them as it is to clean the other parts of the appliance, because clogged and dirty filters can affect airflow and hinder efficiency.
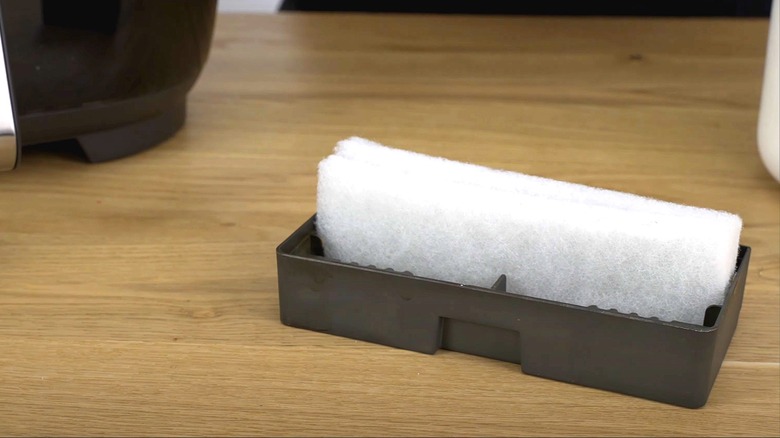
Most manufacturers recommend replacing these screen-like inserts every three to six months. Generally, the more often you use the appliance, the sooner you should replace them. Some models even have LED lights to indicate when it's time. Turn off and unplug the device to easily identify the access point for the filters. Lift the box or access panel away, then dispose of the old inserts and put new ones in their place. Finally, return the filter box or access panel to the unit, and hold the appropriate buttons to reset the LED light, if applicable.
How to clean air fryer filters
You don't have to wait until it's time to replace your air fryer filters to check them. Instead, you could consult the manufacturer instructions about cleaning the filter for additional maintenance. If you've misplaced the manual, you should be able to find a digital copy online, or you could contact the manufacturer for support.
For most brands and models, though, it's safe to use soap to clean air fryers, including the filters. You'll want to mix the soap with warm water and use a soft sponge or rag. Before you start, make sure the appliance isn't plugged in. Then, access the filter compartment, remove the screen-like inserts, and gently wash them with warm, soapy water. Make sure to rinse out all the soap and allow the filters to completely air dry before you put them back in the device. Lastly, replace the access panel or box, and plug in the unit again.
Tips for cleaning the rest of your air fryer

A good time to clean or replace the filters in your air fryer is when you do a deep clean on the appliance. It's ideal to clean your air fryer after each use, but you might only have time to clean the removable parts, some of which may be dishwasher safe. You can always use a liner — as long as it's not a liner that will ruin your air fryer — to keep the parts cleaner than if you put food directly on the grate. However, some debris and liquids can still get onto the sides of the interior.
For this reason, a deep clean is important to add to your weekly routine and includes wiping down every part of the unit. Just keep in mind there are tools you should never use for cleaning an air fryer, such as abrasive scrubbers, because they can damage the coating. If necessary, use a toothpick or wooden skewer to loosen stuck food particles. Then, use a soft sponge or cloth soaked in warm, soapy water to clean away the remaining dirt. For stuck-on grime, use a baking soda paste.
Don't forget to wipe down the heating element and/or fan too, including any surrounding grating. If these parts are on the top inner wall, turn the unit upside down to gain better access. Finally, wipe down the exterior of the air fryer, and allow all the parts to dry before reassembly.