11 Canned Food Hacks To Make Your Life Easier
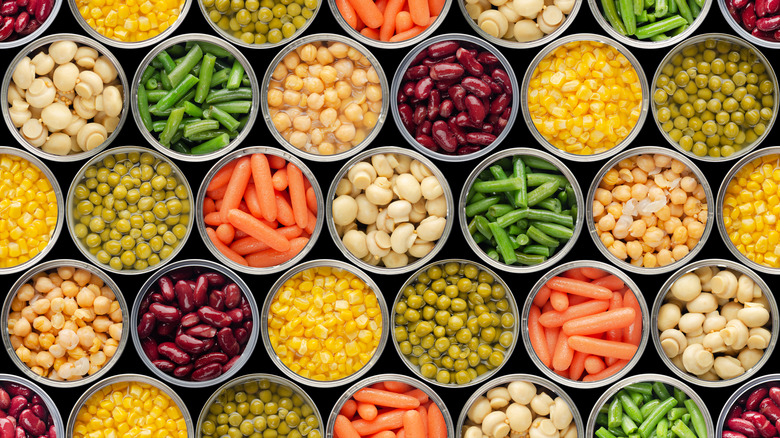
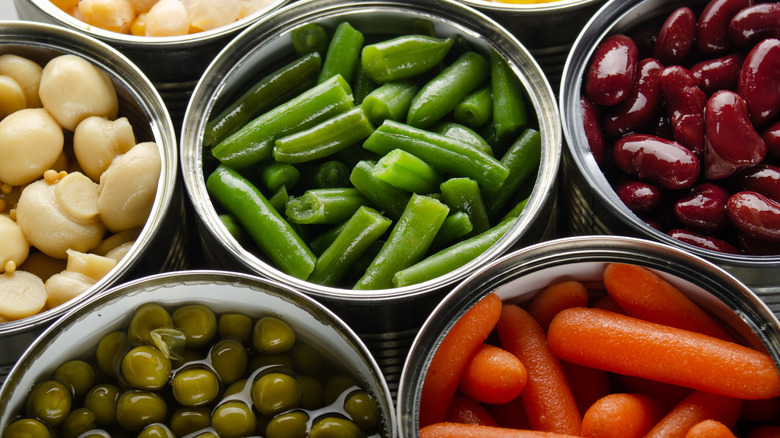
Take a look in anyone's pantry, and most likely, you'll see rows of canned goods. They're amazing to have around because typically, all you have to do is pop the top, and you can use the ingredients immediately. Despite their simplicity though, there are actually plenty of hidden hacks that can save even more time and energy when it comes to storing and using canned goods.
For example, have you ever gotten red-faced during Thanksgiving dinner because you just can't get the jellied cranberry sauce out of its can? Or have you panicked because you don't have a can opener and those canned beans are so close, yet so far away? There are so many situations where hacks can help you out in a pinch, so it's better to know them now before you're stuck between a rock and a hard place. The 11 canned food hacks below will make you sigh with relief and get meals on the table without delay!
1. Air is the key to getting cranberry sauce out of the can
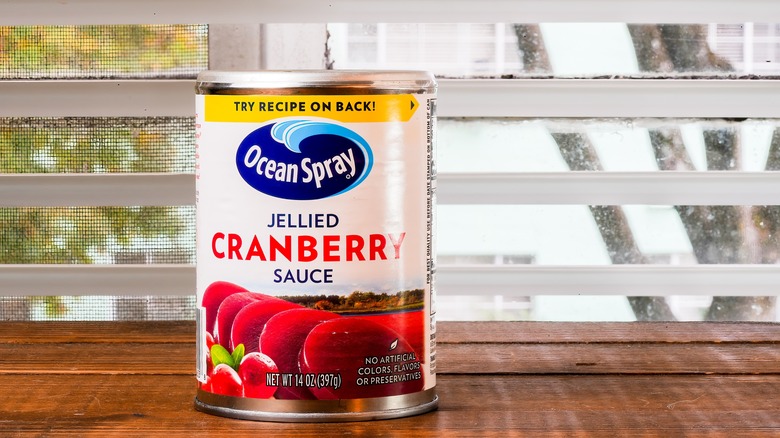
Every November, families gather around the dining table to feast on the perfect Thanksgiving turkey. While the bird is the main star of the meal, the side dishes are pretty spectacular as well. One thing we can't go without is cranberry sauce, and even though homemade's usually better, many of us opt for canned instead.
Theoretically, canned is supposed to make life easier, but in reality, wrestling with the cranberry sauce can is a common struggle. So the secret to getting the entire jellied goodness out in one piece is this — open one end first, then poke a hole through the other. Blow in the hole to create an air bubble, and the entire thing will slide right out. You can also open both the top and bottom to achieve the same thing.
Another shortcut is to specifically buy Ocean Spray's jellied cranberry sauce. They've made a special lid on top that has an air bubble. To get the cranberry sauce out, you'll have to open the bottom, and then shake gently to evacuate the jelly.
2. Use a coffee strainer to drain your cans faster
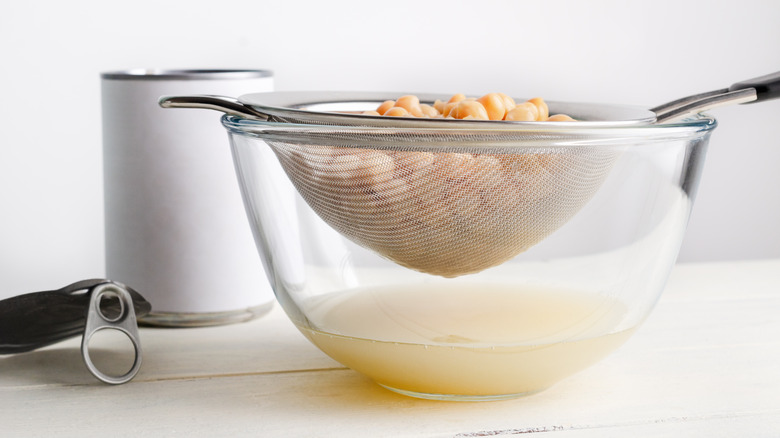
Canned corn is a delicious vegetable you can scoop right out of the can. And as a naughty treat, you might slurp up the leftover liquid, which tickles your senses with its perfect balance of sweetness and saltiness. It's fine to have once in a while, but one common mistake people make with canned corn is not draining the liquid, which can contain high levels of sodium. Plus, the liquid can ruin your recipes by making things soggy and mushy, so it's best if you drain and rinse things first. These things go for numerous other canned foods too!
A simple way to drain a can is to open the top slightly, and then turn it upside-down over a cup. However, you'll still have to put your ingredients in a strainer to rinse them, which is an extra step. Instead, you should grab a coffee/tea strainer and place it over the open can. Flip it over, drain, then fill with water from the tap. Shake it around a little, then flip the can over again to drain.
3. Open a can without a can opener
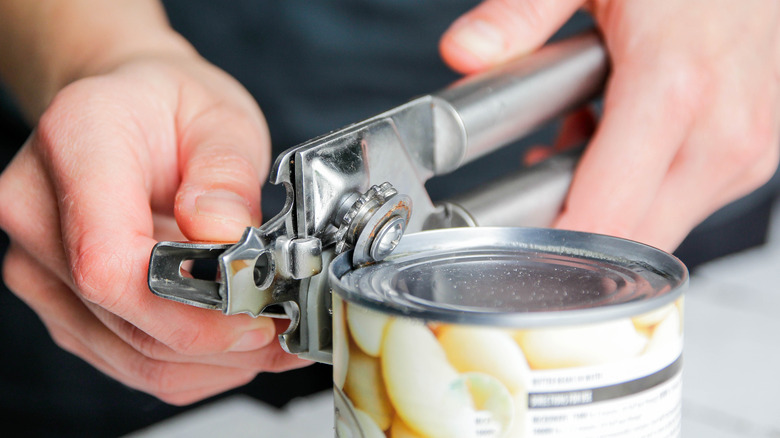
Most cans come with a convenient pull tab so you don't have to grab the can opener out of the drawer. So if you don't have one of these handy contraptions, what are you to do? Throwing it at the ground repeatedly may seem appealing, but don't do that. Thankfully, there are several can opener alternatives you can find lying around your house.
The first is to use a sturdy spoon. Hold it by the spoon side where it meets the handle, then rub it back and forth along the crimpled edge on the top where a can opener's blade would usually go. Use pressure and repeat the back-and-forth motion until you puncture the metal. You can then stab the spoon through the rest of the crimpled edge to fully open the top.
Run out of spoons? Then you can use a fork, chef's knife (heel, not the blade), screwdriver, or box cutter. You'd use the same technique, except for the screwdriver. WIth this tool, you'd use it as a hammer. Be aware that because most of these choices are sharp, you'll have to be more careful since they can slip and cut you easily. If you're accident-prone, then we'd suggest sticking to the blunter objects if you have them.
4. Use a spoon to avoid breaking the pull tab off
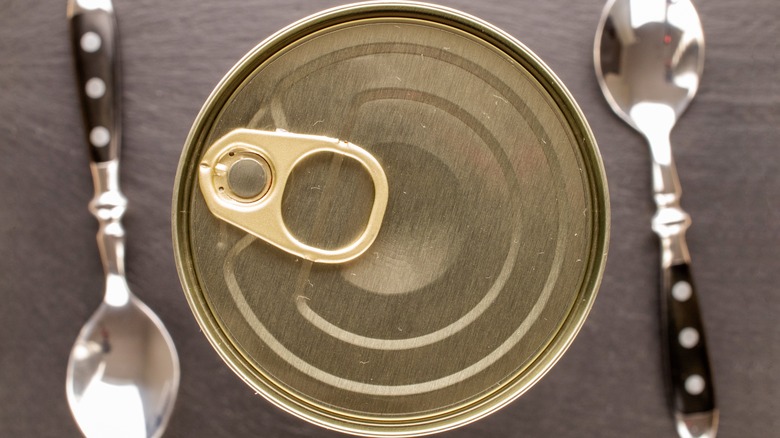
How many times have you hooked your finger into a can's pull tab, only to pull with force, and then end up with a pull tab in your hand and unrevealed contents? Or your nail polish chips, or worse yet, your nails break off? It's almost enough for you to chuck the can into the trash, as it's not worth getting mad over.
But before you throw away anything, give a metal spoon a try first. This hack will keep your nails safe, and you'll have an improved chance of opening the can cleanly, too. To use this hack, slip the spoon into the pull tab, handle first. When the spoon bit gets stuck on the pull tab, see-saw the spoon up and down to leverage pressure. After one or two tries, the lid should pop right open. The bonus is that, once the can is open, you'll already have a utensil on hand to dig right in with!
5. Start with the center when removing Vienna sausages
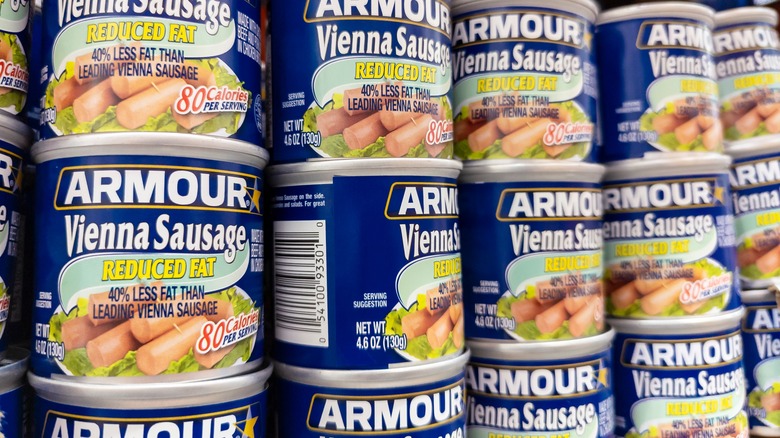
Vienna sausages are a food you gleefully take out of the pantry when your partner's out of town and you can eat whatever you want. Combine it with perfectly cooked rice, and you've got a decent meal. Vienna sausages are packed tightly in their cans though, and they can break into itty bitty pieces when you try fishing them out. That's okay when you're cooking for one, but considering that you can use them as sophisticated cocktail franks, you'll want them to stay unbroken when you have guests to impress.
To ensure that your sausages remain intact, you'll need to start from the center when unpacking them. Using a fork or a pair of chopsticks, gently spin the center sausage to loosen it up. Eventually, you'll be able to remove it by using a corkscrew motion, making the others a cinch to get out.
6. Use a can dispenser
Can dispensers are typically used for sodas, but who says you can't use them for your canned foods as well? They're excellent if you're short on storage space, and it's always good to fill up vertical space instead of horizontal. Plus, if you stack the cans correctly, you'll use the oldest ones first. That way, no food will go to waste, as it's almost guaranteed that you'll use the cans before they expire.
You don't necessarily have to buy a specific can dispenser either. To save money, you can get creative and either DIY or repurpose things. For example, you can take unused tall bins or photo boxes to stack cans in. Or you can stick closet racks at an angle in your cabinet to securely store cans and see exactly what you have. Those who are super-handy can cut wood pieces and create a hanging wall can holder so you can utilize your pantry space for other foods.
7. Label the can tops
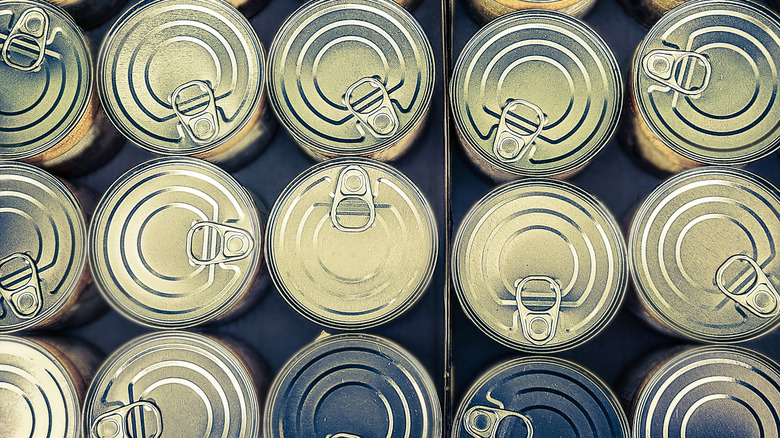
Not every can will fit in a holder, and that's fine. You can still pile them neatly in a drawer to keep them out of the way. However, if you have a large collection, it can be difficult finding what you need, and you want to avoid checking every can to get on with cooking.
Do yourself a favor and label all the can tops with a permanent marker as soon as you get them. Once you slot them into the drawer, you can quickly see what's inside, all without rotating each can to see the front. This can help you keep track of waht you need to grab at the store too.
If you have enough space on top, you can even label each can with its expiration date. That way, you can put them in order and slot later purchases in accordingly. This ensures that you'll use the oldest cans first, which can reduce food waste.
8. Use the can as a small trash bin

You're in the kitchen prepping a great beef chili for your family. You open a can of beans to rinse, then turn to throw away the can. But stop! Rinse it out and keep it on the counter instead. While you're chopping up other ingredients, you can throw the scraps directly into the can. This saves you the trouble of turning, using the trash can pedal to open the lid, throwing the scraps in, closing the lid, and then turning back to chop some more.
In addition, repurposing your used cans means you don't have to dirty up other dishes or waste plastic bags. You can even stuff in those annoyingly springy wrappers that seem to pop up and say hello every time you open the trash can. Rather, you should stuff those compactly into the cans, and they'll stay put. Once you drop the full can into your trash can, you'll have peace of mind knowing all the space is fully utilized.
9. Get rid of mushiness by roasting canned vegetables
Even though they're convenient, canned vegetables are often mushy. Some people may like this texture, but for others, it's pretty close to eating baby food, which isn't very pleasant. You can buy fresh vegetables and roast them to get the much-desired crunchiness, but that takes effort. Not only do you have to make a trip out to the grocery store, but you also have to wash, peel, and chop the veggies, and not everyone's up to those tasks every day.
A great shortcut is to roast canned vegetables for a crispier texture. Drain the cans first, then rinse the veggies, and let them dry off as much as possible in a strainer. Sprinkle your favorite exotic spices across the vegetables, then roast them at high heat for 20 to 30 minutes. When you take the baking tray out, you'll swear they started out fresh, not canned!
10. Make canned vegetables taste better by blanching
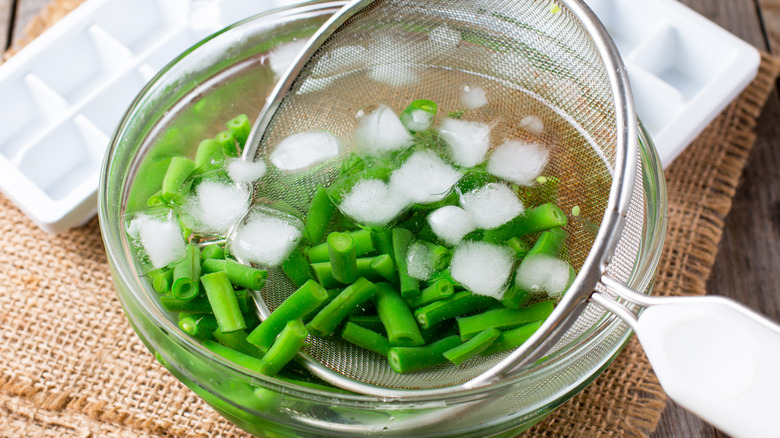
As we've said before, canned vegetables can be reminiscent of baby food, and not just because of their texture either. Besides salt, there's not much other flavoring for canned veggies, so they're pretty bland. This actually makes them great for dishes with plenty of other ingredients and flavors. But when you eat them on their own, it's a boring experience. It won't inspire you much to get your greens in.
You can easily perk things up by first blanching the veggies. Boil a pot of water, put them in for a quick one-minute dip, then throw them in an ice water bath to keep them from cooking further. This will help with the consistency. Next, don't cook the canned vegetables in plain water. Use broth instead to infuse rich and complex taste into them. This is a fast and easy way to elevate your canned goods.
11. Cook directly in the can
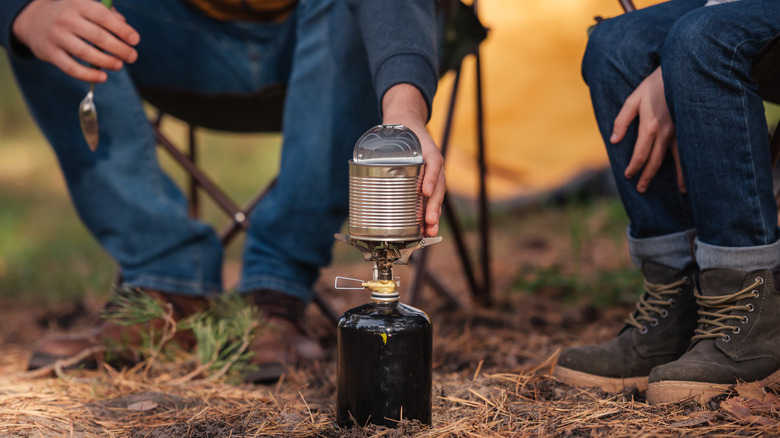
You might feel lazy after grabbing canned goods from your pantry, and you want to cook the food directly without taking it out of the can. It's not a fantastic idea, considering that the inside's lined with Bisphenol A (BPA). When you heat up this chemical, it can leach into the contents, as can the metals, which can affect how the food tastes. BPA can cause a number of health concerns, but according to the FDA, the current levels found in canned foods are safe. So technically, you can cook food directly in cans — just don't make it a regular habit. For example, doing so once in a while when you're camping is fine!
Make sure you stay safe while heating up canned goods though. Always take the top off first since the pressure resulting from heat can make the can explode. You should also place aluminum foil across the top to prevent the hot contents from splattering. If you can, place the can in a pot with hot water and simmer it that way. And if you have to microwave the ingredients, you should never do it in the can. The safer option is to find a microwave-safe container to pour the contents into.