Here's When It's A Bad Idea To Line Your Cake Pan With Parchment Paper
Making a cake should be a joyful process, with the promise of something delicious and delightful to behold when it's all over — which is why few outcomes are as disappointing as your confection refusing to come out of its vessel. Common advice tells you to line your pan with parchment paper, making it a cinch to pop out with minimal damage. That's a great tip — if you're using a flat pan.
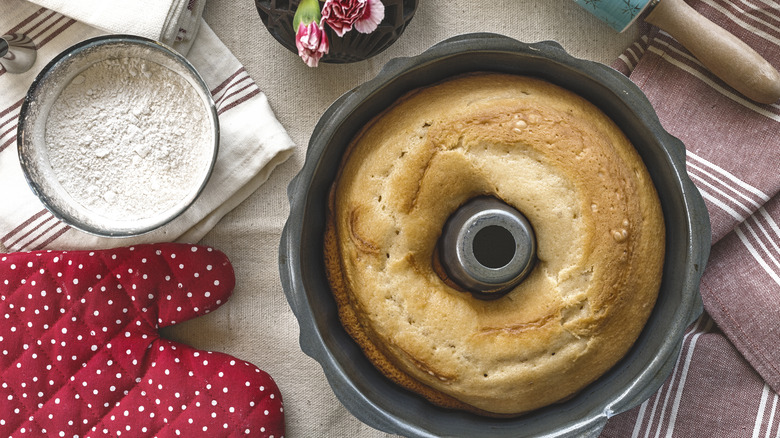
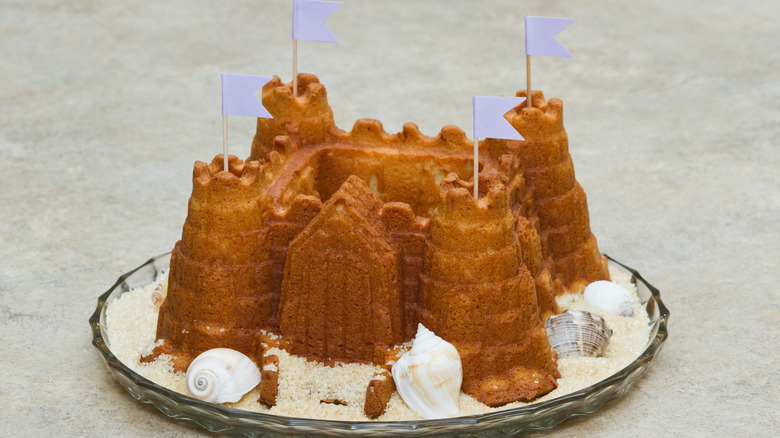
For confectioners who are creating a cake that requires a more elaborate setup, however, like a bundt or fluted pan, this hack doesn't really work out. And the world of specialty and novelty options has expanded dramatically. No longer are we restricted to the bundt or fluted setup. You can find versions that yield cakes shaped like beehives, honeycombs, castles, ears of corn, or even characters and scenes from your favorite movie. This makes for exciting decorating possibilities, so you'll want to keep those details intact.
In these scenarios, parchment paper won't take the shape of the pan, and you'll wind up with crinkled or ripped paper and obfuscated details that don't allow for the beautiful structure you'd envisioned for your finished product. Fortunately, there are still steps you can take to ensure you can spring your cake from its fancy vessel.
The tried-and-true methods
The best methods in these cases are the old school ones: Grease and flour or a pan-release mixture — a simple paste that makes releasing bundt cakes effortless — which you can whip up at a moment's notice. For the fat component of your process, you can choose from several options, including shortening, oil, or melted butter (the latter two may be your best bet for full coverage, given that liquid can more easily find its way into harder-to-reach areas).
The process begins before you fill your pan with any batter. To apply, you can use your hands, a paper towel, or a pastry brush (just be sure that yours is in good shape so you don't leave any bristles behind). Take the time to get into each corner, so you have the most defined cake possible.
Flouring is your next step. To get a full and well-distributed coating, sprinkle a handful (about 2 tablespoons to ¼ cup for a standard 9- or 10-inch) inside the pan, then cover it tightly with cling wrap. From there, turn and shake the pan so the powder finds its way into all those little corners and crevices. Once you've got a good coating, remove the plastic wrap and tap out any flour that isn't adhering to the pan — too much flour will obscure the details of your pan and leave an unpleasant layer on your cake.
More tips and possibilities
You can take some additional measures to help ensure your cake doesn't stick. The first is to be sure your cake is cooked entirely. A confection that isn't fully ready won't be structurally sound and can fall apart when you try to unmold it. Similarly, you want to give it plenty of time to cool down and set up (this is one of 11 tips to help you make your best bundt cake yet). For these safeguards, the usual simple tools — a toothpick or skewer to check the doneness of the cake and a wire rack for cooling — will be handy and reassuring when combined with your pan-release method.
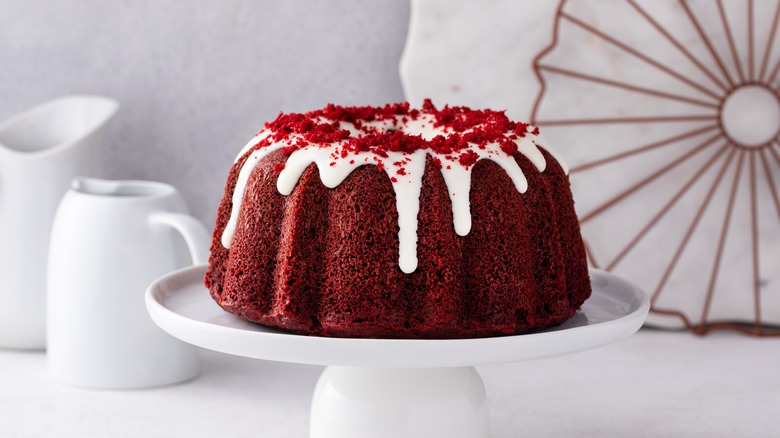
Keep in mind that the grease and flour process also adds a touch of flavor and texture to your cake as it bakes. If you want to take advantage of the possibilities these ingredients afford you, you can also experiment with different fats and powders. Make basil compound butter and use it to grease the pan for a lemon cake. Use granulated sugar to create a satisfying little crust instead of flour or even cocoa powder for your naturally red velvet bundt cake. So, set aside the parchment and confidently prepare the novelty cake of your dreams.


