12 Tips You Need When Grilling With Charcoal
When the days get longer and warmer, it means one thing: It is finally grilling season! Outdoor cooking is a great way to spend time with friends and family and enjoy the nice weather. These days, it seems no home is complete without a grill, weather it's charcoal and gas. When it comes to grilling with charcoal, you can't beat the smoky taste, but there is more of a learning curve, and getting it right takes practice. But fear not, because we have all the tips you need to ensure your grilling experience is a good one!
We reached out to barbecue expert Rich Parente, the owner of Clock Tower Grill in Brewster, New York, for his advice and tips on grilling with charcoal so your burgers and steaks will turn out great every time. So gather your friends, grab a bag of charcoal, light up that grill, and enjoy a little outdoor cooking this season.
1. It starts with safety
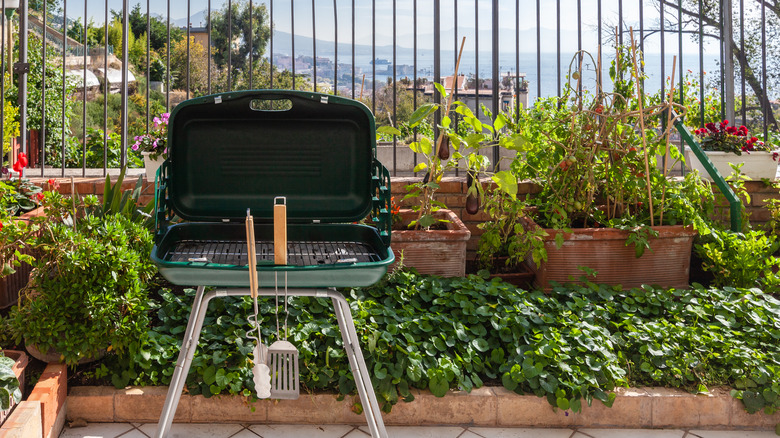
Before you fire up the charcoal grill, it's important to understand the safety rules so you have a safe grilling experience. It starts with location. The grill should be on a stable surface away from any overhead cover. Grilling under a patio cover or camping tarp is a fire hazard because as the charcoal gets started, there will be a lot of smoke, and the grill needs space and ventilation. The National Fire Protection Association recommends the charcoal grills be 10 feet from the home, patio, or other structure. Depending on where you live, there may be other rules and regulations, so check with your city before getting started.
You probably already have a fire extinguisher in your kitchen, but did you know you should have one in your grilling area, too? It is always better to have one close by and not need it than waste precious time looking for it if there ever is a fire.
Lastly, you need the right tools for the job. You will need long tongs to safely move foods around the grill and a meat thermometer to ensure everything is cooked through. There is nothing worse than biting into an uncooked burger or, worse yet, getting food poisoning from undercooked foods. Aside from the basics, some home cooks like to have heat-resistant gloves and long-handled spatulas, too.
2. Always clean your grill
Before you bust out the burgers and slap some steaks on your charcoal grill, you need to clean it. Every time you use your grill, bits of food, ash, and other debris can stick to the grates. It's important to clean it regularly so that bacteria and carcinogens are removed and you don't get sick. Plus, regularly cleaning it extends the life of the grill, so you can use it for many grilling seasons to come.
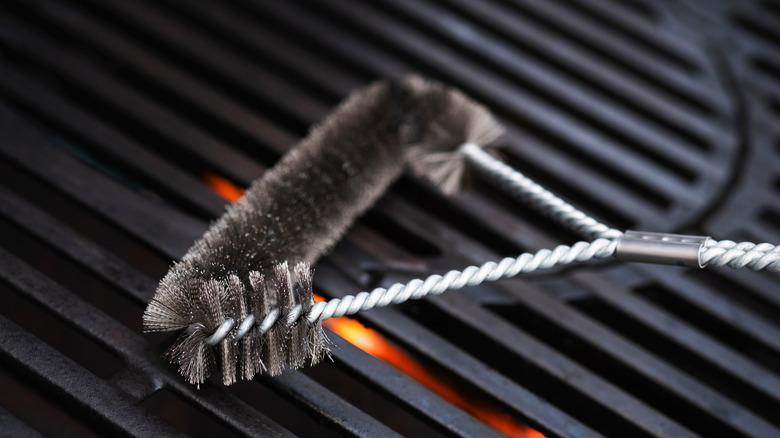
The most common way to clean the grill grates is with a wire grill brush and some elbow grease; another option is a pumice brick. In a pinch, you can also use a wadded-up piece of aluminum foil. When it's time to deep clean the grill, an oven cleaner or a magic eraser sponge are the best tools for the job. One way to prevent excessive food build-up and keep food from sticking is to oil the grates before grilling. Just opt for a neutral cooking oil and avoid olive oil, which has a low smoke point.
3. Avoid lighter fluid
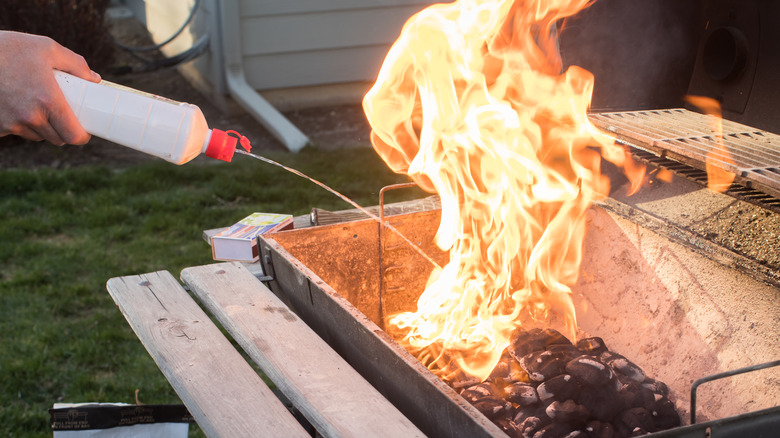
Some fire-loving home cooks like to get the charcoals going with lighter fluid. While it will create a big flame and dramatic show-stopping effect, it is not a good idea to use it as it can give your food a chemical taste. However, the taste isn't the only concern; this flammable liquid has volatile organic compounds and hydrocarbons that create toxic smoke and can damage the respiratory and central nervous systems. And if it is accidentally ingested, it can lead to serious poisoning.
There are other ways to get your charcoal grill going that don't involve toxic chemicals, like natural fire starters, which are widely available. These come in a few different forms, but basically, they are compressed wood particles held together by wax. All you have to do is light the corner and place it on the coals. Of course, it's slower than lighter fluid but much safer. Other simple ways to light the grill are to soak a paper towel in cooking oil or light an egg carton filled with briquettes.
4. Invest in a chimney starter or electric starter
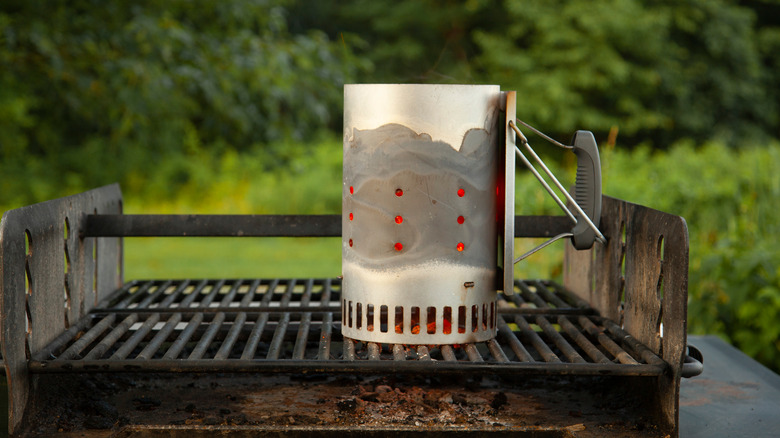
If you grill often, you should consider investing in a chimney starter or electric starter. A chimney starter is a cylindrical metal container that lets you light a small amount of charcoal using newspaper or wax cubes. Once the coals are lit, dump them in the grill with the rest of the briquettes. Getting the grill going with this handy little gadget speeds up the process so you can get to cooking faster.
An electric starter is another option and runs about the same price as a chimney starter. Electric starters are basically like an element from a conventional oven that you stick directly in the charcoal; in about 10 minutes, the grill is lit. This is a great option if you are grilling at home near an electrical outlet; however, it obviously isn't going to work if you are grilling at a park or campsite without electricity.
5. Preheat the grill
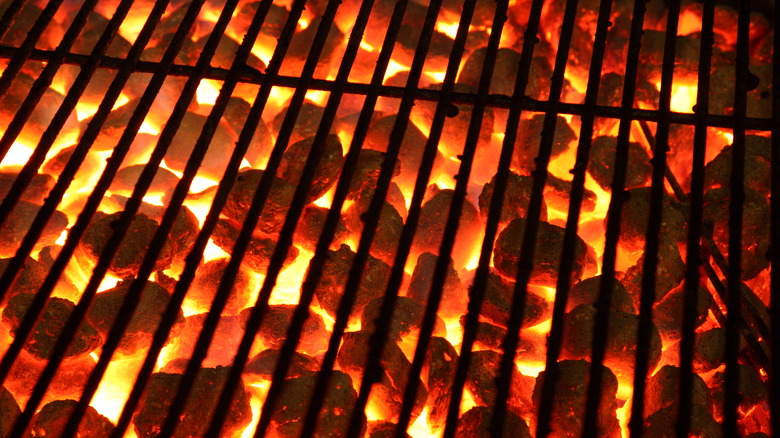
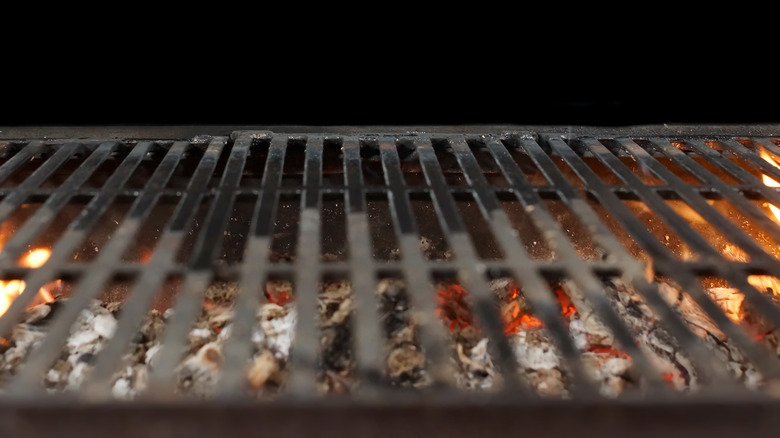
According to our expert, Rich Parente, "The number one mistake people make when using a charcoal grill is not waiting long enough until the charcoal is actually ready to use." He explains that charcoal grills cook at extremely high temperatures and need extra time to preheat. It's worth the wait, though, because that extreme heat is what gives the meat a deeper and more even sear.
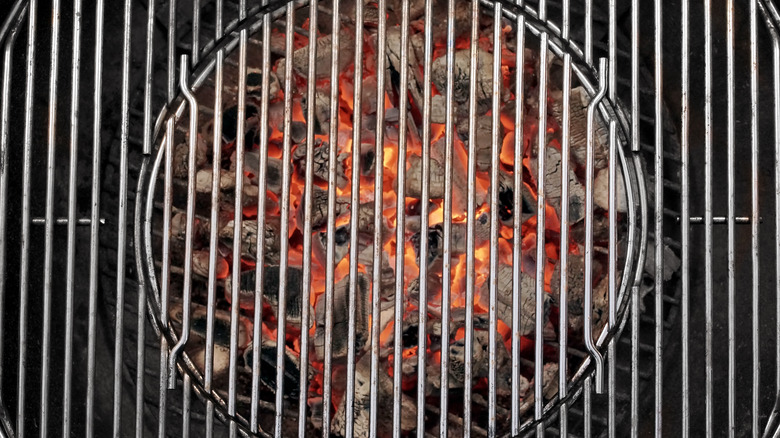
He goes on to say, "Each piece [of charcoal] should be ashy and covered in embers, which should take roughly 15 to 20 minutes." However, if it's cold, windy, or rainy, it could take longer, so be patient and don't rush the process. If you do rush, your food will take longer to cook and may result in a tough charred outer layer with an undercooked inside, which could lead to foodborne illness.
While you are waiting, use that preheating time to get your mise en place and food staging area ready. Or just crack a cold beverage and relax while the charcoal does its thing; just stay close and don't walk away from a lit grill.
6. Adjust the airflow with the grill vents
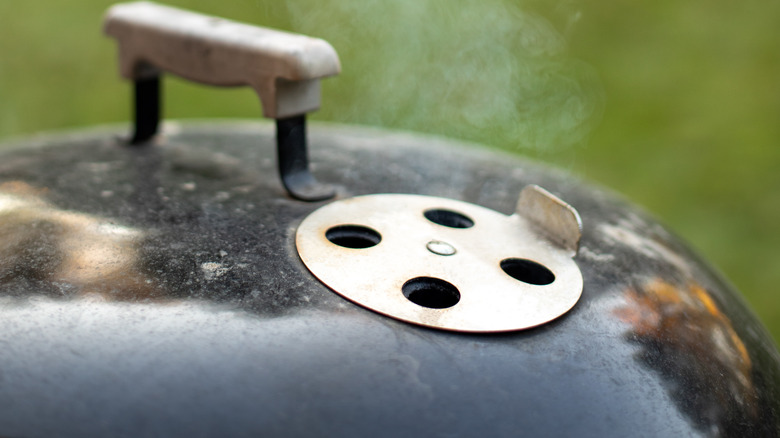
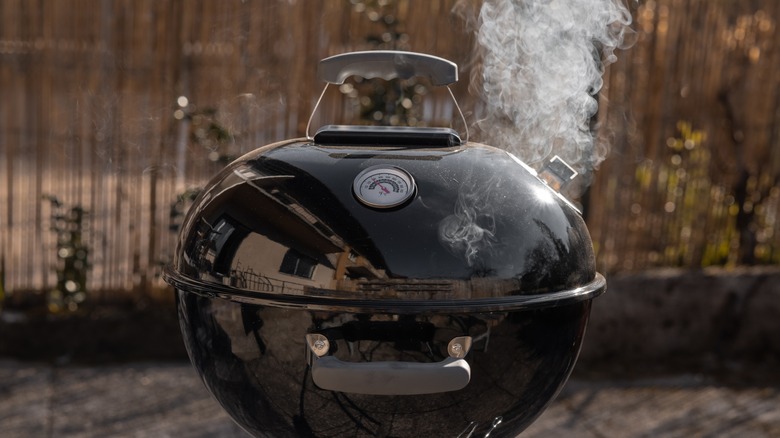
Air vents on the top and bottom of a charcoal grill function as the temperature control. The top vent lets the smoke escape, while the bottom vents pull the oxygen in, fueling the flames and making the coals hotter. When you want more heat, for example, for searing, open the grill vents for hotter coals; when you need a lower temperature for slow grilling, close some of the vents. Mastering the flow of oxygen to the charcoal is one of the important skills for becoming an expert home griller.
Sometimes, flair-ups happen when adjusting the air vents. This is fairly normal, and the best thing to do is remain calm and move the food to another part of the grill. Of course, the knee-jerk reaction to a big flame is to throw water on it, but don't do that because it will cause grease to splatter and ash to spill out of the grill and cover the food. Instead, just back away and let it die down. While flare-ups are dramatic, they happen quickly and generally die down just as quickly.
7. Understand hot spots
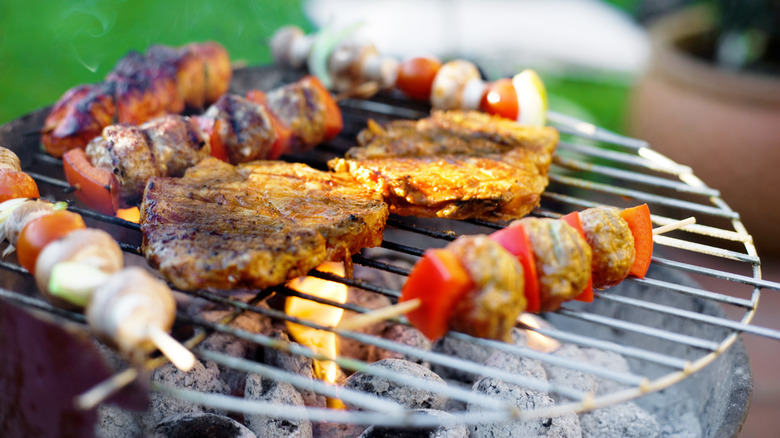
Creating hot spots on the grill is the key to cooking several different things at the same time. Some foods cook faster and others slower, so having a two-zone cooking surface with a side for direct and indirect heat ensures all of the food is cooked evenly. Making hot spots is easy: Just use tongs to move the charcoal to one side.
The direct heat is where you want to sear steaks and cook burgers, chicken, and even corn on the cob. Fast-cooking fish and seafood need indirect heat. Smaller foods that cook quickly, like vegetable kebabs, and larger chunks of meat, like beef brisket or pork shoulder, are best cooked low and slow on indirect heat, too.
If you are grilling hot dogs, bratwurst, or other meats with a casing, like sausages, they must be parboiled first and then cooked on indirect heat because the casings can shrink. If you skip the parboiling and throw them on the grill, the insides can ooze out of each end, ruining the perfectly shaped meat tube and drying out the inside.
8. Trade briquettes for lump charcoal
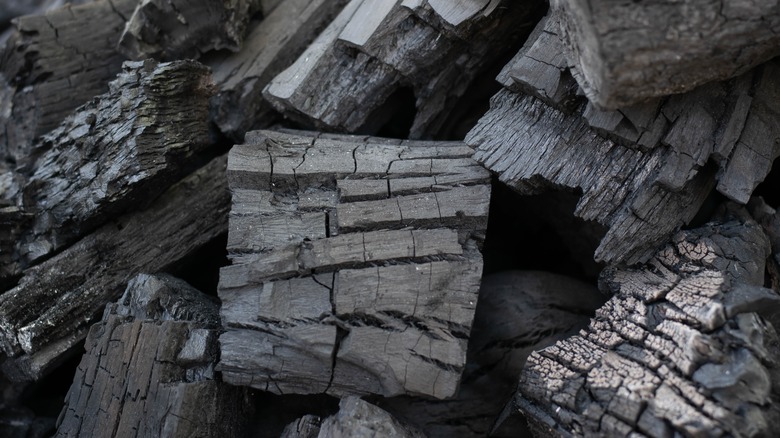
The most common type of charcoal are square briquettes, which are widely available and inexpensive. Classic briquettes are made from sawdust, wood scraps, and a binder, like cornstarch. Depending on the brand, there may be other things in the formula, like limestone, which turns the ash to white, making it easy to see when they are ready. You'll also find briquettes both with and without lighter fluid already on them, however, this might affect the flavor, so it's important to keep that in mind.
Another fuel option for your grill is lump charcoal. According to Parente, "Lump charcoal is the most natural form of charcoal. It burns hotter and gets less ashy than briquettes and imparts more of a smoky flavor." He goes on to say that, "While briquettes don't burn as hot, they do burn for along time, making them good for any slow cooking projects."
9. Try binchotan
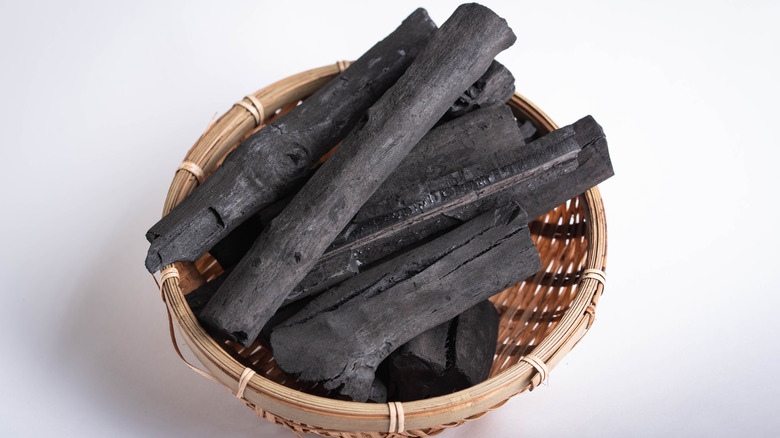
One lesser known option for fueling your grill is a Japanese-style charcoal called binchotan. This high-carbon charcoal has a long history in Japanese cooking and has been fueling cooking fires since the 17thcentury. It is made from oak that is slowly burned until carbonized and basically just looks like two black sticks. It is popular in high-end yakitori restaurants for its clean, smokeless burning, and more chefs are taking notice stateside. Barbecue expert Parente explains that binchotan, "burns hotter and gets less ashy than typical lump charcoal and briquettes. It burns really cleanly, so it doesn't impart any additional flavor on what you're grilling, letting the ingredients shine."
If you have never cooked with binchotan it is worth trying out and comparing it to briquettes and lump charcoal. It is widely available and can be found in most places with grilling supplies. The only downside to is the price tag, as it is typically more expensive than briquettes and lump charcoal.
10. Turn your charcoal grill into a smoker
A charcoal grill can do more than just grill; it can also be used as a smoker. The best way to do this is by using a disposable smoker box. These metal contraptions come in different shapes and sizes, but they generally have a solid bottom with a mesh top. They are inexpensive and can be reused, so if you like that smoky flavor but don't want to shell out for a fancy smoker, investing in a disposable smoker box is worth it. Simply fill it with flavored wood chunks and set it on the grill. Some grillers advise soaking the wood chunks in water beforehand because wet wood makes more smoke, but there is some debate about whether soaking is needed.
When the grill is ready, sear your meat on direct heat, then move it to the indirect heat side, cover it, and use the air vents to control the smoke. You should check the temperature while smoking so you can keep it near 230 to 250°F. If you don't have a smoker box, you can either add the wood to the hot coals, or use a disposable foil pan.
11. Always fully extinguish the grill
Many newbies to charcoal grilling think they can just throw water on the hot coals when the grilling session is over. This is a bad idea because the water can splash up, sending hot embers flying out and potentially starting a fire or burning anyone nearby. Not only that, but it can actually damage and crack the grill. According to Parente, "The safest way to extinguish a charcoal grill is to let time and oxygen do their thing." He explains that it's quite simple really and requires no water. "Put the lid on the frill, shut the vents, and close the damper. Oxygen is fuel for charcoal, so cutting off the air supply is your safest bet to extinguishing the grill."
If you are cooking on a public grill, then putting out the burning embers is a little different. Start by spreading out the coals so there is more surface area. Once there are no orange embers, lightly spray the grill with water from a spray bottle a little at a time or pour water in from the side of the grill. This is a slow process, so be patient while it cools. Many public spaces with grills require that all of the ash and leftover charcoal be removed, so check the rules where you are grilling and bring a metal bucket for easy disposal.
12. Experiment with flavored woods
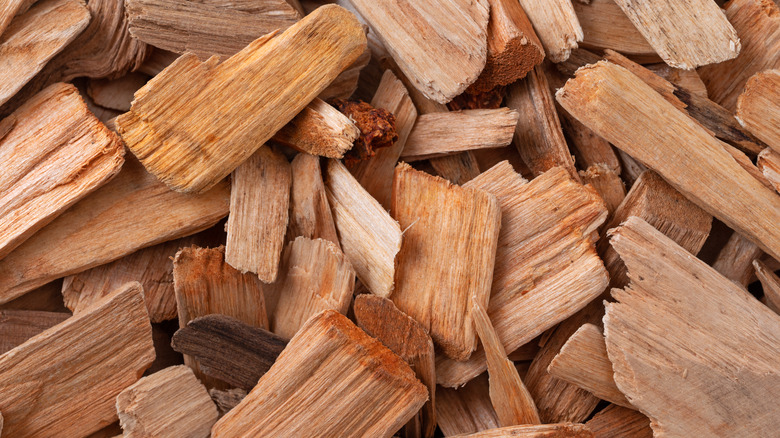
A fun way to amp up the charcoal grilling experience is to add flavored wood chips. Five popular flavors are hickory, apple, mesquite, cherry, and pecan, but there are many other choices too. Some grillers have a specific preference and only use one type of flavored wood, while others like to mix and match.
Hickory is a great choice because it adds a sweet smokiness to foods and works well with just about everything. For an even sweeter taste, try apple wood chips, which add a crisp flavor that complements chicken and vegetables; for heavier meats, try the bold, earthy flavors of mesquite, which is common in Texas-style barbecue. While cherry wood has a delicate aroma and pairs nicely with poultry and seafood. If you like a nutty taste, you can't beat the flavor of pecan wood.
Some regional barbecue styles prefer one wood over the other, but there are no hard rules for pairing flavored wood and foods. So get out there, fire up the grill, and experiment to find your favorite flavor combinations.
