Ina Garten's Trick To Prevent Key Lime Pie From Sticking To The Pan
There's nothing like a slice of classic key lime pie. With its tangy-sweet flavor, decadently creamy consistency, and buttery crust, the popular summertime dessert staple — whose fanfare has sparked regional debate regarding its exact origin — is a winner in every sense of the word. And while departures from the traditional crust using cookies, flaky dough, or even cornflakes are common, the consistently delicious graham cracker crust reigns supreme when it comes to complementing the pie filling's uniquely tart flavor profile and texture.
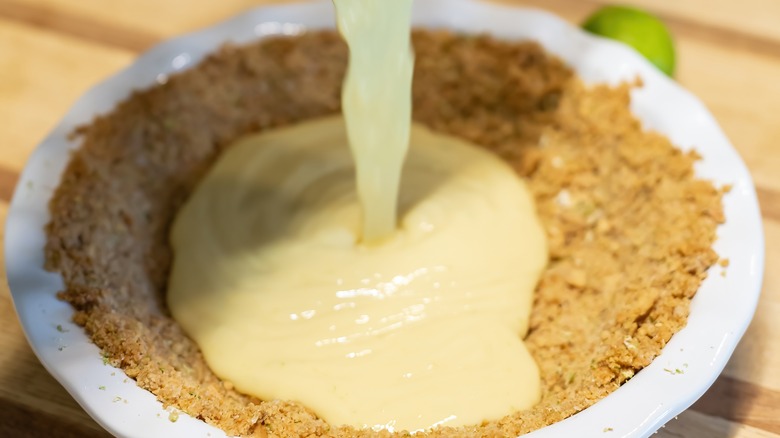
In fact, one of the only pitfalls of a buttery graham cracker crust is its susceptibility to becoming stuck to your pie pan, making it more difficult to slice. And while there's no such thing as a sad, unsalvageable piece of pie, an unintentionally deconstructed slice of key lime with its crust clinging to the pan comes pretty close. But don't worry, you can combat this with an easy tip from celebrity chef Ina Garten, who — in a Q&A on her website — shared her go-to method of preventing that inconvenient pitfall: Don't press down too hard when shaping your crust. Using a more gentle touch will ensure that your graham cracker crust adheres to your pie filling and not your pan.
Tips for making your graham cracker crust
A delicious graham cracker crust for key lime pie or any other graham cracker crust-based pie starts with butter — butter not only holds your crust together, but it lends a rich, decadent flavor to the entire pie. And while you can produce delectable results with any butter, consider using a high-quality salted butter for your pie crust. The salt will complement the buttery flavor of the crust and add an extra zing to your pie. If you only have unsalted butter, add about ¼ teaspoon salt to your crust recipe. Alternatively, for a toasty, caramelly flavor, brown your butter — just be sure to transfer it to another dish as soon as it's browned to ensure that it doesn't burn.
When you're ready to shape your crust, press your crumbs tightly into your pie pan, sides first, and don't skimp on the crust. You want a thick, even base for your filling, so go ahead and pack it in. Here's where Garten's tip comes in — it's important that you don't press down too firmly so your crust doesn't stick to your pan. Press down only enough for your shape to meld, and if you have a clean measuring cup on hand, feel free to use the bottom of it as Garten does, which will assist with shaping your crust gently without causing sticking. Thawing your pie out for 15 to 20 minutes before serving will allow that crust to loosen up a bit, too.
Other tips for an incredible, non-sticking graham cracker crust
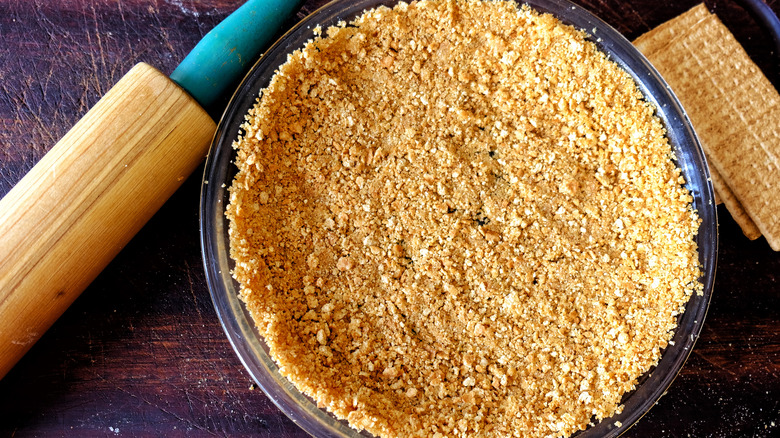
There are a variety of other ways you can ensure a perfectly textured — and non-sticking — graham cracker crust for your key lime pie, starting with making it as smooth as possible. For a smooth crust, you'll want to make sure to grind your crackers into fine crumbs. You can use a food processor or a blender, or your trusty rolling pin, but no matter what, you want to ensure that your crushed graham crackers have the consistency of sand (and thus, your final crust the consistency of wet sand). The finer you grind your crackers, the better the crust will stick together, and the less likely portions of it will stick to the bottom of your pan. And if you're planning to bake your crust, adding a bit of flour will help bind all your ingredients together. But be sure to let your crust cool completely before adding in your filling — otherwise, adding the filling too soon can cause your crust to become soggy and unpleasant.
Not yet ready to fill your pie? You can definitely prepare and bake your crust ahead of time and store for future pie-making. Simply cover your crust and refrigerate, and it will keep for about three days in the fridge or three months when frozen for a total tangy-sweet win.


