The Soaking Tip For Making A Restaurant-Worthy Blooming Onion
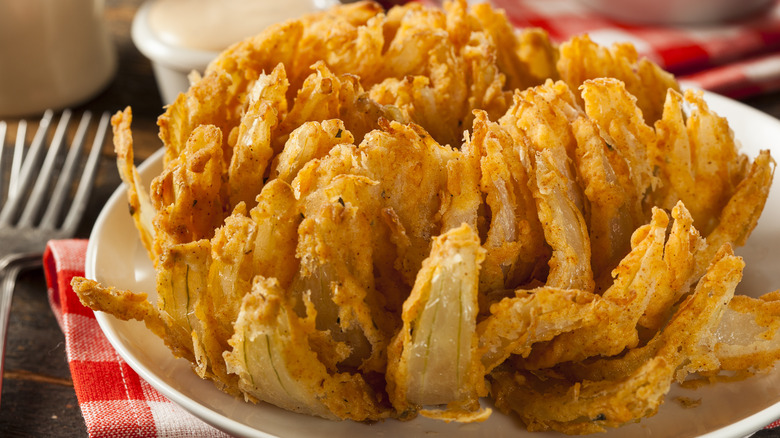
For many of us, dinner at Outback Steakhouse isn't complete without a tasty Bloomin' Onion, the crispy, mouthwatering appetizer named for its resemblance to a flower in mid-bloom. Whether you want to eat in and save money or enjoy cooking copycat foods, you can make your own restaurant-worthy blooming onion at home with very little effort.
That being said, you might hit a snag if you're making a blooming onion for the first time — namely, that your onion won't bloom how you expected after you slice it, ultimately resembling a bud more than a blossoming flower. So, what's the secret to getting your onion to bloom? It's actually pretty simple. All you have to do is to give it a nice long bath.
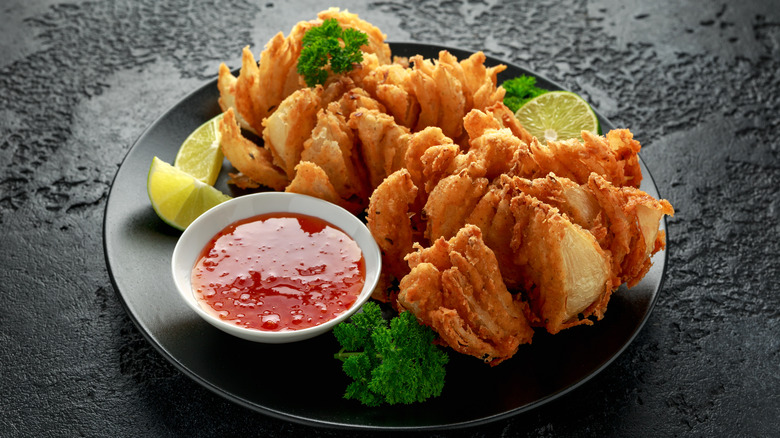
Soaking the onion (large, sweet Vidalias work best) in cold water after you cut it will help the petals separate naturally instead of trying to force them open, which runs the risk of pieces breaking off. With your onion properly bloomed, you'll be ready to batter and fry it to perfection — and when it's time to eat, friends and family can gather around the table to grab an onion slice like picking petals off a flower.
Give your onion a bath to help it bloom

Before you soak your onion in water, there's one step you need to complete: Peeling the skin and cutting it into a blooming onion shape while keeping the root intact so it won't fall apart when it's fried. You may not have Outback's ingenious device for cutting Bloomin' Onions, but a sharp knife and a steady hand will do just fine for your homemade appetizer.
After cutting the segments in the onion, you might be tempted to pull them apart, but instead, set the entire onion in a bowl of cold water for about an hour. The cold water bath helps the petals separate, creating an eye-catching onion in the perfect shape for frying and sharing with friends. You can even soak it overnight in cold water to reduce the potent flavor, in addition to helping it bloom.
When you take it out of the water, make sure to pat it completely dry with a towel or paper towel since a wet onion will be difficult to fry. With the onion strips nicely spread apart from the cold water bath, they'll be easier to coat with batter, creating a crispy crust on all sides when fried.
Other tips for a crispy blooming onion
Another helpful tip for making the tastiest, crunchiest homemade Outback Bloomin' Onion is to thickly coat your onion blossom with seasoned flour before deep frying it. A dry batter consisting of flour and spices like paprika, garlic powder, cayenne pepper, and thyme is perfect for recreating the flavorful breading that Outback's Bloomin' Onions are known for. The flour will need something to stick to, so you'll want to dunk it in an egg wash, milk, or even just plain water before coating it with your flour mixture.
No one wants to eat a blooming onion petal that's barely coated in crispy batter, so do your best to cover each petal thoroughly with your flour mixture and not just the outer layer. You can ensure your onion is well-coated in flour by dipping it in your egg wash, coating it with flour, and then repeating the process (commonly known as double dipping). While double-dipping your onion strips in sauce is generally frowned upon, it is recommended to double-dip your blooming-onion-to-be when applying the batter to ensure a super-crispy coating.
If you have leftovers, you can reheat a crispy blooming onion in the air fryer. While reheating it in the microwave will leave you with a soggy breaded onion, an air fryer will quickly crisp it back up.
Static Media owns and operates Daily Meal and Mashed.