14 Things You Should Be Making In Your Panini Press, Aside From The Obvious
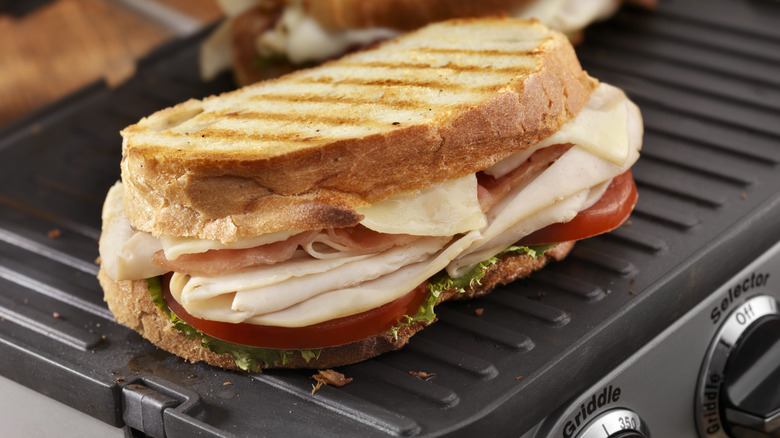
In a world where you're constantly told that you need to buy every new kitchen gadget under the sun, it can be hard to know which items are worth your precious countertop space. Trust us, though, when we say that a panini press is one of them. As registered dietitian Lauren Cadillac told Livestrong, "Panini presses are easy to use, incredibly versatile, require much less space and hassle than other cooking tools and are easy to clean." The constant contact from their two metal plates gives any sandwich a beautifully browned surface in mere minutes, and because they usually have a nonstick coating, there's no need for large amounts of oil or butter.
However, the main reason you should get a panini press (or dust off your old one) is because they can be used for far more than just sandwiches. In essence, a panini press is a griddle with another griddle above it, and this dual heating action allows you to cook a wide variety of items efficiently while developing way more flavor than if you were just using one cooking surface. From burgers to brownies, charred cheese to caramelized bananas, we're here to show you everything you can make in your panini press.
1. French toast
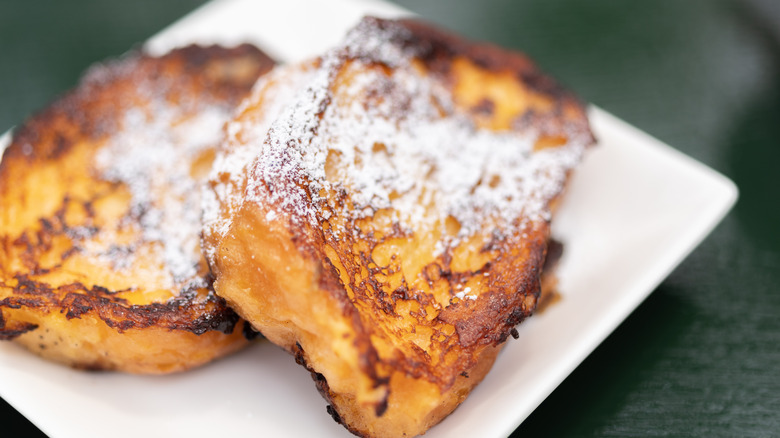
Traditionally, French toast is made in a frying pan. While there's nothing wrong with that, using just one hot surface can mean that unless you're paying careful attention when you're flipping your bread, things can end up pretty unevenly cooked. You can avoid this happening by using a panini press. All you have to do is prepare your French toast as you normally would, soaking your dried bread slices in the custard mixture, before loading them into your panini press and closing the lid.
If your panini press has ridges, this can create an instant visual appeal, giving your French toast scored brown ridges that are full of flavor. These ridges can also develop crispy edges, giving your French toast some interesting textural variety — and they're also excellent for holding any syrup or sauce that's poured over them. If you want to go all out, you can also make stuffed French toast using a panini press, with the filling becoming warm and gooey, and the press giving the meal more compactness. Just make sure you don't overdo the fillings, as the increased height of stuffed toast will mean it'll spread once pressed.
2. Omelets
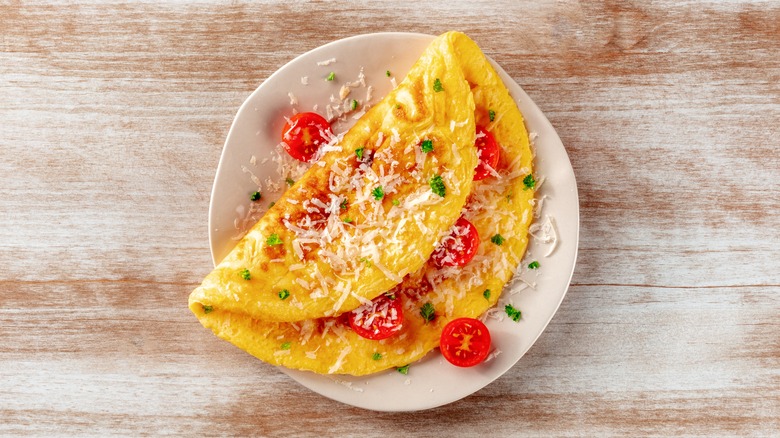
Making an omelet in anything other than an egg pan may seem like sacrilege, but once you've used your panini press to do it, you'll never look back. This method is used by none other than celebrity chef Alton Brown to make his omelets, together with some spinach leaves, and honestly, we get why. The dual-plate action you get with a panini press stops you from having to flip your eggs and risk them splitting and also helps the omelet cook way quicker.
You can also use your panini press to cook anything you want to stuff in your omelet, like bacon or grilled vegetables, and then pile them onto your omelet once the eggs are cooked. Just remember that this will only work for certain types of panini presses. If you have a model that has ridges in it, you may end up with an omelet that's inconsistent or annoyingly bumpy, or else spreads and runs too much. You should also make sure that your panini press is fully heated before you pour your eggs onto the surface. If it's still cool or warming up, your eggs won't set quickly enough, and will instead run and drip everywhere, quickly becoming uncontrollable.
3. Burger patties
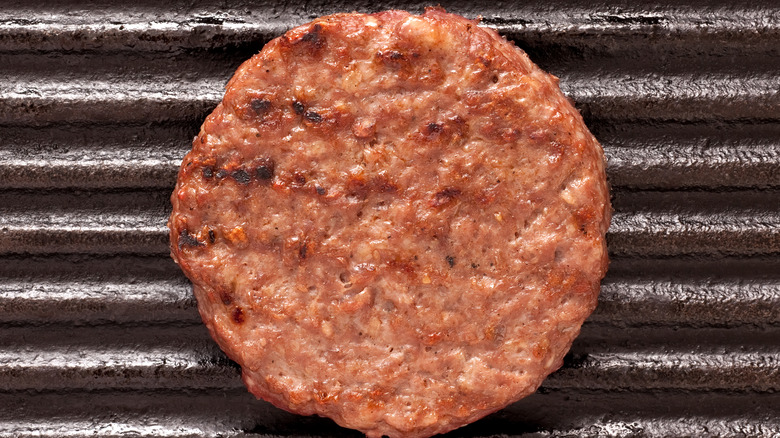
Cooking the perfect burger patty is easier said than done. Achieving a perfectly-brown crust all over and ensuring that it's not overcooked on one side can be difficult, especially if you get your timings wrong and allow it to cook on one side for too long. Using a panini press to cook your burger patties takes all the risk out of things, however. Burgers take just five minutes to cook in a panini press, with the heat from both sides browning them evenly.
Panini presses are especially good for smash burgers, as the even weight of the top grill presses the meat down with uniformity, while simultaneously crisping up its top side. They're also excellent for ensuring that your cheese, if you're using it, is properly melted. By placing your cheese slices on your burger patties and pulling the top grill down so it's hovering above the meat, the heat from the upper panel will help your cheese melt and bubble.
As a bonus, you can also use your panini press to toast your burger buns. Once your burgers are almost done, just place the buns next to them, allowing them to toast on one side for a minute before pulling them off and assembling your sandwich.
4. Fried eggs
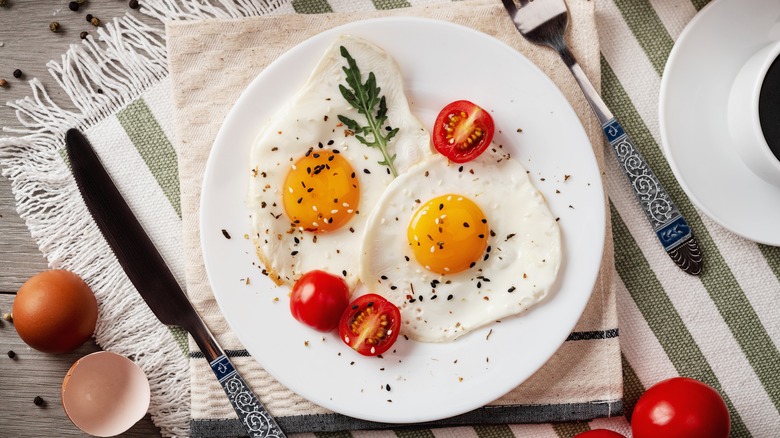
In some ways, a panini press is essentially a contraption that consists of two pre-heated frying pans that close in on each other. As such, most things that you normally make in a skillet can be made using this machine — including fried eggs. Flick your panini press to its highest setting and allow it to heat up. Then, if your press doesn't have a nonstick surface, add a little oil and spread it around using a spatula before cracking your eggs onto the lower panel. Your eggs should immediately begin to cook, and this should stop them from spreading across the press too much, but feel free to use your spatula to scoot them back into place if they begin to run away from the yolk.
One of the benefits of using a panini press to fry eggs is that it helps eliminate the need to flip them, and the risk of the egg yolk splitting. Instead, you can just close the top panel slightly, allowing it to sit lightly above the eggs without touching them. The heat will blast the top of the eggs and cook any runny parts, giving you a perfect over-easy effect without any hassle.
5. Hash browns
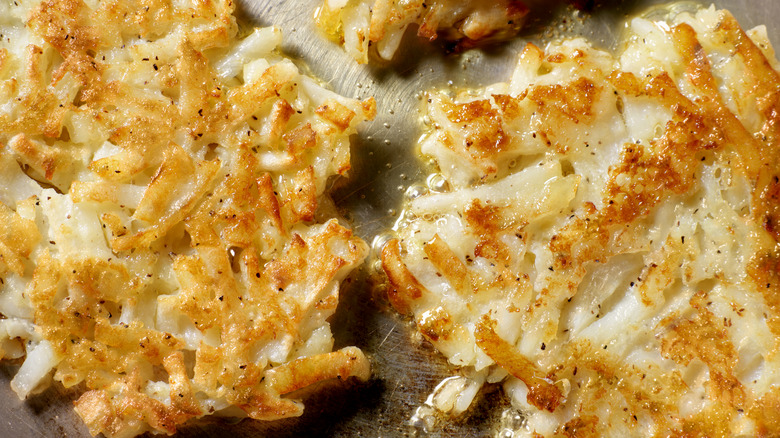
Making hash browns in a skillet can be utter chaos. One false move with your spatula and your perfectly formed patty of potato ribbons can fall apart or break in half. If you do manage to keep them together, there's always the risk that inconsistent flipping can leave you with one side that's undercooked, or conversely, one side that's burned and way too crispy.
A panini press, however, can eliminate all of these problems, and leave you with a gloriously flat, crunchy-yet-soft hash brown. Once your potato strands are soaked and seasoned, you just place them in your press in little mounds, push the panel down, and leave them for eight minutes. Making hash browns this way gives you total consistency across all of your portions, preventing some of them from being thicker, thinner, or crispier than others.
Although you can cook hash browns without any oil on a nonstick grill, it's still a good idea to spray the panels with a little fat. Because potatoes have an almost nonexistent fat content, doing this will help them stay juicy and crisp up nicely, browning instead of burning.
6. Shrimp skewers
Shrimp skewers are the ultimate summer food, and are best enjoyed hot off the grill, ideally with a beer in your hand while lounging on your back porch. When it's the middle of winter, though, this is a little harder to achieve — unless you fire up your panini press (okay, so your panini press may not immediately usher in summer weather, but you get what we mean).
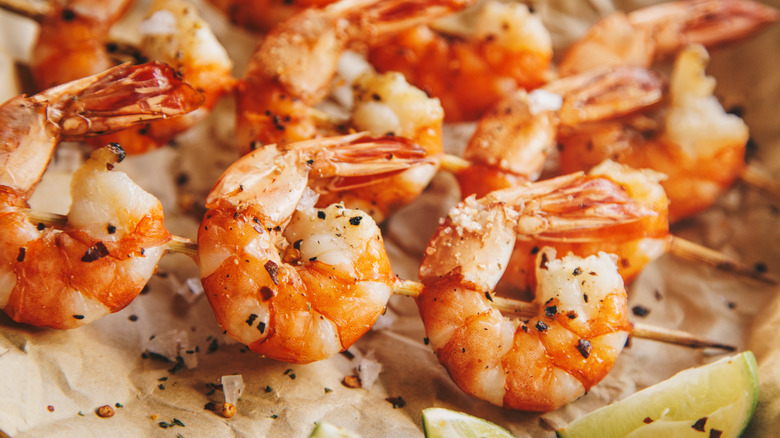
The beauty of making shrimp skewers on a panini press is it eliminates the need to flip them. Because shrimp cook so quickly, this is more of a bonus than you think. With a panini press, the shrimp brown quickly on each side, finishing them fast and preventing them from overcooking and turning rubbery, which can easily happen while you're waiting for them to char after turning them over. Cooking shrimp this way also means you don't have to fire up your entire grill, making it a real energy-saving move. Additionally, if your panini press has ridged plates, your shrimp will also be scored with delightful grill marks, giving them not just a visual flair but plenty of extra flavor.
7. Pancakes
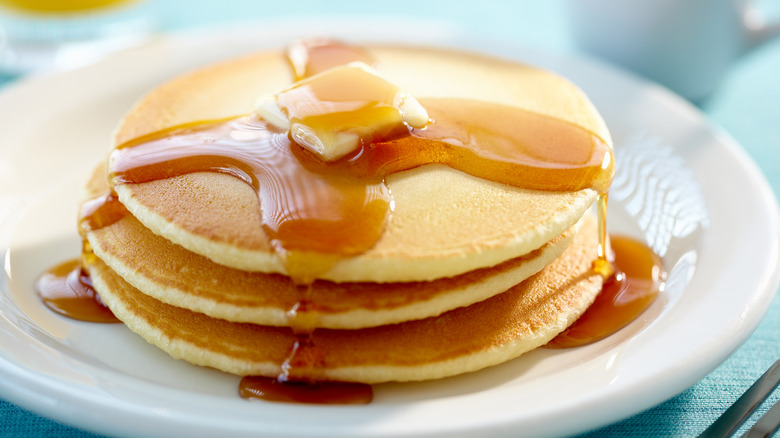
Pancakes are as easy to make in a panini press as they are on a skillet and require little more than flicking a switch. As long as your press has a flat surface, just fire it up and ladle on your pancake batter, and then cook them up as normal, using a little cooking spray to help them brown. Once they're done on their underside, flip them over and finish the job.
One of the benefits of using a panini press is that its elongated, flat shape allows you to make multiple pancakes at once, diner-style, without needing a griddle. This makes it a much quicker job than cooking them one by one in a skillet and helps you cook them to the same level of doneness. While it might be tempting to bring the top panel down to cook them even quicker, though, we would recommend avoiding this. Unless your panel comes down on a totally vertical plane, doing this can somewhat ruin the shape of your pancakes, changing them from circular to more egg-shaped. You also run the risk of them sticking to the top panel, causing them to fall apart when you open it back up.
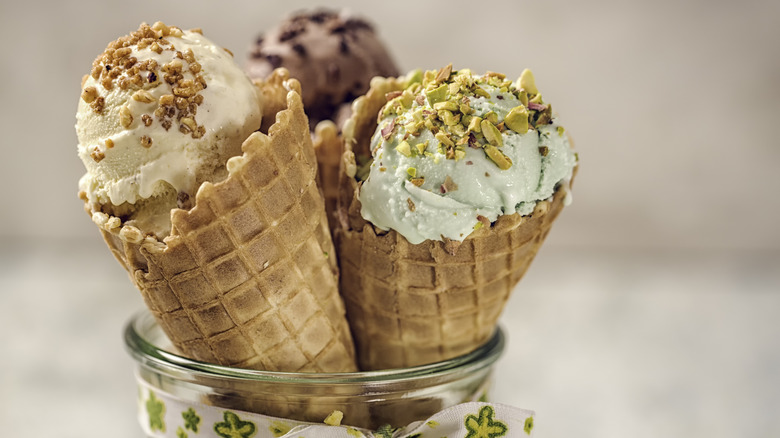
8. Ice cream cones
Making your own ice cream cones may seem like way too much effort, but if you have a panini press, it's a pretty simple job. You simply need to whip up a quick cone batter and plop a ball of it into your press. After pushing the top panel down and leaving it to cook for a minute, you'll end up with a flat, vaguely ovular shape, that you can then roll into a cone. As the cone cools, it'll firm up, giving you the perfect vessel for your ice cream.
The trick here is to work quickly: Your ice cream cone will cool faster than you think, and it's at its most pliable when still warm. If you leave it for too long, you may end up snapping the whole thing in half. Although you can make these using a flat panini press, using one with ridges is even better, as it gives your cone little pockets that catch your ice cream as it melts. One of our favorite things about using a panini press to make ice cream cones is it allows you to customize your cone to your specifications. Want one massive ice cream cone? Just add more batter. Fancy a flavored version? Sprinkle in some of your favorite dessert spices or add a dash of vanilla, almond, or even peppermint extract.
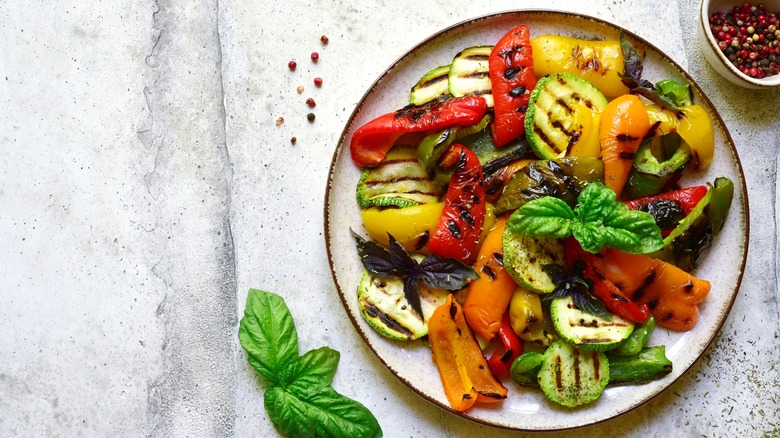
9. Grilled vegetables
Grilled vegetables are a summertime favorite, but if you want to make them quickly for a simple dinner, heating up the whole grill is a real chore. So use your panini press instead. Ridged panini presses are perfectly suited for delivering those charred grill marks everyone loves, and because they heat the vegetables from both sides, they cook them in half the time. If your panini press has a nonstick surface, it also makes clean-up super simple — just give it a quick wipe.
One of the tricks to nailing grilled vegetables in your panini press is making sure they're the right size. Because you're going to be pressing down on them, you'll want to make sure that they're sliced thinly enough to allow the lid to close, but not so thinly that they cook through too fast. You can, of course, use your panini press to cook chunkier vegetables like corn on the cob, and simply leave the lid open while doing so — just remember, though, that this won't be much quicker than using your grill. As vegetables are pretty much fat-free, make sure you add some oil to your marinade or coat your panini press, to stop them from burning and to give a richer flavor.
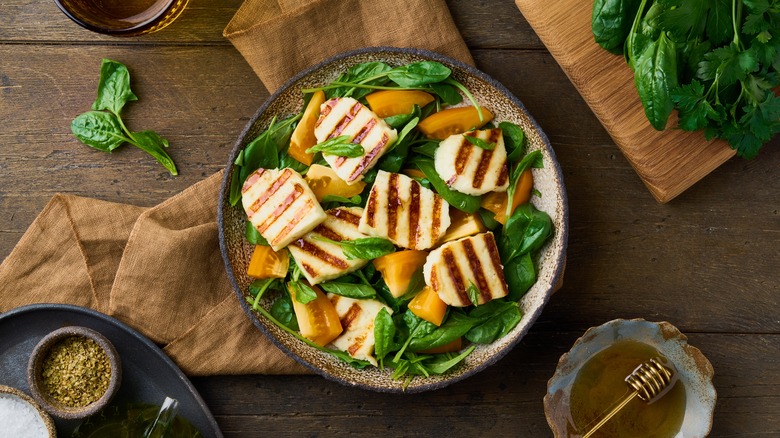
10. Fried halloumi
Few cheeses hold their shape when heated quite like halloumi, and while you can definitely enjoy this Cypriot cheese raw, it's even better warm. When fried or grilled, halloumi develops a deep-orange crust while softening on the inside, with its flavor turning from sharp and bright to mellow, savory, and infinitely moreish. To cook it speedily, your panini press is your best friend — and thanks to the cheese's high fat levels, you don't even need to add any oil before throwing it on.
The key to cooking halloumi in a panini press is to slice it slightly thicker than you think. The weight of the top of the press will squash the cheese slightly, which doesn't occur when you're grilling or frying it, so slicing it thickly will allow it to keep its plumpness. You should also leave any additional flavorings, like herbs, chili, or honey, off the cheese until it's finished cooking. While the cheese can take the heat of the press, these items may not be as equipped to, and if you're not careful you'll end up burning them and ruining your halloumi.
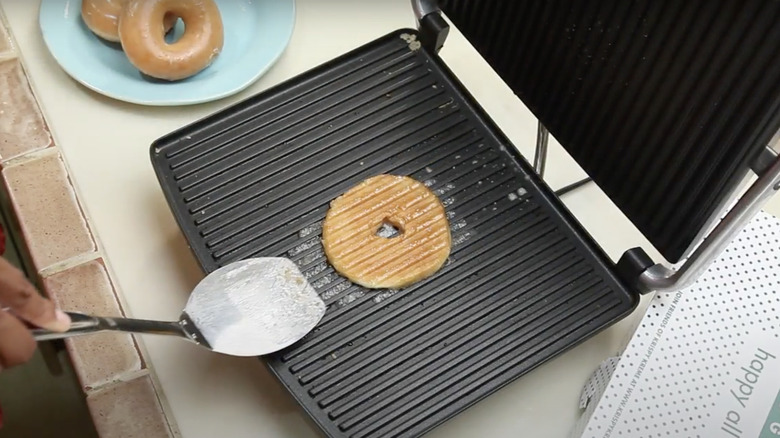
11. Grilled donuts
You might not think there's any reason to cook donuts once you get them home. After all, they've already been fried to perfection, so why mess with them further? Because it can make them even more delicious, that's why. Placing a glazed donut in a panini press to "grill" it can cause the sugar on its surface to brown and caramelize, giving it a deeper flavor and a crispier exterior, and turning chunky, sometimes unwieldy pieces of dough into something flat and easy to handle.
Using simple glazed donuts to do this, like Krispy Kremes, is usually the best way forward. Stuffed or filled donuts are at risk of spitting out their filling all over your panini press when you flatten them, creating a messy clean-up job and a lot of burnt sugar. If you have a nonstick press, there's no need to add any oil or butter: Just place your donut directly onto the hot surface. For the ultimate decadent treat, you can also make yourself a Krispy Kreme panini. Place a donut on the bottom panel, and add your favorite fillings on top, followed by another donut to crown it. Pull the top panel down, cook it for a few minutes, and enjoy the most indulgent sandwich you've ever had.
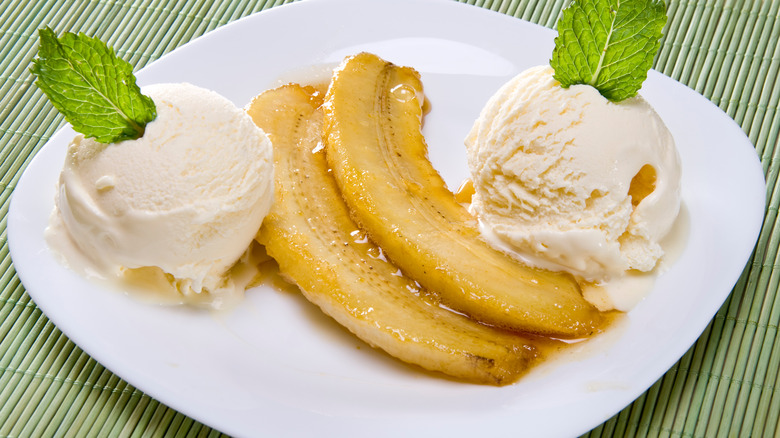
12. Caramelized bananas
There's nothing quite like a caramelized banana. By cooking this unassuming fruit, you can unleash its natural sugars and intensify its flavor, giving your mid-morning snack a whole new lease of life. With a panini press, caramelizing bananas is a breeze. You just have to halve your bananas lengthways and pop them onto the press after brushing them gently with butter (which will help them develop an even richer taste, as well as a deeper color). Then, shut the press and allow them to sizzle away for a few minutes, until they develop grill marks.
You'll want to be cautious with how much you push your panini press down. Closing it too much will flatten your bananas, and combined with the softening effect of the heat, this will leave you with banana pudding. It's also useful to try and slice them evenly, and not make one side too thin, which will cause it to cook too quickly. Once you've caramelized your bananas, you can simply enjoy them straight off the grill, or use them as an ingredient. Try making a sweet panini using caramelized bananas, peanut butter, and jelly, simply wiping your grill clean before assembling and cooking your sandwich.
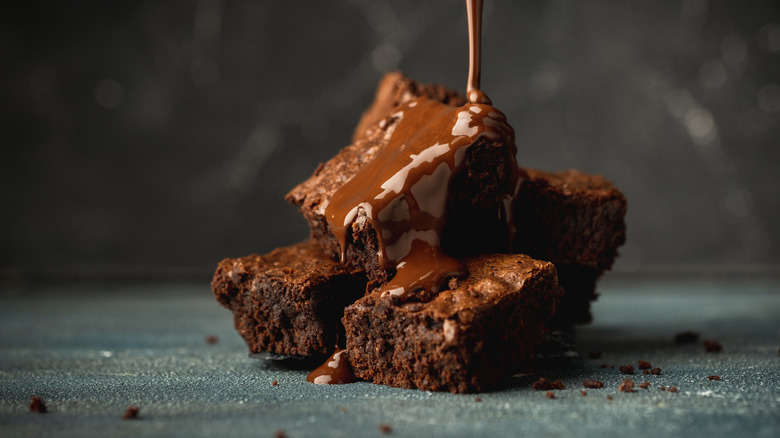
13. Brownies
Brownies? In a panini press? Yep. It's a thing, folks — and they come out way better than you probably think. Cooking brownies in a panini press requires a little more than just throwing the batter in and closing the lid (although you can do that too), but the results are near-identical to what you'd get from your oven. It's a great move if your oven is out of action, if you don't have access to one, or if you simply want to get more use out of your appliance.
To make panini press brownies, start by whipping up your standard brownie batter and then place it into a round or square cake pan that can fit in your press. Then, you just have to place your pan into your machine, setting it to medium-high heat and closing the lid down as far as it will go until it rests flat on the top of the pan. Allow it to cook for 20 minutes. This essentially bakes the brownies using heat from both the top and the bottom, cooking it evenly on each side while keeping it gooey and soft in the middle.
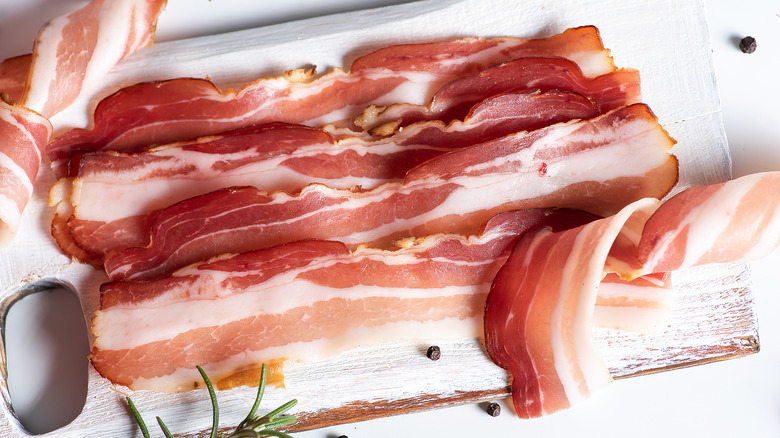
14. Bacon
If you're bored of using your skillet to fry bacon, flick the switch on your panini press. It may sound gimmicky, but cooking bacon in a panini press delivers a few key advantages over frying it on the stove. Because your top panel is pressing down on the bacon, it stops the meat from shriveling up, instead providing you with a satisfyingly flat result. It also stops the fat from flying everywhere, cutting down on mess and clean-up, and the consistent heat ensures that every piece is cooked evenly.
Cooking bacon in a panini press is also a delightfully hands-off way to prepare the meat, allowing you to focus on any other tasks. Make sure you're using fairly thick-cut bacon when using your panini press to cook it, so that it holds its shape and thickness, even when being flattened. If you only have thinner slices, don't close your press fully, instead allowing it to hover just above them, so that they benefit from the heat but don't get crushed. If your panini press has a tilt function too, make sure to set it at enough of an angle so that the fat from the bacon drains off, which will help it get even crisper.
