12 Common Mistakes People Make With Homemade Granola Bars
Granola bars are an excellent on-the-go snack, but many store-bought granola bars are unhealthy and expensive. They're often filled with sugar and empty calories, and don't have enough fiber or protein to be a satisfying snack. Plus, regularly buying them really adds up. If you love granola bars, it makes sense for your waistline and wallet to start making your own.
When you make granola bars at home, you can customize the ingredients and make them exactly how you and your family like them. You can prepare your bars gluten-free, dairy-free, or keto-friendly, or add more of your favorite goodies and leave out the ones you don't like. The truth is, making granola bars at home is cheaper, healthier, and, most importantly, tastier. It may seem like more trouble than it's worth, but that's not the case; you can easily whip up a batch of your favorite style of bars and keep your pantry stocked.
Before you get out the mixing bowl, though, there are a few tips you'll need when making granola bars. The process is simple, and with this helpful advice, you can learn from the mistakes of other home chefs so your bars turn out great every time.
1. Starting without a plan
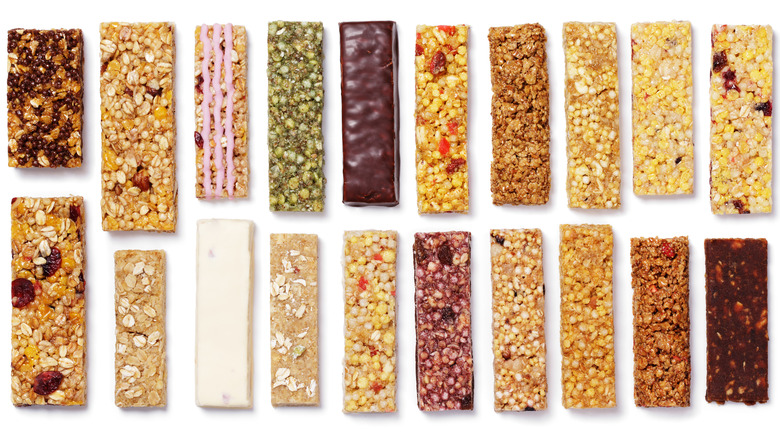
Are you making granola bars for a healthy post-workout snack? Or an easy on-the-go meal replacement? Or are you making them for a healthy treat? Or do you prefer a dessert-style granola bar? Before you head to the store to get your ingredients, you need to think about what type of granola bars you want to make. There are many different styles of granola bars. Some lean healthy, while others lean more into snack territory, and others are borderline protein bars. Starting with a plan helps make your granola bars exactly how you want them.
To make a healthy granola bar, add fiber-rich ingredients like oats or mix in protein-rich nut butter. Or get an extra dose of omega-3s with nuts and seeds. But if you want your granola bar to satisfy a sweet tooth, look for chocolate chips, raisins, or dried fruit for a sweet bite. Some granola bars even have berry frosting, making them more decadent. Whichever way you choose to make your granola bars, starting with a plan will save you time and money.
2. Not knowing your oats
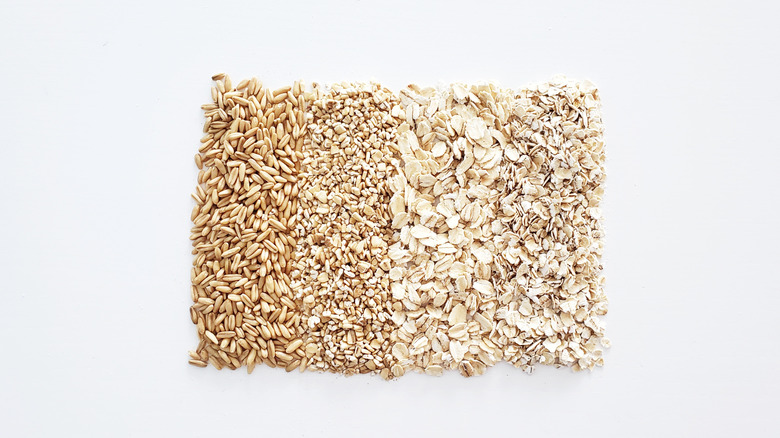
Oats are often the base of granola bars, and it pays to know your oats so you can choose the right ones for your homemade bars. Rolled oats are the most common type of oats and the ones that most people associate with classic breakfast oatmeal. Using rolled oats for granola bars will give them a chewy texture. Instant oats and quick oats are types of rolled oats that look almost identical to rolled oats, but they have a shorter cooking time. They're more processed and have a softer texture than rolled oats. Steel-cut oats are oats that have been cut into smaller pieces. They have a chewy texture and slightly nutty flavor, and make a denser granola bar. The type of oats you use will be key to the texture of your granola bars. Luckily, you don't have to choose just one. You can use a mix to vary the texture.
Oat bran is another option to add to homemade granola bars. Oat bran is the chewy outer part of the oat and is rich in fiber. Adding a little to homemade granola bars gives them a boost of fiber, but oat bran should be used with other types of oats because, on its own, it will leave your granola bars with a poor texture.
3. Overdoing one ingredient
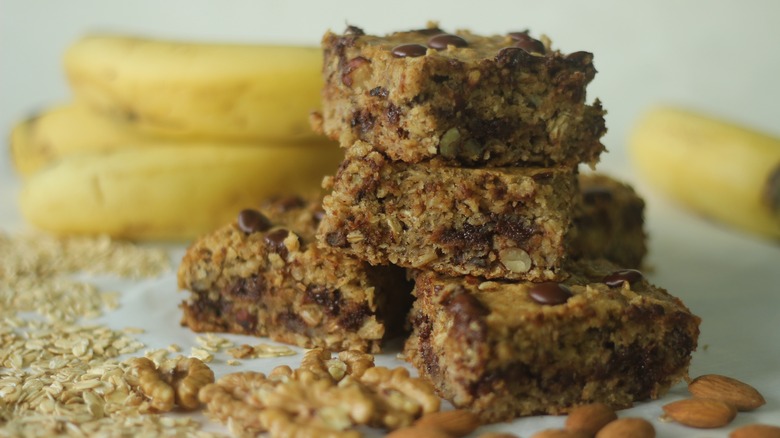
One common mistake with homemade granola bars is adding too much of one ingredient, making the finished bars lack balance. If you overdo it on oats, you'll just have a bar if oatmeal, while too much puffed rice will give you a fancy rice krispie treat. Too much chocolate, meanwhile, and you'll end up with a homemade candy bar. Ideally, you should balance taste and texture with your choice of ingredients. Homemade granola bars taste best with a chewy texture and a mix of crunchy and sweet bits. Finding the right balance of oats, nuts, dried fruit, chocolate chips, and seeds may take some trial and error to find the best balance for your taste buds.
When putting together homemade granola bars, think about taste and texture equally. Make sure to have a sweet component and crunchy contrast. Granola bars should be a satisfying treat, and a good mix of ingredients ensures they'll turn out great.
4. Adding too much moisture
Granola bars are different than their cousin granola. Making homemade granola is more forgiving because the ingredients don't have to stick together in a bar form, so you can use wet and dry ingredients equally without an issue. But homemade granola bars should be in bar form. Adding too many wet ingredients can turn them into mush, and the bars won't hold their shape. The biggest culprits that add too much moisture are fresh berries, apple sauce, mashed banana, and melted chocolate, especially white chocolate which is mostly cocoa butter. Be mindful when using wet ingredients, so the bars will hold their shape.
Sweetened dried coconut is a common granola bar ingredient that can contain a surprising amount of moisture. If you want the texture of coconut, opt for unsweetened shredded coconut. The sugar in the sweetened kind melts and can be a sneaky reason why your bars fall apart. If your granola bars do fail to hold together, you don't have to throw the whole batch away. Just pivot and make homemade granola instead.
5. Skipping the texture
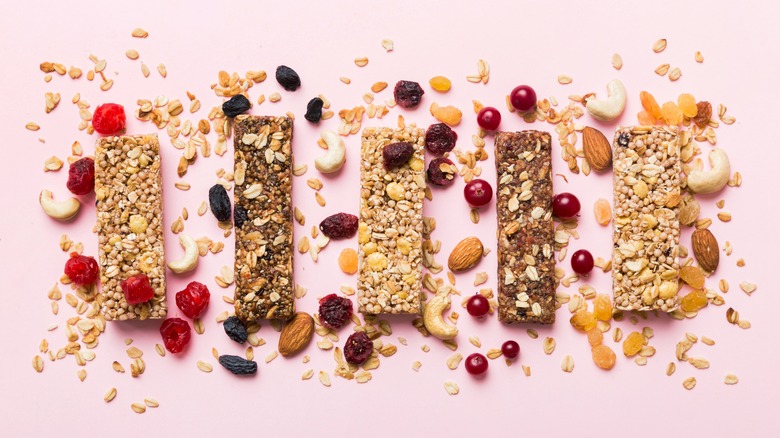
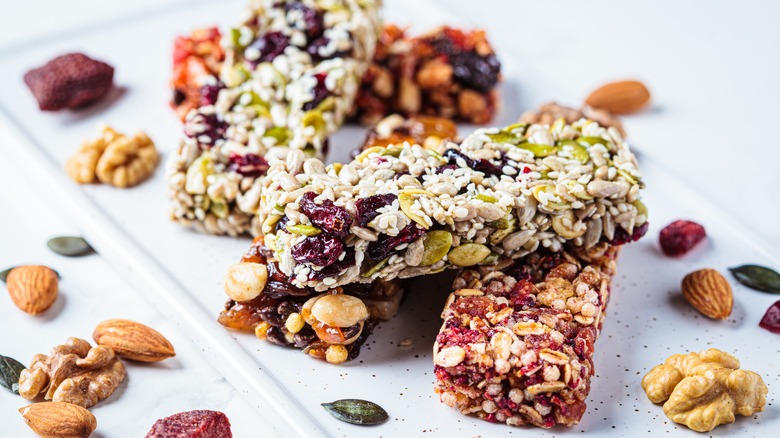
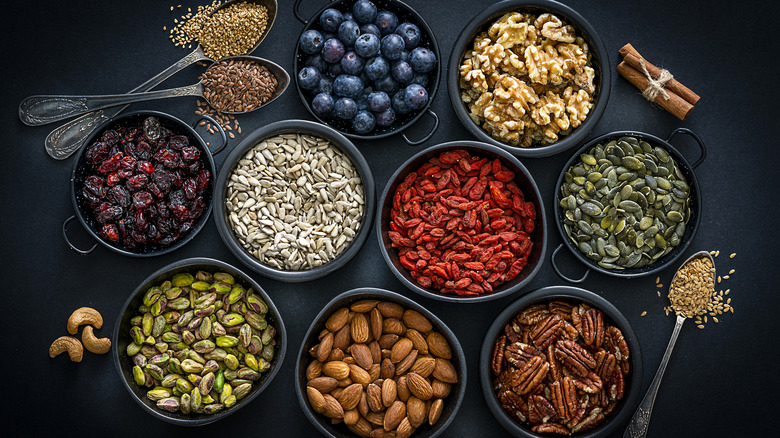
When it comes to granola bars, texture is just as important as taste. A mix of chewy and crunchy can make a granola bar more satiating because it feels like you're eating more than you actually are. Nuts like pistachios, walnuts, almonds, and cashews add great texture. Seeds like chia, sunflower, sesame, and pumpkin add another layer of texture, while dried fruits like raisins, cherries, and cranberries have a chewiness that contrasts with harder nuts and seeds.
Nuts and seeds can be expensive, but buying them from bulk bins can help lower the cost. Some types are available roasted or salted, so keep that in mind when buying. Dried fruit is also available in bulk bins, but this is just as easy to make at home. If you have a dehydrator, that's the best way. Otherwise, you can still dry fruit at home with your oven — the key is to go low and slow. Set the oven between 150 and 200 degrees Fahrenheit, lay the cut pieces of fruit on a baking sheet so they aren't touching, and bake for several hours to get them completely dehydrated. For more flavor, add a sprinkle of cinnamon or sugar before the dehydrating process for an extra boost.
6. Making them too sticky
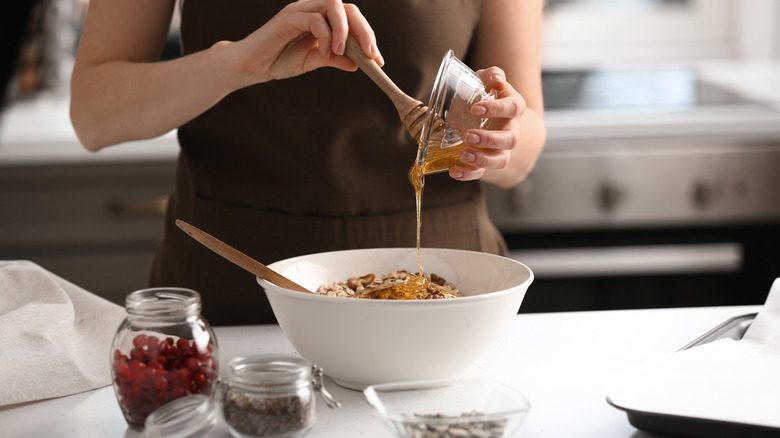
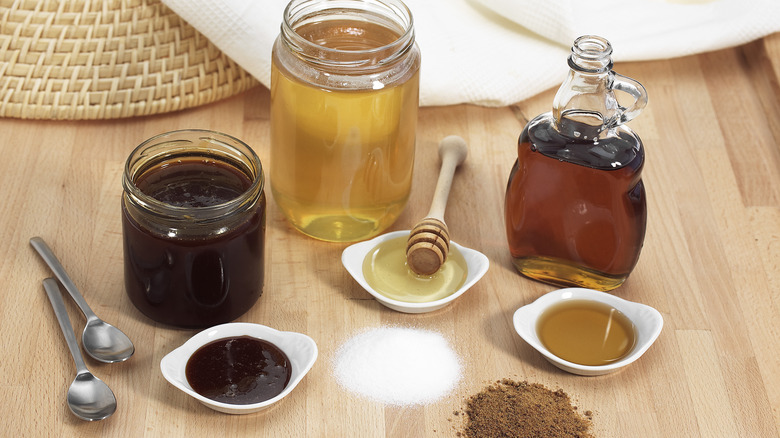
Homemade granola bars need a sticky component to hold all the goodies together, but if you add too much, the binder can make your bars too sticky. And nobody wants their healthy on-the-go snack, leaving them with sticky fingers. The most commonly used binders for granola bars are honey, agave syrup, nut butter, molasses, maple syrup, and brown rice syrup, and they all work well, but make sure to follow the recipe to avoid adding too much. If you're creating your own recipe, then add the sticky component in parts because you can always add more, but once it's in, you can't take it out.
Another great non-sticky choice of binder is to use egg whites — these are just sticky enough to hold everything together, while also giving you the bonus of extra protein in each bar. However, if you're using a no-bake granola bar recipe, egg whites are not going to work, as they need to be cooked to properly bind.
7. Skipping creative ingredients
Part of the fun of making homemade granola bars is to get creative with your ingredients. There are more to granola bars than most common ingredients like oats, honey, raisins, and chocolate chips. Try mixing in pumpkin purée, pomegranate molasses, and sorghum syrup. Alternatively, you could purée fresh dates into the mix, try adding in butterscotch chips instead of chocolate chips, or go for the more natural cacao nibs or ground cacao powder. Skip the stale sunflower seeds and get hemp, amaranth, or flax seeds. Instead of raisins or their sweeter counterparts, use craisins, dried pineapple, or mango for a tropical spin on granola bars. Broken pieces of dried banana chips add a crunchy texture, and candied ginger or freshly grated ginger adds a little zing.
Trying new things and swapping typical granola bar ingredients for their lesser-used counterparts can give your granola bars a unique taste and texture. They'll also ensure you won't get bored with your healthy snack.
8. Adding too much or not enough sweetener
Getting the measurements wrong and adding too much or not enough sweetener can easily turn your tasty granola bars into a mess. If you make them too sweet, they can be nauseating, but not sweet enough isn't ideal either. The exact sweetness will vary depending on your own taste, but it's something to keep in mind when making homemade granola bars because it's easy to accidentally add too many sweet ingredients.
One way to manage the sweetness level is to use binders that aren't too sweet, like brown rice syrup, barley malt syrup, or agave syrup. Peanut butter and other nut butter can add a surprising amount of sweetness, but opting for natural versions can help avoid things becoming sickly. Dark chocolate chips or cacao nibs aren't as sweet as milk chocolate or semi-sweet chocolate chips, and using naturally dried fruit bits with no added sugar can also keep your finished granola bars from being too sweet.
9. Forgetting to add salt
It may seem counterintuitive to add salt to granola bars, but it's an important component. Adding salt to dishes that lean sweet, like granola bars, actually brings out the flavor. The salt isn't overpowering and won't turn your slightly sweet granola bars into a salt bomb; what it will do is enhance the sweetness.
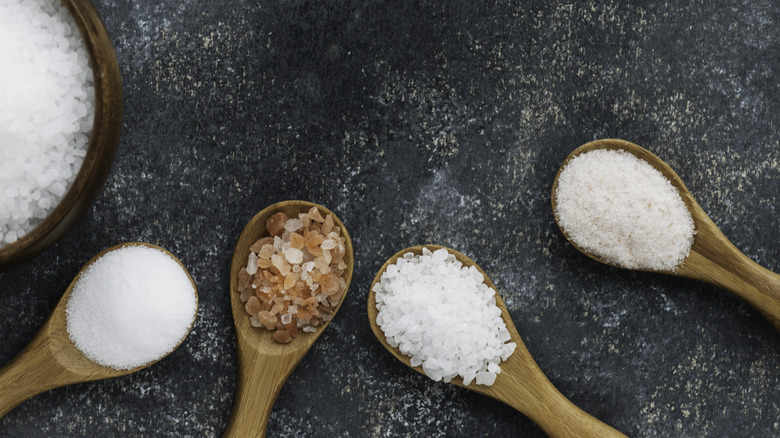
There are many different types of salt, and some bakers prefer to use table salt because it dissolves easily and packs a lot of flavor into a small amount. Salts with larger grains, like sea salt and kosher salt, are challenging to use in baking because they don't easily provide a uniform flavor. In the case of sea salt, the salinity is uneven, and your granola bars can come out with overly salty spots. With kosher salt, the granules are larger and denser, which will affect not only the taste of the granola bars but their texture, too. If you're following a recipe for your granola bars, use the type of salt that the recipe specifies, as you shouldn't substitute one type of salt for another, especially when adding it to sweet foods. But if you're mixing and matching ingredients and creating your own granola bars, reach for simple table salt for a pinch of flavor-enhancing goodness.
10. Undercooking the granola bars
A crumbly texture is fine for breakfast granola but not so much for granola bars. If you're baking your granola bars, you should follow the exact instructions and bake for the specified time to ensure that your granola bars keep their shape. One common mistake with homemade granola bars is undercooking them so the ingredients just fall apart, or overcooking them so they turn hard and crumbly. When the bars are baked for the right amount of time, the heat helps bind them together to keep their shape. So set a timer and adjust your oven temperature carefully to avoid any baking mistakes.
Some granola bar recipes are no-bake. These usually require some time in the refrigerator for the ingredients to come together, and the cold temperature helps the binder work at keeping the desired shape. Avoid trying to speed up the process by putting the bars in the freezer.
11. Not using a mold
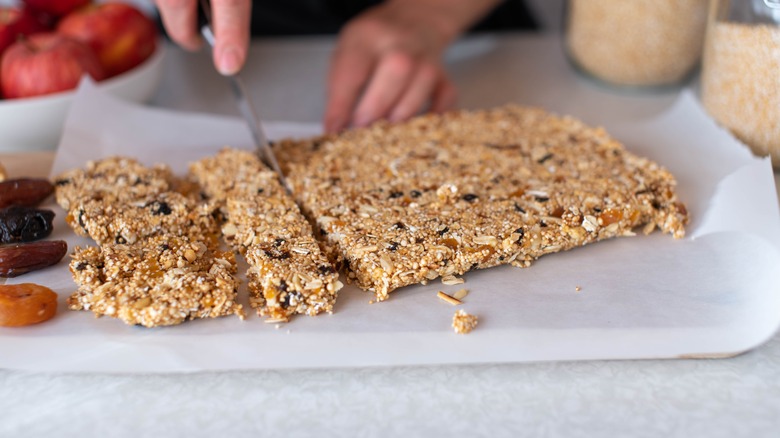
Silicone bar molds are a good investment if you regularly make granola bars. These molds are oven- and freezer-safe, so that you can use them in bake and no-bake granola bars, and they can make getting the classic bar shape easy, while helping hold the ingredients together. Without a mold, homemade granola bars are usually made into one big square or rectangle on the baking sheet and then cut after being baked or chilled. The cutting process makes a lot of crumbs and, inevitably, some of the bars break apart. However, the bars form a perfect shape with a silicone mold, and there are no crumbs from the cutting process.
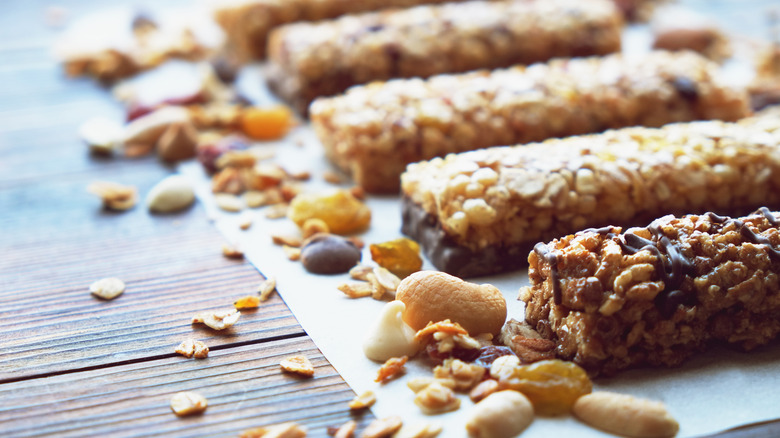
If you want to make your granola bar more than eye-catching, try pouring a thin layer of melted chocolate on the bottom of the mold, then add the granola to the base. The chocolate layer adds a great taste and also holds the bar together; plus, it looks like a fancy store-bought bar. For no-bake bars, you can add a layer of yogurt and layer the bar on top, and when they are chilled, the bar looks like it has been dipped in yogurt.
12. Improperly storing
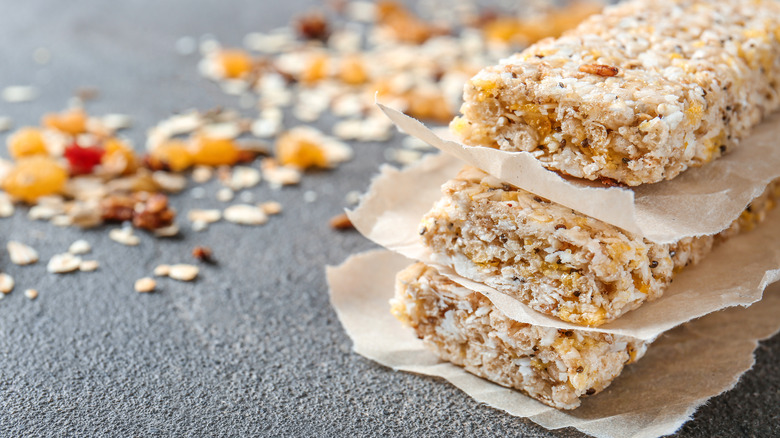
Once you've made a batch of homemade granola bars, you need to store them correctly so they will last. Start by using a piece of wax or parchment paper to separate the bars. You can wrap them entirely in parchment or just add a single layer so they don't stick together. Avoid storing them in a resealable plastic container; instead, store them in an airtight glass jar. The bars will last for one week on the counter and two weeks in the refrigerator.
Homemade granola bars freeze well too. When you make a big batch of bars, leave some out to use and freeze the rest. The best way to freeze them is to lay them on a baking sheet in a single layer. Once frozen, put them into an airtight freezer bag. They will keep in the freezer for several weeks. They don't need long to thaw. Just take one or two out an hour or so before you want to eat.
