All You Need Is Melted Candy For Beautiful Edible Stained Glass
There are tons of ways to dress up sugar cookies, whether that's using some tasty and colorful royal icing on them or dousing them in a hearty shower of sprinkles. But, besides these more traditional ways of decorating your desserts, you can also turn your sugar cookies into colorful creations by adding an edible stained glass center.
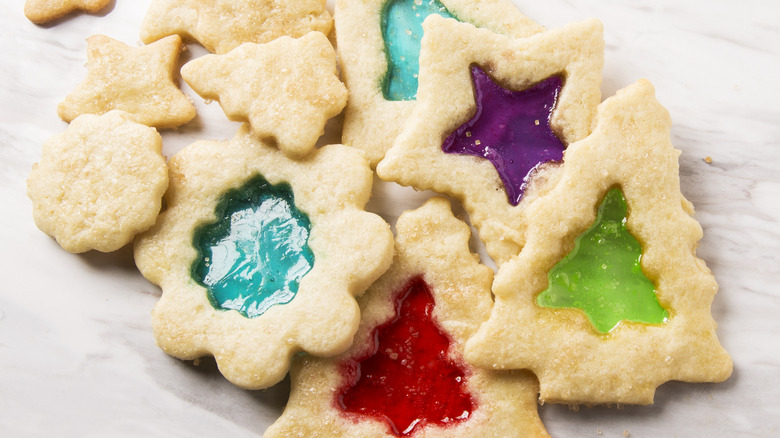
Stained glass cookies are made by adding crushed-up candies to the hollowed-out center of cookie shapes. When you bake the treats, the candies melt together and form a smooth, hard, colorful center that resembles stained glass. They also give your cookies unique tasting notes, thanks to the flavors of the sweets you used in the center. Plus, they add a crunch to your cookie, changing the texture and giving you a new eating experience.
To get started making these cookies, there are a few things to keep in mind about selecting your candies and choosing your cookie dough. Plus, there are some things to know about the methodology to ensure you get perfectly baked, mess-free treats with great flavor.
Choose the right candies for your cookie dough
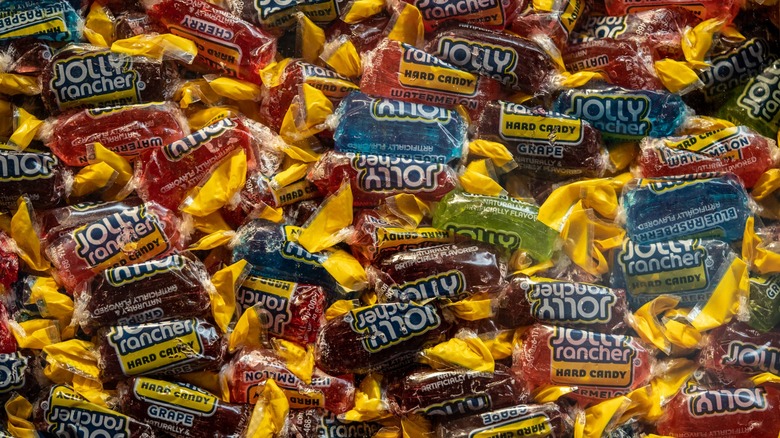
When making edible stained glass cookies, the candy you choose matters. For the trick to work, you're going to need to use hard candies — preferably ones that are at least slightly translucent — to give them the appearance of glass. Opaque hard candies can still work, but they won't have that same see-through look. A couple of candies that can work are Jolly Ranchers or lollipops. You could also use candy canes, but these are going to give you that opaque look instead.
As you choose your candies, think about what kind of cookie base you'll be using them with as well. You could make basic vanilla cookies with a fruity stained glass center, for instance, or you could go with a seasonal theme, and pair a gingerbread cookie dough with hard ginger candies. You could also play around with spiced recipes like cinnamon sugar cookies. The choice is yours, but remember to choose candy flavors that will complement your cookie dough.
Putting your cookies together
Armed with your candies and your cookie dough base, it's time to get to work putting everything together. In terms of the base, roll out the cookie dough and cut it into shapes. Then, using a smaller cutter, cut out the center of the cookie. You can use ring cutters for simple designs or can go for more exotic shapes such as snowflakes or hearts. If you don't have a smaller cookie cutter for removing the center, you can use a knife to cut it out as well. Don't throw away the centers! You can bake these into miniature cookies, perfect for when you just want a small, quick dose of sugar.
Then, lay the cookies out on either parchment paper or a silicon baking mat. This step is extra important because if you make these cookies directly on your baking sheet, the melted candy in the middle will stick to the pan, making it hard to remove your cookies.
With the centers cut out, it's time to crush up your candies and sprinkle them into the now hollowed-out center of your cookies. Make sure to spread the candies out evenly and avoid getting them onto the cookie itself, which can lead to a messy look once they're baked. The more evenly they're spread, the better they'll melt together and make a smooth center. Then, all that's left is to bake your cookies, bite into them, and enjoy this extra-decorated dessert!


