14 Mistakes Everyone Makes With Homemade Pretzels
There's nothing quite like biting into a freshly baked pretzel and dipping it in your favorite sauce. Giant pretzels are often considered a delicacy since people usually enjoy them at places like fairs, amusement parks, or even movie theaters. But sometimes, it's fun to take on a new baking project and recreate them in the comfort of your own home. Nevertheless, this baked good is a type of yeast bread, so it requires detailed processes to turn out right.
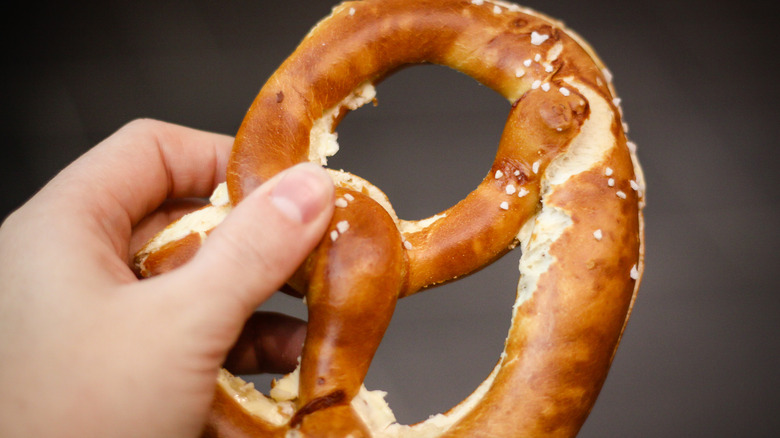
For instance, it's important to avoid over-kneading the dough. You also mustn't bake it at the wrong temperature. These are just two examples of the many mistakes people make. The good news is that making pretzels isn't as difficult as you think. As long as you find the balance between avoiding certain errors and following a few tips, you'll be better equipped for your baking adventure. Stick around, and you'll learn how to make gorgeous mahogany-colored pretzels that are both soft and flavorful.
1. Not using bread flour
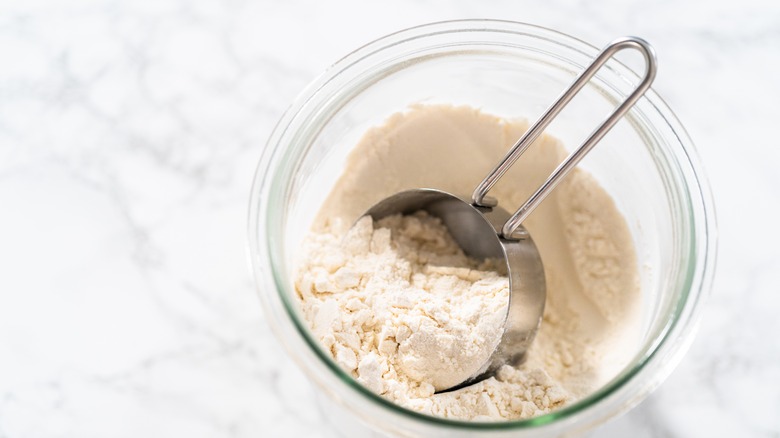
It is best to make pretzel dough with bread flour for texture and structural reasons. You might be disappointed with the result of using AP (all-purpose) flour or other types of flour. Not only does bread flour promote rising, but it also makes the crumb the perfect level of chewy. The reason for this is the protein content, as bread flour has a higher percentage than any other type (around 12 to 15%, to be exact). Think of it this way: More gluten can form with more protein, making the crumb more stable.
People often stick to AP flour since it is typically cheaper, and they already have it on hand. But because it has as little as 8% protein, the pretzel dough lacks structure, so they don't retain shape when they bake — they end up looking droopy. Even if your recipe doesn't call for bread flour, you can still use it instead of AP flour. It is an easy swap since you don't need to adjust ratios; use the same amount as you would, and the pretzels will significantly benefit from it.
2. Being unfamiliar with the yeast you're using
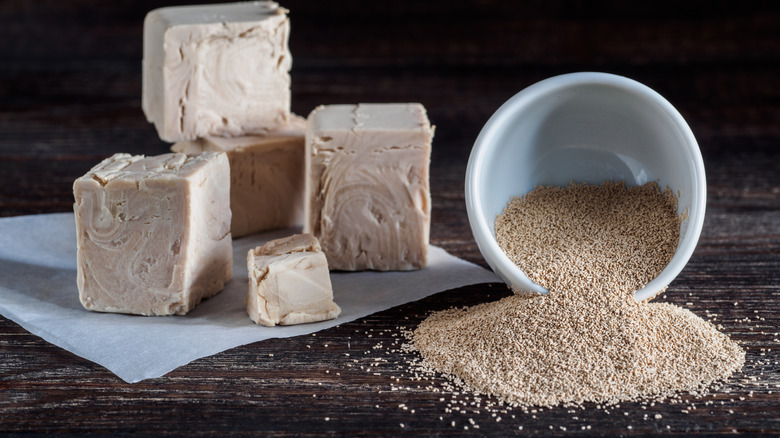
Pretzels don't necessarily require one specific type of yeast, which is nice. However, pay close attention to your recipe since different types require specific care and measuring amounts. For instance, with instant dry yeast, mix it directly into the recipe with no special prep beforehand. However, if you use active dry yeast, it's a mistake not to proof it first, especially if you've already opened the package or it's been sitting in your pantry for a while.
If you fail to do a check test, you might make the dough only to find out the pretzels aren't going to rise. Since using bad yeast is entirely avoidable, why not take a few minutes to double-check that your yeast is still active? Add warm water, the yeast, and sugar to a bowl, then allow it to rest for approximately five minutes. If the mixture bubbles up and turns airy, you're good to go. You can incorporate it into the other components as usual. However, if it doesn't turn foamy, you must use a fresher product.
On the other hand, fresh yeast is already activated but is much more perishable than the other types, so you can't use it if you haven't refrigerated it. When making pretzels, bring it to room temperature and break it into small pieces. Don't just throw it in the dough without dissolving it in the water first because the chunks won't be evenly distributed.
3. Skipping out on diastatic malt powder
The last thing you want to make is pale pretzels that don't rise properly. So, if you want high-quality pretzels, consider using diastatic malt powder as a secret ingredient. Although this product isn't necessarily mandatory, it's so beneficial that not including it in the dough would be a mistake. Companies make this product from ground barley, and it adds subtle sweet notes to the dough and gives more power to the yeast, supplying a wonderful texture to the final product.
This ingredient also aids the crust in browning into a deep golden color. Before baking, check your flour's label because it might already contain it, depending on the brand. If not, you can add it separately. All you need to do is add up to 1 teaspoon for every 3 cups of flour. The advantage of this ingredient is that you can use it in many types of bakes, such as sourdough bread or bagels, so you have plenty of other opportunities to utilize it.
4. Over-kneading the dough
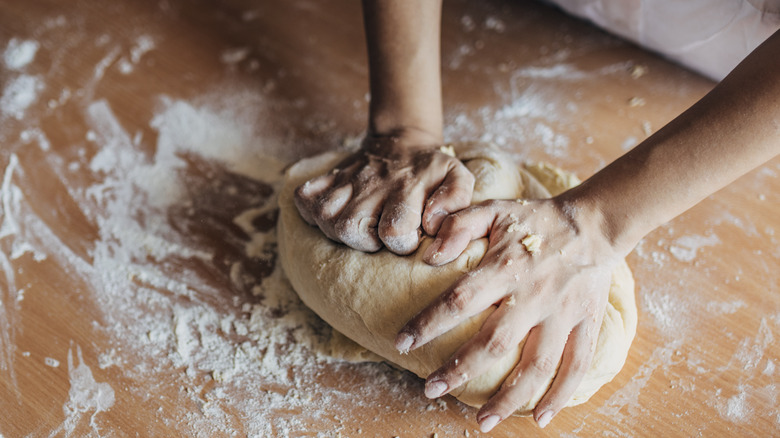
Over-kneading the pretzel dough is actually quite easy to do, which is why it's such a common problem for people. Unfortunately, working the dough too much ruins the texture by making it tough or sticky. Consequently, it's challenging to form it into the trademark pretzel shape because it's not as elastic as it should be. Then, when you bite into the baked product, it doesn't have a soft, springy consistency but a dense one. Indeed, kneading is necessary for perfect bread, but you must be cautious when doing so.
The easiest way to avoid overworked dough is to manually knead it rather than breaking out the stand mixer. Electric equipment can be forceful, destroying liquid molecules in the recipe and tightening the gluten within minutes. Mix the dough in increments if you're adamant about using a dough hook. Give it a break every few minutes and gently squeeze and feel the dough to ensure it is still stretchy and loose. Meanwhile, kneading by hand is gentler and helps you examine the dough's consistency as it slowly changes so you can stop immediately when you see signs of it becoming too stiff.
5. Under or over-proofing the dough
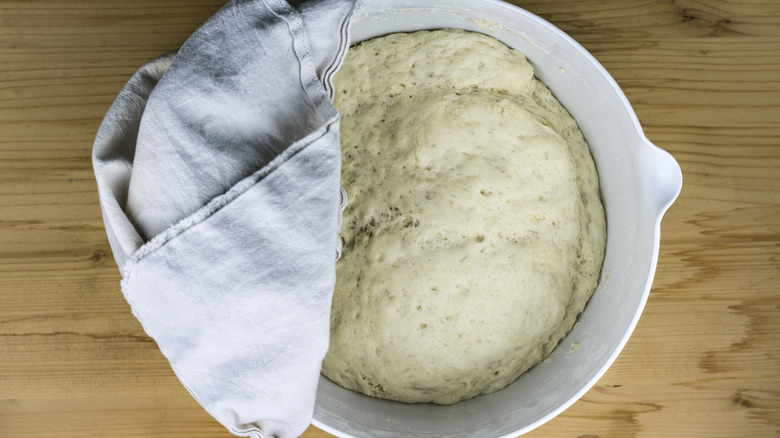
With any yeast bread, under- or over-proofed dough doesn't bake correctly because the presentation and texture are off. Specifically, under-proofed dough creates dense pretzels, while over-proofed dough can cause them to expand and then collapse. If your recipe requires fermenting (or proofing), one of the biggest mistakes you can make is letting your dough ferment for the wrong amount of time. While the directions give you an idea of how long to let it rest, analyzing its appearance and texture is crucial to determine if it's ready.
For best results, check it a bit before the recommended time just to be safe. A properly proofed dough will slowly spring back if you poke it with your finger. If it needs more time, it reverts quickly after being touched, and if you've overdone it, it stays indented. Luckily, if the dough shows signs of being over-proofed, you can try to save it by gently pressing and kneading it into a ball, then letting it rise all over again.
6. Forgetting to punch the dough
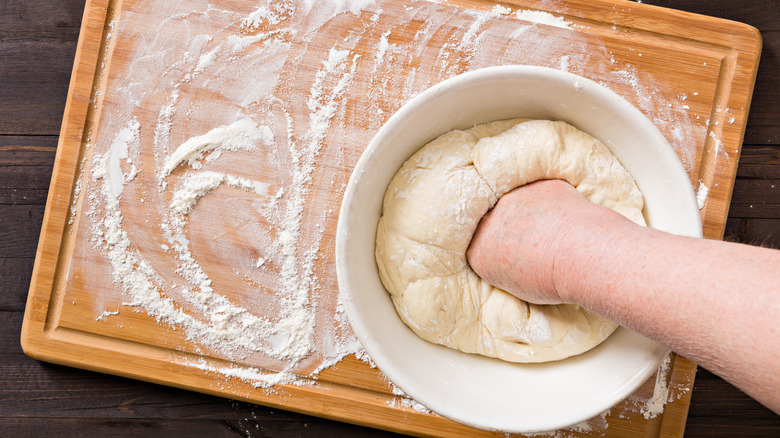
When making pretzels from scratch, it's essential to punch the dough down to get rid of excess carbon dioxide after you proof it. If you fail to do this step, the dough might have large gas bubbles, making it difficult to shape. Or, it causes the pretzels to bake with tons of air pockets in the crumb. Moreover, there's a less even distribution of yeast throughout the dough since it's been sitting (this results in an uneven rise if you don't deflate the dough and reshuffle the cells).
So, even if this step feels silly or pointless, there are quite a few reasons why most recipes require it. To punch the dough correctly, wait until it's appropriately fermented and gently press it — you don't need to use full force, just enough to manipulate it and allow the air to escape. Doing so also benefits the pliability because it helps the gluten proteins loosen rather than remain tight.
7. Shaping them incorrectly
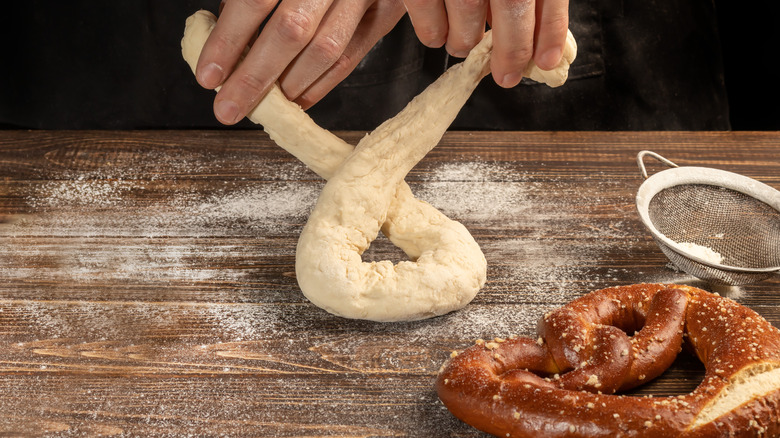
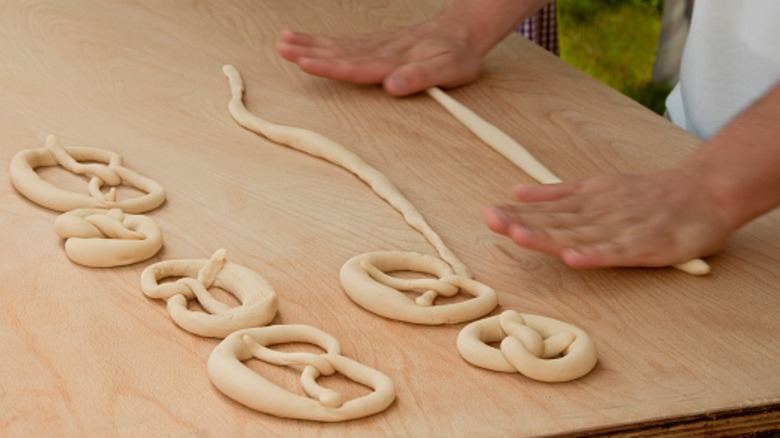
There are a few ways to create a pretzel shape, but no matter which route you take, there are a couple of mistakes to be aware of. First, people often don't follow the directions carefully enough, leading to the pretzels falling apart during the boiling process. Remember that you need to lift and transfer the raw pretzels to the baking soda bath and back to the tray, so they need to be somewhat secure in how you fold them.
If you don't lightly press the dough ends into the center part when completing the shape, they will lift either during boiling or baking. You can always flip them over so the seam side is down to be extra safe. Secondly, be cautious of the rope's thickness when you roll it. A thicker bulge in the center with slightly thinner ends is acceptable, but the differences shouldn't be too drastic. It's even worse when one end of the rope is much thinner than the other because it promotes uneven baking. The narrow strands cook much faster, meaning they turn darker and crunchier, while the rest of the dough is still raw.
8. Not placing the pretzels in a baking soda or lye bath
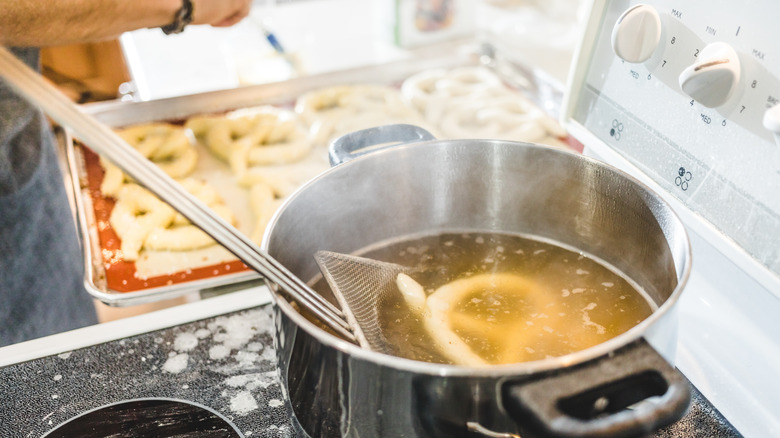
Not immersing shaped pretzels in an alkaline solution can be detrimental to your baking project. Without this step, the pretzels don't have the famous deep brown color everyone expects. Bakeries often use food-grade lye to achieve this because it is the traditional route and works every time. However, lye, or sodium hydroxide, is a chemical that can cause burns to your skin if you don't handle it correctly. But following the directions and wearing gloves and goggles ensures you'll be completely safe, and your pretzels look incredible.
For home bakers who don't have much experience with this product or don't feel comfortable using it, a baking soda bath is plenty acceptable since it is alkaline, too. Both of these ingredients help trigger the Maillard reaction, which is the chemical reaction that provides food with a deeper color and flavor.
To work with lye, you don't need to boil the water, and you only need to dunk the pretzels for 15 seconds. Closely follow the recipe's measurements when you make the mixture. Alternatively, you need to boil the water when making the baking soda solution, and the pretzels need to be bathed for a longer amount of time.
9. Not egg washing them before baking
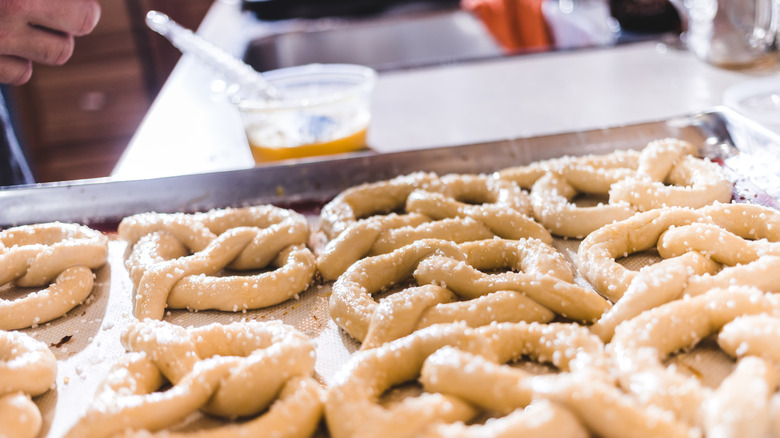
Egg wash makes the pretzel exterior ultra-shiny, so you shouldn't skip out on this step. Although the baking soda bath gives them a deep color, the egg wash contributes to browning, too. Most importantly, any salt you sprinkle on might fall off if you bypass the egg wash. Especially if you have a convection oven, the hot air blowing around is powerful enough to lift the salt and make it fly around the chamber.
Fortunately, it is extremely straightforward to make an egg wash. Mix one or two whole eggs until the yolks and whites combine. For a deeper color, you can use the yolks exclusively. Some bakers add a splash of water or milk. Since milk (or even heavy cream) has fat and protein, it enhances the shine of a traditional egg wash; it also helps loosen the mixture and make it easier to brush on. When the mix is runnier, you can even transfer the egg wash to a food-safe spray bottle and spray the dough instead, which speeds up the process when you make large batches.
10. Not using pretzel salt
Some people might feel as if pretzel salt is a waste of money. After all, how much of a difference could it make from table salt or sea salt anyway? However, it's much more impactful than you might realize. Regular table salt doesn't have the distinct texture that bakery-style pretzels typically have. The presentation isn't as impressive either since it's not as noticeable as the larger salt flakes. In fact, it's easy to accidentally use too much since it visually blends in, making it difficult to determine how much you've sprinkled on.
However, when using coarse pretzel salt, you can see how much covers the surface, preventing you from overdoing it. Ultimately, pretzel salt looks unique compared to other varieties because the crystals are bigger and flatter. As a result, it easily sticks to the dough and doesn't dissolve during baking like other salt types do. Not to mention, it transforms homemade pretzels into elegant baked goods, so it's worth hunting down in stores or online if you want to make a phenomenal batch of pretzels.
11. Setting the oven to the wrong temperature
After all the mixing, kneading, and shaping, the last thing you want to do is mess up your beloved pretzels during the baking process. Thus, don't set your oven temperature too low, as it significantly affects their presentation. Without a moderate to high temperature, the pretzels don't rise as quickly as they should, making them lose shape. Rather than having a defined form, they become more like blobs.
Moreover, with a low temperature, the Maillard reaction doesn't occur as it should, so they turn out paler and don't have an excellent crust form. In general, 450 degrees F is about the temperature you should shoot for, but any temperature above 400 degrees is fine. Another bonus of using this temperature range is that it keeps the pretzel interior soft since it bakes quicker, rather than being in the oven for a long time and drying out.
12. Topping them without brushing them with butter first
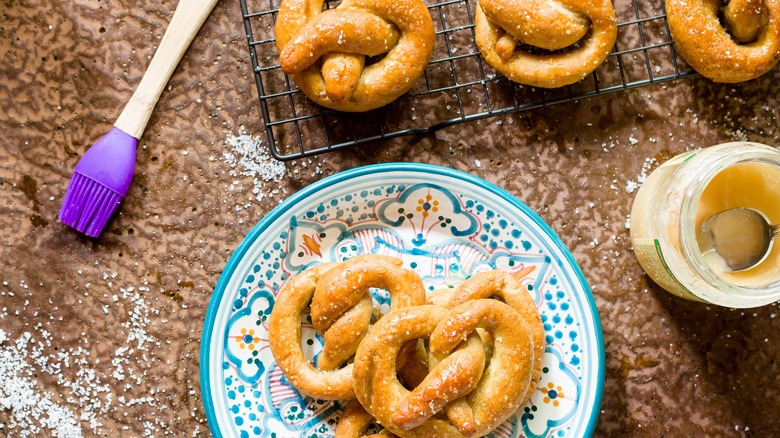
A common mistake is adding toppings to pretzels without preparation. If you do this, you'll notice the issue quickly because the garnish falls off the pretzel instead of adhering to it. You need something for toppings to stick to. Butter is a fantastic option because it adds flavor and pairs with sweet and savory ingredients, so it's a win-win. You can take a pastry brush and slather an even coat of melted butter onto the pretzel, or you can dunk it in melted butter and shake off the excess. Of course, this method works better if the pretzels are smaller; otherwise, it requires a ton of butter.
Then, immediately add the toppings. For cinnamon sugar, have it ready in a shallow bowl or container and press the pretzel into it, flipping it over and spreading the sugar to reach all sides. Tap the pretzel to release extra granules to make them look more polished. If you don't want to cover the pretzel fully, lightly sprinkle the topping exclusively on the surface. This approach works fantastic with parmesan cheese or savory seasoning blends like Cajun or everything bagel seasoning, where you don't want an overpowering taste.
13. Eating them plain
Due to their mild yet pleasant taste, pretzels are an incredibly versatile snack that goes well with various flavor profiles. Not to mention, their shape makes them ideal for dunking in sauces and dips. Eating them plain means you miss out on an enhanced culinary experience, especially after you spend so much time and effort making them from scratch.
To make the most of them, consider pairing them with accompaniments or, at the very least, glazing them. You can make a dessert-like glaze for cinnamon pretzels by mixing powdered sugar, milk, and vanilla extract. Drizzle it over the pretzels after they cool, and allow the icing to set for a few minutes before enjoying.
Another option is to create a sweet and spicy glaze, such as maple sriracha. As far as dips go, try classic cheese, mustard, spinach and artichoke, or even garlic dip. Lastly, it requires some patience, but you can stuff the pretzels with cheese before baking, which makes for a gooey, cheesy center when you bite into them. The easiest way is to use shredded cheese or cheese spread and seal the dough rope around it during the shaping process.
14. Storing or reheating them incorrectly
Storing homemade pretzels can be tricky. If not done correctly, you end up with stale baked goods that lose appeal. Since homemade bread doesn't contain preservatives, it doesn't last as long as its store-bought counterparts. To keep them fresh, wrap each of the cooled pretzels in plastic wrap and then place them in an airtight container to ensure they don't come in contact with air that makes them dry out.
If you can't eat them all within two days, you can freeze them since it extends their shelf life by a few weeks. When it comes time to enjoy them, don't make the error of reheating them incorrectly. The microwave does not do justice to pretzels and makes them tough to chew. For best results, use an air fryer or oven to heat them, which refreshes them, turning the inside warm and soft while restoring the crust and ridding any sogginess.
