14 Expert Tips You Need When Cooking Hanger Steak
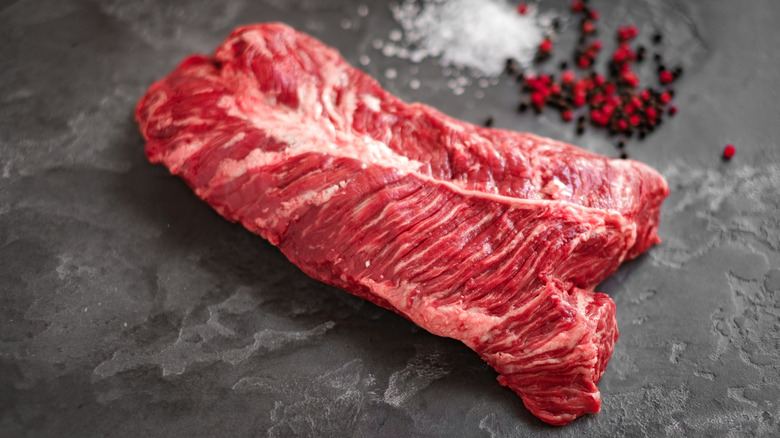
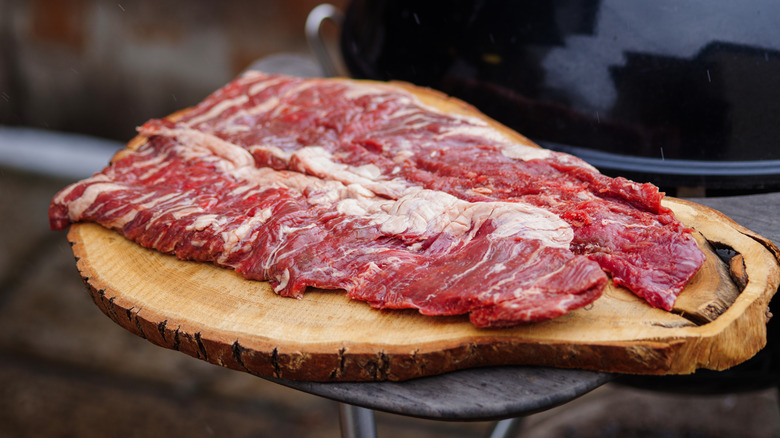
Hanger steak is a well-kept secret. A cut of steak that deserves way more attention, this tender piece of meat is located just under the ribs of the cow and is part of its diaphragm. Unlike other cuts of steak, which tend to be flat and wide, the hanger steak is a long, V-shaped cut, and its unusual shape and low yield per animal make it a less popular choice. It's also known as the butcher's steak due to the alleged practice of butchers keeping the cut for themselves to take home at the end of a long day, which makes sense because, when cooked correctly, the hanger steak becomes tender, delicate, and full of beefy, rich flavor.
However, the hanger steak is less common because it can be easy to get it wrong when cooking it. When prepared incorrectly, it can become overly greasy and unpleasant to eat, whereas seasoning it poorly or cooking it for too long can sap it of flavor. That's why we had to bring in the experts. For this article, we tried to collect the best tips possible from a range of professional sources, including beef manufacturers, farms, and meat specialists, to make sure that you get the most out of your cut.
1. Start with the leanest cut possible
Hanger steaks are located right under the ribs of the cow, and they tend to get a fair bit of activity throughout the animal's life — but despite this, they can also be pretty fatty. Fat, it should be pointed out, plays a crucial role in the palatability and flavor of beef, moistening the proteins and heightening taste. But because hanger steak has a good amount of marbling running throughout it, the fat gets into the meat well, and this means that any excess fat surrounding the meat is unnecessary, leaving you with potentially greasy meat.
As such, cooking the perfect hanger steak starts with picking the right one — and when selecting it, you need to make sure you're opting for a lean cut wherever possible. Look for as little white fat on its surface as possible, and if in doubt, ask your butcher to trim off any excess fat. You should, however, also keep an eye out for a good level of marbling on the hanger steak. If the piece of meat you're considering is too solidly red, it'll mean that when it's cooked, it will lack juiciness and moisture and will be tough and largely flavorless.
2. Trim and slice it properly
Once you get your hanger steak home, you'll need to prepare it correctly. Hanger steak is a long, narrow cut of meat, and can carry a considerable amount of fat on it. And if you bought it from a store where you couldn't have it trimmed or directly from a farm shop, you may need to do some work.
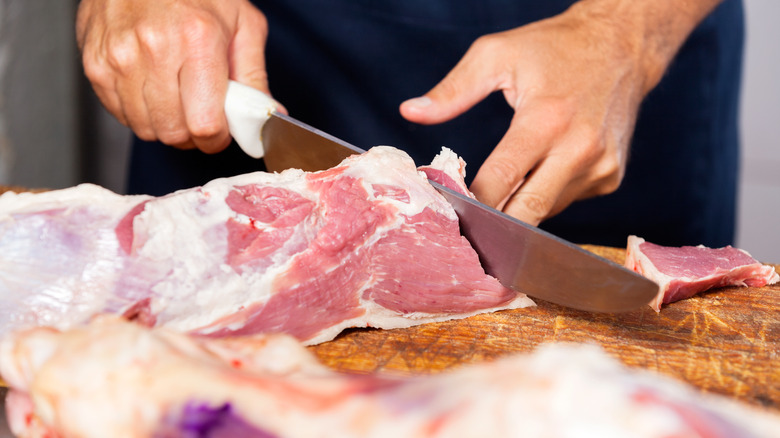
The first thing to do is grab your knife and get to work on removing that excess fat. Using an ultra-sharp boning knife, place your meat silverskin-side-up on a sturdy surface and gently slip the knife underneath. Run it across the length of the steak to pare off the silverskin and fat without removing too much of the meat in the process.
After doing this, you'll need to trim your hanger steak to size so that it will fit snugly in your pan or on your grill. Cut the steak in half along the sinew, which runs down its middle, and then slice it further down to the size that you need. An excellent way to figure this out is to take the cooking utensil you're going to use, like your pan, and measure the steak against it.
3. Pat your meat dry first
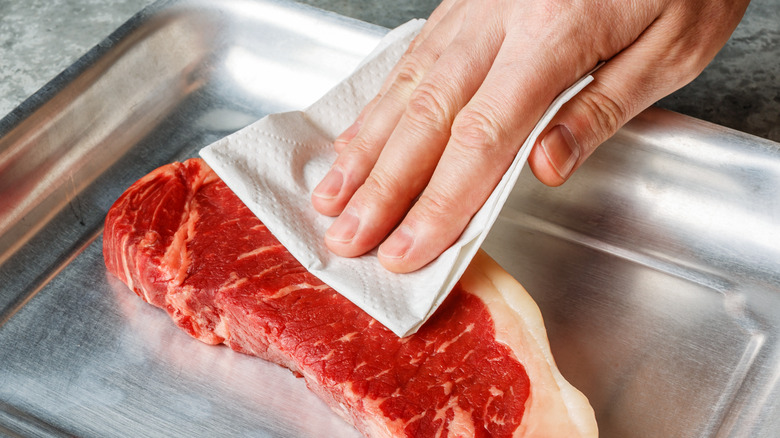
If there's any moisture on your hanger steak, you're going to struggle. Meat should always be patted dry before you cook it because any moisture that collects on its surface can inhibit its cooking significantly. When moisture hits a hot pan or a grill, it creates instant steam and also brings down the temperature of your cooking surface. This simultaneous reduction in heat and creation of moisture stops your meat from achieving a restaurant-quality sear, which provides not just color but deep flavor.
Hanger steak is no different and should always be patted dry thoroughly once it's been removed from its packaging. Remember that condensation and moisture can build up on the surface of your steak when it's enclosed, even if it has been wrapped loosely in butcher paper. When patting the hanger steak, make sure not to push too hard on its surface, as you risk squeezing out any natural moisture inside the beef. Use a sturdy kitchen towel to prevent any ripping, and once you've finished, dispose of them immediately, washing your hands and any surfaces that the kitchen towel has rested on to prevent the chance of cross-contamination and bacterial infection, as advised by the CDC.
4. Use the right kind of salt
When you're working with hanger steak — and, indeed, any cut of steak — seasoning it properly is essential. And salt is arguably the most important seasoning you can use. Adding salt to a steak not only deepens its flavor but also helps it stay juicy and easy to cut through.
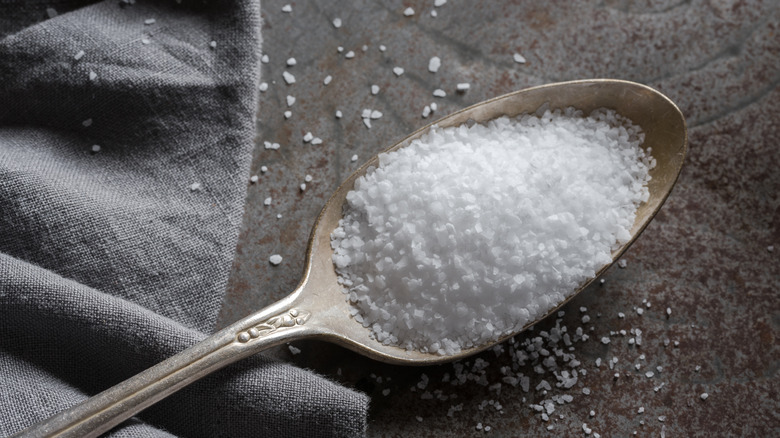
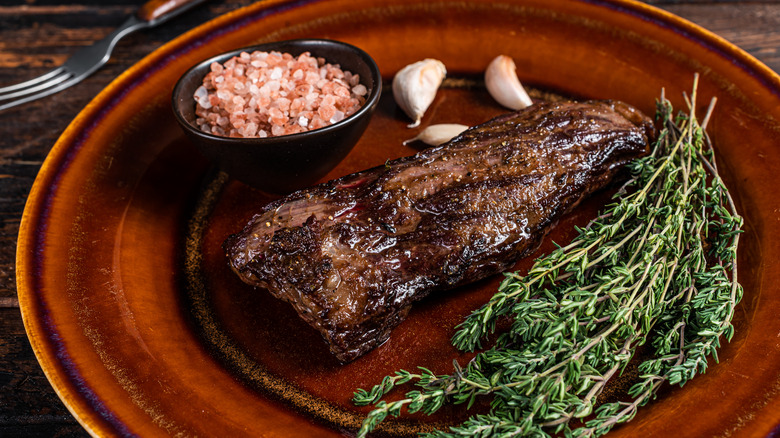
But not just any salt will do, and with hanger steak in particular, using kosher salt is essential. Kosher salt's particle size and coarseness make it much easier to distribute properly over the surface of the steak, while fine sea salt makes it harder to get an even spread. The softness of kosher salt means that it will be absorbed into the protein way more easily, and its slightly gentler flavor and large crystals prevent your steak from becoming too briny.
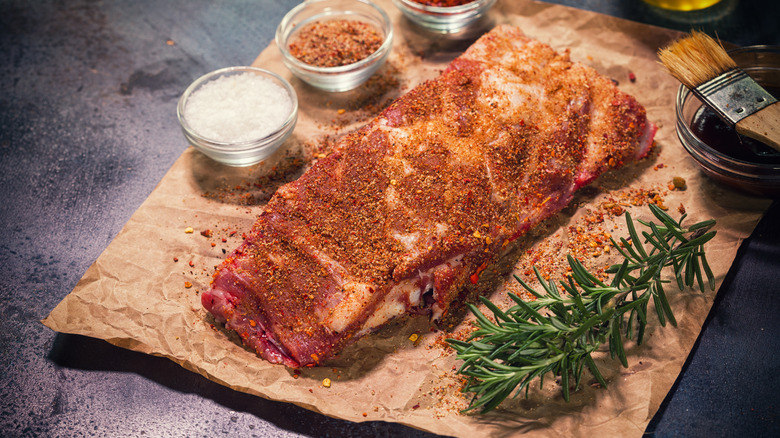
When salting your steak, too, it's vital that you do so early enough in advance. Adding salt to its surface will cause its moisture to rise to the surface, and you need to give it long enough for those liquids to reabsorb, with the salt going with it. Salt your steak at least an hour before cooking; this helps create a dry surface ideal for cooking, says meat expert Matt Grebb. "What that means is that you can actually cook it at a slightly lower temperature and still get a great crust while still getting that edge to edge medium rare," Grebb states in Lifehacker.
5. Bring it to room temperature
If you're pulling your hanger steak out of the refrigerator just before you're cooking it, you're doing things wrong. Hanger steaks should always be cooked when they're at room temperature. "Allowing the meat to come to room temperature allows for a more even cook all the way through. If your meat is cold when it hits the pan, it can cause the muscle fibers to tense up," explains The Meat & Wine Co's food operations manager and chef Thomas Godfrey, via Steak School. This can leave you with a tough, rigid steak that takes an age to chew through and a steak that's burnt on the outside before it's cooked properly in the middle.
Godfrey suggests taking your steaks out around 30 to 40 minutes before you plan on cooking them for the best results. Keep in mind, however, that this is for steaks that are approximately 500 grams each. If your steak is smaller, you might need less time. It's also useful to remember that hanger steaks tend to be thinner than lots of other cuts, so they may not take as long to come up to room temperature.
6. Use the right pan
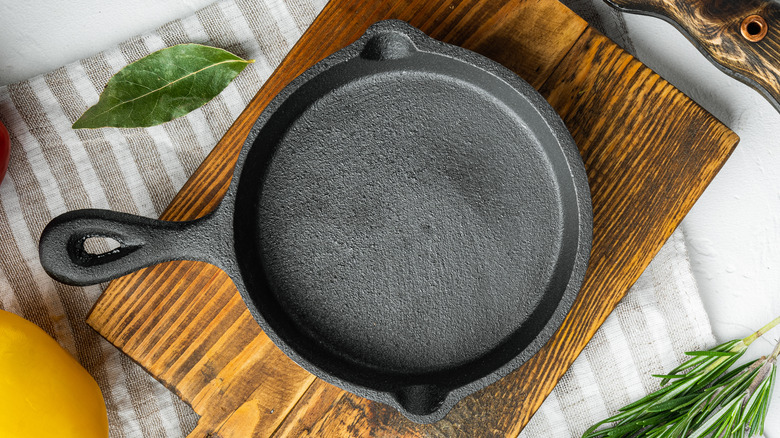
The success of your hanger steak can hinge entirely on the pan you use to cook it. And sturdiness should be one of the first qualities you look for in your chosen cookware. Pick a heavy-based frying pan to cook your hanger steak in. These pans tend to be made from materials like stainless steel or cast iron, and they're well-known for their ability to achieve high temperatures and distribute heat equally without any pesky temperature drops. This is vital as when you're cooking hanger steak, you'll need as high heat as your kitchen can handle to get a proper sear on your meat.
Heavy-based frying pans are also useful as they tend to move around less on the stove, both limiting the chances of oil spilling everywhere and removing the temptation to shuffle your meat around in the skillet. Cast-iron pans are especially good for cooking steak as not only can they achieve super-high temperatures, but they're also oven-proof, meaning that you can finish your meat off with a quick blast of dry heat. Just make sure you give your cast-iron skillet time to properly heat up, as placing your steak in a still-cold pan can result in a grey, lifeless result.
7. Cook it for slightly longer than you think
Ask any steak aficionado, and they'll tell you that the usual rule of thumb with the meat is less is more. Pulling your steak off the grill or out of your pan just before it's done allows the residual heat to continue cooking it through. When it comes to hanger steak, though, the opposite is true: You'll actually need to cook it for a little longer than usual, going for a medium finish instead of rare or medium-rare.
The reason for this is that hanger steaks can remain slightly tough when they're rarer, but cooking them longer counteracts this. "The heat helps all the tissue break down and you'll get a more tender piece," advises Beatrice Inn executive chef and owner Angie Mar, per Food & Wine. To achieve this, you should aim to cook your hanger steak for about 9 to 12 minutes on the stove or slightly less time on the grill, flipping halfway through and using a high heat in both situations. Thinner- or thicker-than-average cuts may need slightly shorter or longer, respectively.
8. Get your grill super hot
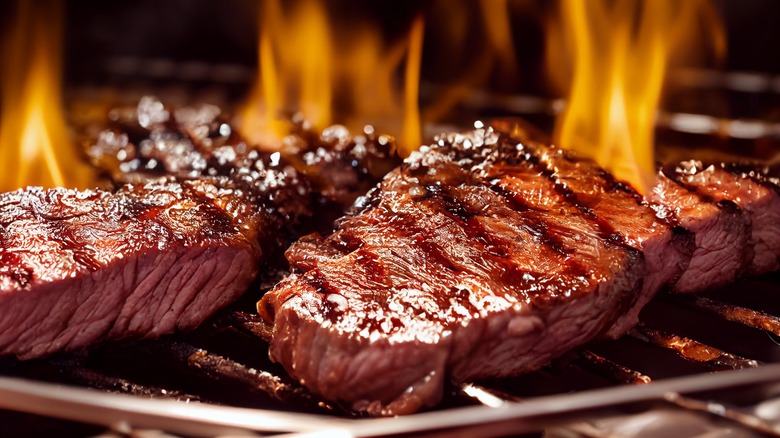
Grilling hanger steak can give you a sear like no other, especially if you're using charcoal. Charcoal grills can reach temperatures of up to 1,200 degrees Fahrenheit, and this is ideal for your beef. "A hot cooking surface is extremely important to caramelize the outside of the steak and secure in the flavor," says Radisson Hotel Group Americas' regional executive chef, Dinesh Jayawardena, via Food & Wine. When done right, you'll end up with a hanger steak that's beautifully brown on the outside but juicy within.
But unlike skillets, which can take just a few minutes to warm up, charcoal grills take a fair amount of time to heat effectively. And so you need to prepare things in advance. "Be sure to let your charcoal fully catch and heat up before attempting to grill on it, about 20 to 30 minutes," states Prime + Proper's former executive chef Ryan Prentiss. "Your fire should have a bed of red-hot coals, [with] high, even heat across the grill, and minimal flames and smoke."
A good way to assess whether things are heated to your liking is by using your hand. Hold it over the grill, and if you have to pull it away in just a few seconds, your grill is about as hot as it can be. If you can hold it for five to seven seconds, you've achieved a medium heat. When doing this, though, be very careful not to get too close to the grill.
9. Be simple and sparing with your seasonings
All steaks need seasoning to make them pop, but hanger steaks may benefit from slightly less than you think. While the general consensus with steak is that the more seasoning you add, the better, that tends only to be the case with thicker cuts. With thinner ones like hanger steak, though, too much seasoning can overpower the meat, and you should add less for a cleaner seasoning-to-beef ratio.
You should also try to err on the side of caution when it comes to the types of seasonings you use. While steak goes with pretty much anything, a common mistake is to season them with overly punchy flavor additions like hot chili powder or cayenne pepper. By doing this, you bring too much attention to the spices instead of using them to underline the natural flavor of the beef. Particularly, pungent or deep-tasting spices like cumin, turmeric, or curry powder may also produce an overly-seasoned result. As such, we would recommend sticking to the basics. A good but not excessive sprinkling of salt and freshly cracked black pepper, or a spice rub made from a few key spices and seasonings, is more than sufficient.
10. For tender results, use a sous vide
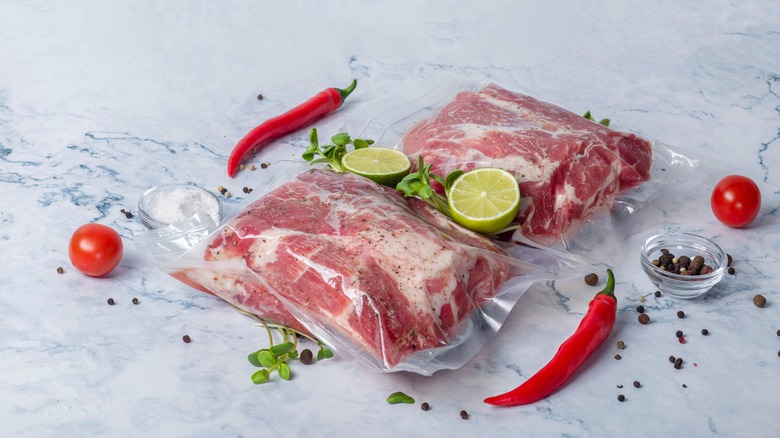
Much of the focus when it comes to cooking hanger steak is on using ultra-high direct heat from a frying pan or a grill. But a slow, gentle cooking process can also leave you with restaurant-quality results. You can achieve this by using a sous vide to cook your hanger steak. When you sous vide a steak by immersing it in a hot, circulating water bath for an extended period, the lower temperature allows you to control exactly how cooked it becomes, eliminating any guesswork.
As the steak is cooked in a sealed plastic bag, it also keeps its juices securely locked into the meat — a particular advantage for hanger steak, which, as a thinner cut, could be more prone to losing moisture in a hot pan. Remember, too, that using a sous vide to cook a hanger steak doesn't mean your meat is pale and colorless. Once cooked, you can sear it in a hot pan to finish it off, developing an enviable crust while still having super-tender beef within. If you don't have a sous vide machine to hand, either, never fear. You can make a DIY sous vide vessel using a deep crockpot full of water heated gently over the stove, with a digital thermometer attached to keep an eye on the temperature.
11. Grab a meat thermometer to check your steak's doneness
If you're not used to cooking hanger steak, it's very easy to overdo things. Hanger steak can be thinner than other types, so it can cook through quickly. And this can turn a perfectly cooked, medium or medium-rare steak into something that's well-done in the blink of an eye.
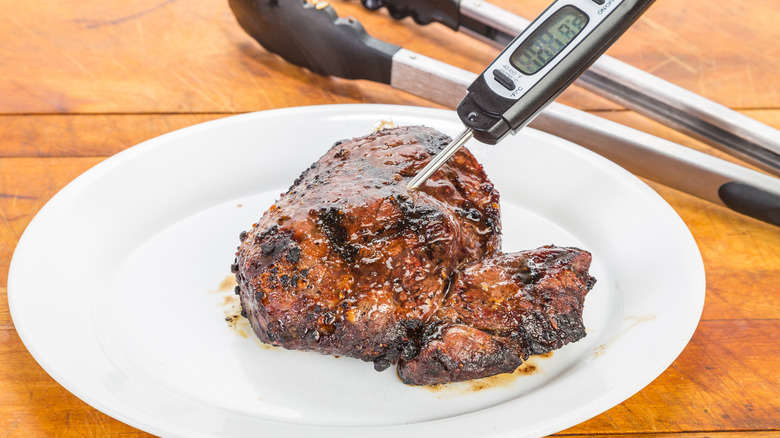
As such, it is crucial to use a meat thermometer to properly assess when your steak is done without having to slice into it, spilling all its juices everywhere. Insert your meat thermometer into the center of your steak, at its thickest point, getting right to the middle to get the most accurate read. As hanger steak is at its best when it's cooked to medium-rare or medium, you'll want to make sure its internal temperature is at least 130 degrees Fahrenheit and under 140 degrees Fahrenheit.
When it goes above this, it starts to become more thoroughly cooked, with a well-done steak having an internal temperature of 160 degrees. On the lower end of the spectrum, rare steaks are cooked when their internal temperature is 120 degrees Fahrenheit.
12. Use a robust fat
Hanger steaks have a good amount of natural fat, but that doesn't mean you shouldn't be adding more. Without a healthy fat coating on your steak, it will stick to whichever cooking vessel you use and leave the outside brittle and burnt. But the type of fat you use is crucial to your success. Cooking hanger steak requires ultra-high temperatures, and not all fats are constructed to handle these and will break down once they're heated beyond a certain point.
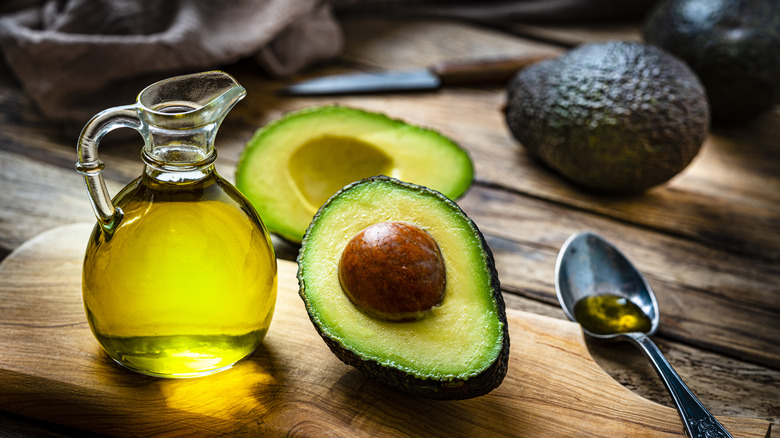
Therefore, the best types of fats to use for hanger steak are those with a high smoke point. Plant-based fats like avocado and coconut oil can withstand very high temperatures but may flavor your meat with taste elements you might not want. If you want a neutral flavor, go for canola or olive oil. And while we can understand why you'd want the rich taste of butter on your steak, don't use it to cook the meat itself; with a smoke point of 300 degrees Fahrenheit, it'll disintegrate fast, leaving you with burnt flavor notes.
If you're cooking hanger steak in a pan, you can go ahead and pour it straight in before cooking. If you're grilling your steak, though, rub it all over the meat. This will stop it from sticking to the grill and minimize any flare-ups from dripping fat.
13. Always rest your hanger steak
All steaks need resting, and hanger steak is no exception. As you cook steak, the protein fibers inside it contract due to the high heat, and this forces moisture out of them. If you cut into your steak while its internal fibers are at their tightest, the juices inside the steak simply spill out all over your cutting board. Allowing hanger steak to rest after you cook it, however, gives time for these fibers to relax and slacken once more, which lets the juices redistribute properly. This will mean that every bite is full of moisture and flavorful, with the juices lubricating the beef.
Give your hanger steak approximately 10 minutes to rest. Any shorter than this, and you risk the juices flowing out; any longer, and you risk the steak becoming cold. To keep your steak warm as it rests, you can wrap it in tin foil, which will insulate the meat. Additionally, keep in mind that the meat will continue to cook slightly after you take it off the heat, which will happen even more if you're wrapping it in foil, so make sure you pull it off slightly before it's completely done.
14. Slice your hanger steak against the grain
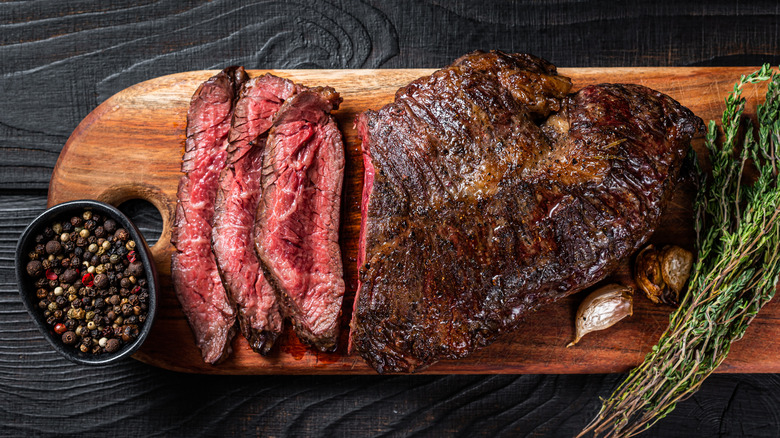
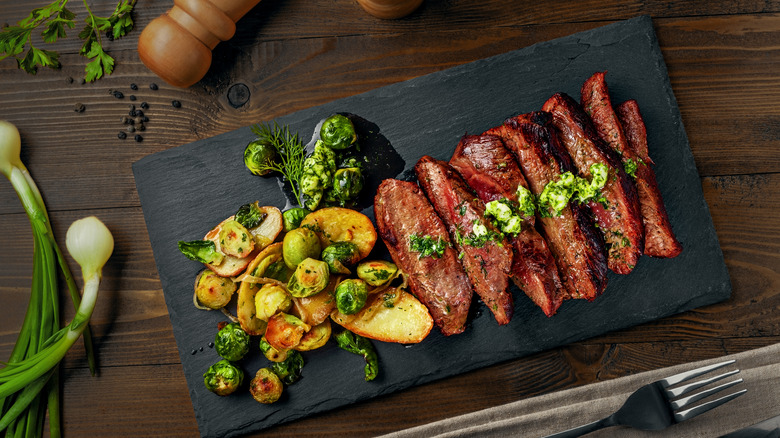
Although you can serve a hanger steak whole, it's arguably more aesthetically pleasing when it's sliced up and placed onto a plate. This allows for the bitesize pieces to be shared amongst the group and is a must if you're making hanger steak for a meal like fajitas.
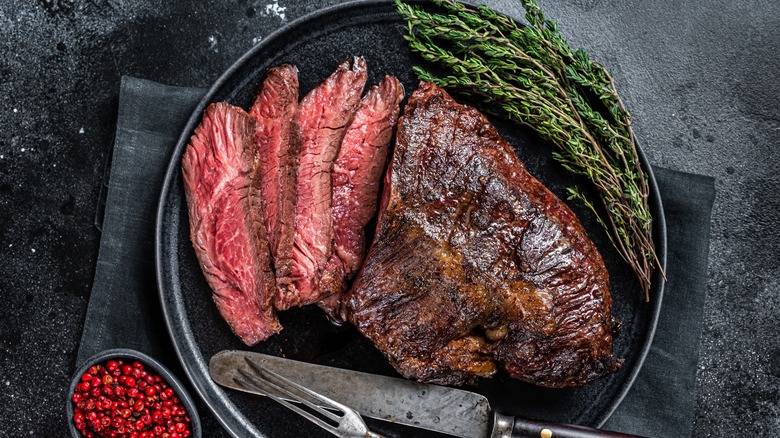
But all of your hard work can be ruined if you don't slice it properly — and you should always go against the grain. By slicing steak against the grain, you essentially shorten the protein fibers in it significantly. This means that when you come to chew it, you do not have to try and chew through long, dense strands of meat; instead, you will have pieces of beef that are easy to chew through and separate willingly.
To figure out which way the grain is going on your steak after it's cooked, take a look at its surface. You should see that each section of protein generally runs in one direction, with any strands of fat or tendon running alongside it. When you're slicing your meat, simply place the knife in the opposite direction. This also goes for when you're slicing up your hanger steak before cooking it.
