Is Tempering Dark Chocolate Any Different From Milk?
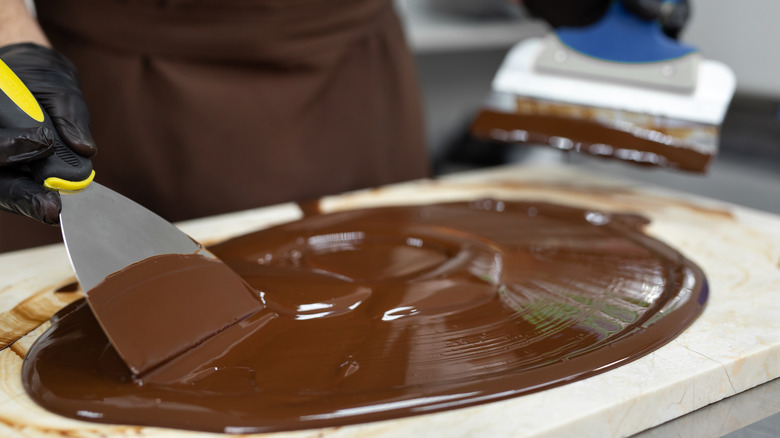
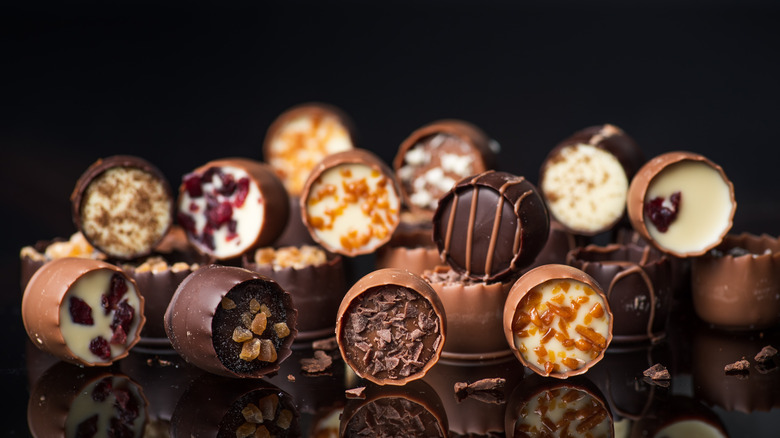
The holiday season is an ideal time for making homemade treats, and creating your own molded chocolates or chocolate-dipped truffles isn't as difficult as you might think. However, you do need to become familiar with the process of tempering chocolate. If you enjoy making pastries, you probably already know that tempering involves slowly heating and cooling melted chocolate to stabilize it for candy-making. Tempered chocolate cools to a smooth, glossy finish and snaps when broken, similar to commercial candy bars. It's important to note that dark, milk, and white chocolates each require different tempering temperatures. So if you've successfully tempered milk chocolate before, don't expect the same results with dark chocolate.
If you're working with high-quality couverture chocolate, which primarily contains real cocoa butter, the packaging should provide tempering specifications. Often, however, you may only be able to purchase a large chunk, or a bag of chopped chocolate without any specific instructions. In such cases, you'll need to understand the tempering curves to avoid producing candy that appears streaky and dull.
Tempering curves vary among different types of chocolate
Tempering chocolate has a reputation for being difficult, but all you really need is patience and close attention to temperature, because the tempering process involves three temperature-dependent steps. First, you gently melt the chocolate in a double boiler. Second, you cool it down in order to re-crystallize it. Finally, you slightly reheat it so that you can work with it again. This sequence is known as the tempering curve.
Dark, milk, and white chocolates each contain different fat levels, so they require distinct tempering protocols. Additionally, each brand of chocolate may vary by a few degrees. However, most dark chocolate melts between 120 and 130 degrees Fahrenheit, needs cooling to 82 to 84 degrees, and then reheating to 88 to 90 degrees. Most milk chocolate melts at approximately 105 to 115 degrees Fahrenheit, cools to 81 to 82 degrees, and is reheated to 84 to 86 degrees Fahrenheit.
While the temperature differences may seem minor, they are critical when you're actually tempering chocolate. If you don't adhere to the recommended temperatures, the chocolate won't set properly, resulting in a rough, dull appearance and a grainy, cakey texture.
Use a good thermometer for the best results
The steps for tempering chocolate remain consistent, whether you're working with dark, milk, or white varieties; the only differences are the specific target temperatures. Given the need for precision, this is not the time to rely on an old, untested thermometer that's been gathering dust in your kitchen drawer. If you're serious about tempering chocolate, invest in a high-quality, quick-read thermometer specifically for baking. Digital models are particularly helpful because they eliminate any ambiguity in temperature readings and provide quick results.
When it comes to tempering, patience is key. Allow the chocolate to gradually reach each of the target temperatures. To avoid confusion, jot down your tempering curve on a piece of paper and tape it to your workspace, as it's easy to mix up the numbers in the heat of the moment. Additionally, be sure to heat the chocolate over low heat to avoid scorching, which can ruin expensive chocolate. A double boiler works well for this, but be cautious of steam, as it can cause the chocolate to seize if it comes into contact. Just take things slow, and you'll end up with perfectly tempered, shiny chocolate every time.


