14 Brilliant Wax Paper Hacks For The Kitchen
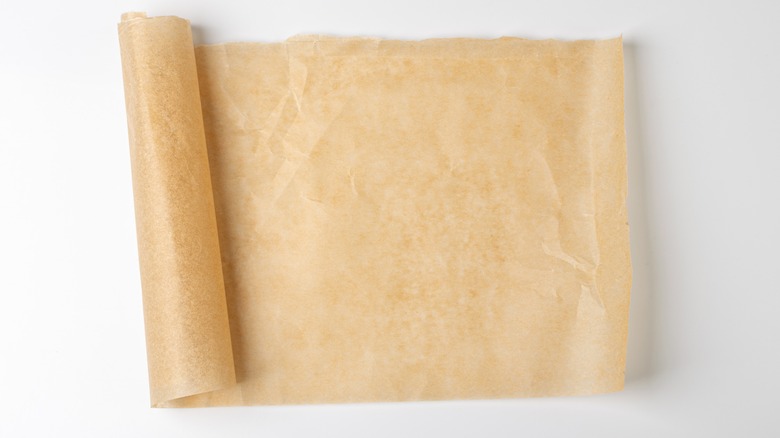
Wax paper is a must-have item in the kitchen, and its versatility is pretty incredible. This kitchen item was invented in the first half of the 20th century and once created, ushered in a new age of storage, quickly becoming a go-to item for wrapping and transporting food items. This kitchen item differs from other types of cooking paper due to its coating.
While parchment paper is coated with silicone and freezer paper with plastic, the wax paper has, as you might expect, a wax coating, with the material also working its way into the paper's pores. This combination of coating and embedded wax gives the paper a nonstick quality, making it an ideal option for various cooking and cleaning uses.
Wax paper is also very affordable, and in many cases, a single sheet can be used more than once, allowing you to cut down on kitchen waste. But if you're only using your wax paper in one or two ways, you could be missing out on the sheer breadth of its use. There are a host of hacks for wax paper that make storing, preparing, and cleaning up after certain food items fast and efficient.
1. Line your countertop with wax paper to knead bread easily
It doesn't take a cordon bleu chef to know that kneading and rolling out bread is a messy job. And if you're making an especially sticky dough, it can create issues for your countertop. Pieces of the dough can adhere to the counter, making maneuvering it difficult. These pieces can often work their way into the grains in wooden surfaces, proving a nightmare to clean and ruining the appearance of your kitchen.
Luckily, all you need to do to avoid this is take a large piece of wax paper and spread it over your kitchen countertop. The nonstick quality of the paper will prevent the dough from adhering, giving you a nice, smooth surface to work on and creating a barrier of protection between your food and your counters. It also means that when you roll the dough out, peeling it off and forming it into the shape you need is easier. The sturdiness of the paper makes it far more suitable than using plastic wrap, which will crinkle and tear.
If you don't have any wax paper, you can also use parchment paper, which will provide the same level of protection. And if you really want to protect your cookware, try wrapping your rolling pin in wax paper to stop the dough from sticking to it.
2. Stop hot food causing condensation with wax paper lining
Waiting for food to cool down before you place it in the refrigerator can take hours. And even if you place items in the fridge when they're still slightly warm, they can create condensation. This condensation can get everywhere, which is difficult to remove once inside the machine, and it creates more issues than just making things wet. Excessive condensation can cause your food to go bad faster and, in extreme cases, can even break your refrigerator.
Luckily, wax paper can help prevent this. Cut out some pieces of wax paper to the width and length of your shelves, and line each with a few pieces. This will help trap any condensation that forms, keeping it away from your food. Doing this will also prevent your food from having contact with the fridge shelf itself, which can prevent it from picking up any grime or food spills, potentially contributing to spoilage. When the wax paper starts to look like it's deteriorated, simply throw out the old pieces and line the fridge with fresh ones. Try to make sure you're doing this when your fridge is already clean and free of condensation so you're starting with a clean slate.
3. Use it to separate individual portions
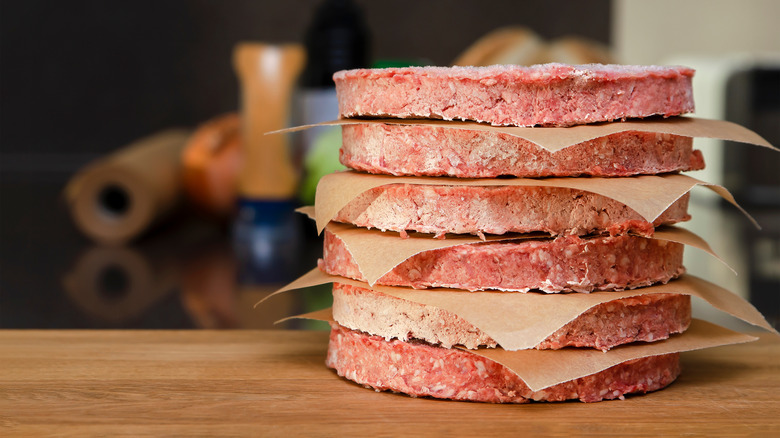
Buying food items in bulk can be cost-effective, but storing bulk-bought products can be somewhat trickier. This is particularly true if you're working with fresh produce. Although many fresh food items, like meat, poultry, and seafood products, are great for long-term freezing, they can also stick together and can be a nightmare to separate without thawing everything.
The best way to get around this is with a few pieces of wax paper. Separate your food items, then individually wrap them in wax paper, ensuring you seal your packages carefully using tape to avoid freezer burn. Then, stash them in the freezer until you're ready to take them out and cook with them. Although wax paper won't last as long as freezer paper at cold temperatures, it will keep your food fresh for a few weeks.
Wax paper also creates a barrier between raw or already-cooked items, especially baked foods like cookies or brownies. Simply place one layer of food in a plastic container, lay a piece of wax paper over it, and then add the next layer. Then, whenever you have a sweet craving, you can just pull one item out and defrost it without having to thaw the whole bunch.
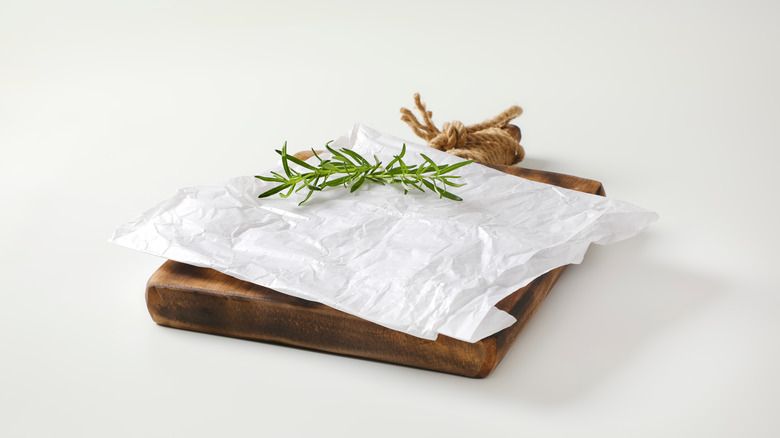
4. Wax paper is perfect for wrapping cheese
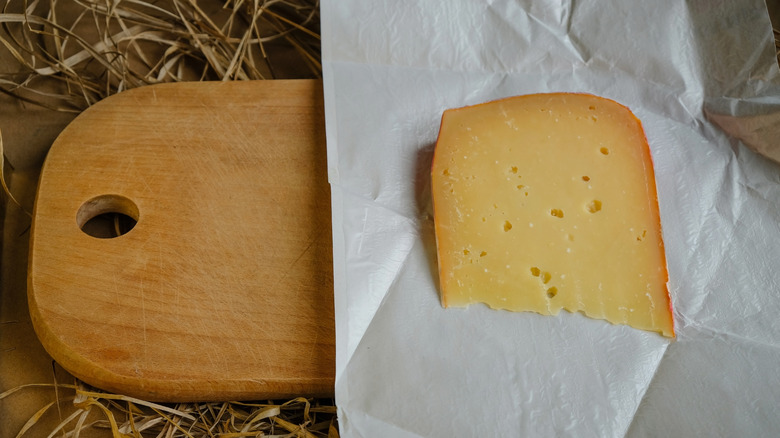
Once it's opened, cheese can start to change pretty quickly. While leaving cheese for a long time before consuming might age the product and develop its flavors, it can also become hard and dehydrated or develop mold that you'd rather not eat.
But wrapping it in wax paper can prevent both of these things from happening. Wax paper is the perfect material to wrap cheese in as it protects the cheese from the cold refrigerator air, which can contribute to it drying out, but also doesn't trap excess moisture, which can lead to mold growth. Other types of kitchen material, like plastic wrap and foil, tend to retain moisture far too easily due to being totally non-porous.
Make sure you wrap your cheese tightly between uses, inspecting it for any signs of deterioration before doing so. If your cheese has developed moldy spots, you can usually slice these off without affecting the rest of the product too much. If you don't have wax paper, greaseproof paper can work as well. It's always best to put your wrapped cheese in your salad crisper, as it's an enclosed space, protecting it from the air circulation in the refrigerator.
5. Cut out a sheet to keep ice cream fresh
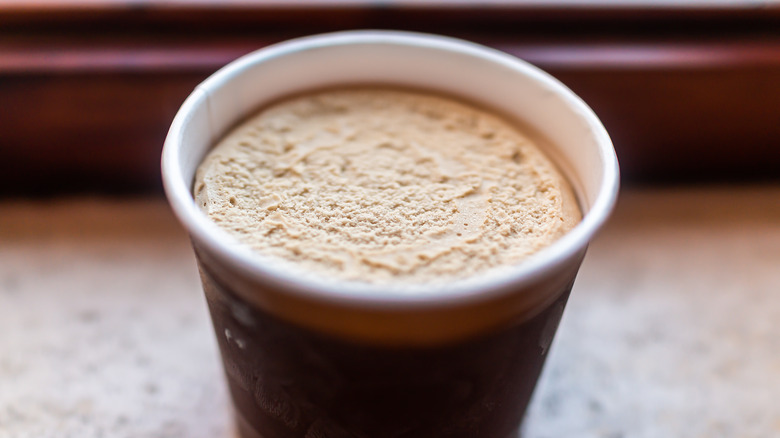
Ice cream is particularly prone to developing freezer burn due to its high water content. When ice cream melts and refreezes, the moisture in it can become ice on its surface, which can then ruin the texture and flavor of the dessert. Luckily, all it takes to avoid this happening is a bit of wax paper.
Lay some of the paper over the top of your ice cream before putting it back in the freezer, pushing it onto the food's surface. It might be helpful to cut a piece out in the shape of your carton lid to avoid it loosening or poking out from the sides. When you put the ice cream back in the freezer, the moisture will remain trapped by the wax paper and not be able to evaporate. If your ice cream has already developed ice crystals, you can simply scrape or cut off the top layer to create a fresh canvas for your wax paper to lay on top of.
If your wax paper is in short supply, though, there's another ultra-quick hack you can do to prevent freezer burn. Just turn your ice cream upside down when you freeze it. The ice cream will drip onto the carton's lid instead of evaporating and forming ice.
6. Roll up some paper for a makeshift funnel
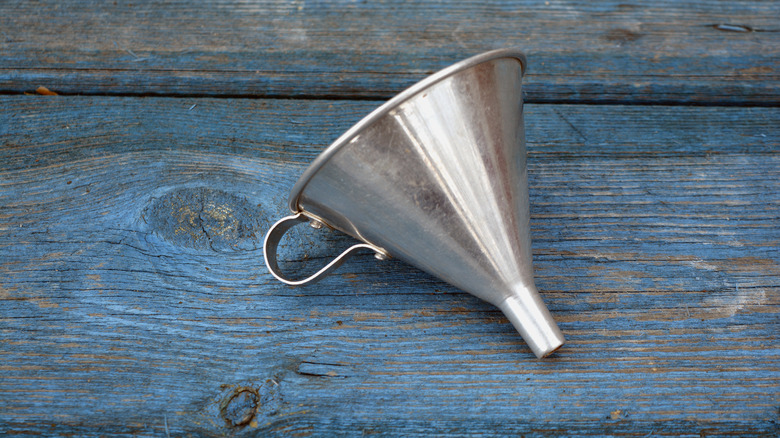
A kitchen funnel is one of those utensils that seems to be missing just when you need it the most. Vital for pouring liquids and fine-grained solids with precision and cleanliness, funnels can also be useful in decanting waste products without spilling them everywhere. But if your funnel goes missing, all you need is a piece of wax paper. Simply take a large sheet of wax paper and fold it into quarters before rounding off the edges and cutting the central edge off. Secure the cone with a few pieces of tape, and you've got a funnel that's good to go.
The best thing about using wax paper as a funnel is that, unlike other types of paper, it can be used for both wet and dry ingredients. The wax coating on the paper's surface makes it waterproof, making this the ideal material to use if you're pouring stock, broth, sauces, or custard. The thickness of the paper also means that it remains sturdy while pouring and doesn't collapse. Just make sure that when you're making your funnel, the wax coating is on the inside if it's a one-sided product. You can also perform this hack with thick kitchen foil if you don't have any wax paper on hand.
7. A wax paper sheet is the perfect vessel for delicate desserts
Making decorations from chocolate or icing can be a delightful way to spruce up your desserts and cakes. But doing so can be fraught with problems. Not only do you have to have a steady hand and an artistic eye to create the intricate lacework patterns that these decorations often have, but you also have to handle them with care to avoid them breaking. And if the chocolate adheres itself to the surface you're using, you're in trouble.
Instead of risking it with a plate or cutting board, lay some wax paper on your surface and pipe your chocolate or icing directly onto it. As the wax paper is nonstick, the chocolate won't bind with its surface, and once it's dry, it will be easily maneuverable. Because wax paper is pretty rigid, it will also mean that any creases or ruffles in the paper don't ruin your designs.
Wax paper is also a great choice for cookies or strawberries you want to decorate with chocolate or icing. As the candy won't stick to the paper, it means that you don't have to struggle to loosen your items, potentially breaking them or making them look unsightly.
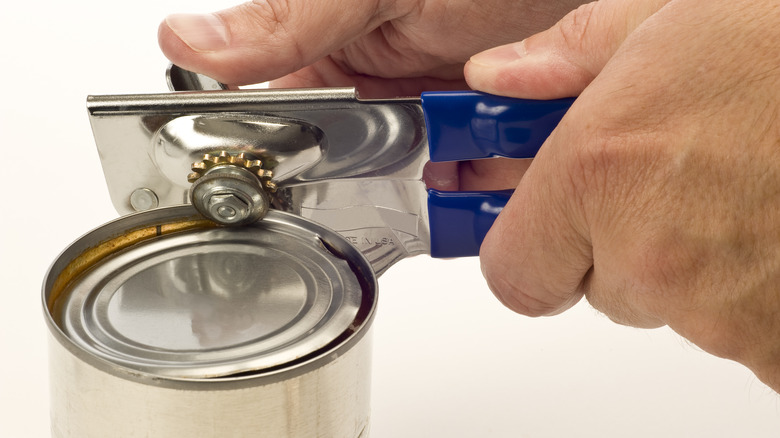
8. A dirty can opener can be cleaned easily with wax paper
Cleaning a can opener can be pretty tricky. These vital kitchen items have a habit of getting grime and pieces of food stuck in their gears, which then become ground up into a gross-looking, unhygienic paste that's impossible to get to. To add to this, cleaning can openers using water can lead to them becoming rusted fast — and when this combines with the dirt, it renders the opener completely inoperable.
The solution is unlikely but effective: You just need some wax paper. Take a piece of paper and fold it over on itself a few times so it becomes thick enough for the can opener to grip onto. Then, place it between the can opener's blades, as though you were about to open a can, and use the utensil as you normally would, twisting the gear to run it up and down the paper. As this happens, you'll see that the gunk that's stuck in your can opener will start to dislodge and be left on the paper's surface. Wipe it off as you go, repeating as many times as needed, until your can opener is as clean as the day you bought it.
9. A sheet makes the ideal vessel for cooking spoons
Unless you have a rest to place your cooking spoons on, you risk your kitchen getting pretty dirty. Not only can food-covered cooking spoons cause more clean-up by placing them on your kitchen counter, but it's also pretty unsanitary, especially considering that your counter can harbor unpleasant bacteria. Doing this can also cause staining on your counter, particularly if you're using ingredients like turmeric.
Instead, while you're cooking, grab a piece of wax paper and place it next to you, using it as a rest for your spoon. Because wax paper is non-porous, the food on your spoon won't leak through it, keeping your counter safe. Once you've used it, you can then throw it away. It's usually a good idea to do this instead of reusing it, as any food residue might provide a place for bacteria to flourish, according to Science Norway. If you don't have any wax paper, you can use any other non-porous kitchen material, like foil, plastic wrap, or freezer paper.
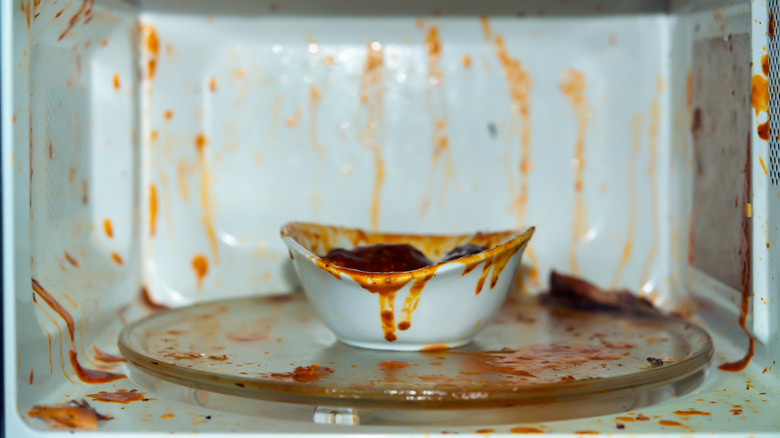
10. Prevent microwave splatter with the paper
If you're sick of cleaning out the inside of your microwave every time you warm up leftovers, this one's for you. Wax paper can make an excellent splatter guard for your food when in the microwave, preventing spills from getting all over your machine. Just lay a piece of wax paper over the top of your food, or wrap your bowl or plate with a larger piece, tucking it underneath so it doesn't flutter around. Heat your food, and enjoy it safe in the knowledge that your microwave is clean.
Wax paper is thin enough that the microwaves can get through it easily, heating up your food quickly. Unlike plastic wrap, it won't melt in the microwave nor cause a potential hazard like foil, as advised by the USDA. Remember, though, that while this trick might work for your microwave, putting wax paper in the oven is always a bad idea. The wax paper isn't built to withstand the high, consistent heat of ovens and will melt fast. Luckily, microwaves don't tend to get to such a high heat, although it's a good idea to avoid nuking wax paper for too long, as heat released from your food could start to soften it.
11. Coat your cutting board with wax paper for easy clean-up
Cutting boards are on the kitchen's front line, and because they're used so often, they tend to be the items that need replacing most quickly. Cutting boards can become stained and scored by knives quickly, and once this happens, they can be difficult to restore to their former glory. But coating your cutting board using wax paper will keep it looking like new. Take a piece of wax paper and rub the waxy side over the surface of your cutting board. This wax will transfer from the paper into the pores of the cutting board, making it harder for any staining elements or liquids to penetrate it.
Remember that this may work best with wooden cutting boards, where the wax can fill in any gaps in its grain and work its way into the material. With denser materials like plastic, the wax may be less effective. For these cutting boards, you can protect them by laying a piece of wax paper across the surface and doing all your chopping on top of it. Just be careful that your knives don't cut the paper itself.
12. Use it to reseal your wine bottles
Figuring out how to keep a cork-sealed bottle of wine fresh once you've opened it can be hard — and time is of the essence. Wine oxidizes quickly once exposed to air, and most types of wine will start to go bad in just a few days after they've been opened. Resealing the wine bottle can help slow this process, but shoving it back into the bottle can be pretty difficult on its own.
By using wax paper, however, you can make this process a breeze. Wrap the cork in a piece of wax paper and then push it into the bottleneck. Using wax paper does two things. The first is that it smoothes the entry for the cork, making it easier to go back in without friction. The second is that it keeps the cork from snapping as easily — and if it does snap, you can catch the pieces in the wax paper before they float into the bottle. When doing this hack, make sure that you leave some of the paper poking out at the top, so you can pull it out when you want another glass.
13. A few folds can make an easy pot lid
When you're making a recipe that requires simmering but you don't have a lid for your pot, things can quickly descend into disaster. Thankfully, all you need is a piece of wax paper to make a makeshift pot lid. The method of using paper to make a pot lid is one that's well-known amongst classic chefs, where it's known as a cartouche. Sometimes called a false lid, a cartouche creates a barrier over your food that allows for even heat distribution and simmering, controlling the rate at which the liquid evaporates. By making a hole in the middle of the cartouche, you can allow a small amount of steam to escape. A cartouche also stops any skin from forming on the top of your stew or sauce.
Making a cartouche is pretty easy, too. Take a square piece of wax paper and fold its corners into each other four times. Place the thin triangle on the edge of your intended pot, with the point reaching the middle, and mark where the edge comes to on your paper. Cut the paper at that point and snip the edge of the triangle, and after you unfold it, you'll be left with a circular shape with a small hole in the middle — ready for cooking. If you don't have wax paper, you can also use parchment paper for this hack.
14. Lay wax paper on your cookbook to protect your recipes
Cookbooks can be pretty expensive, but they're also the most prone books out there to food splatters and stains. This annoying combination can lead to folks wasting huge amounts of money replacing cookbooks and a fair amount of stress. But place a piece of wax paper over your pages next time you cook. As the wax paper is translucent, you should still be able to see through it to read your instructions — but your pages will remain well-protected and clean.
If you don't have any wax paper to hand, try using plastic wrap. Alternatively, you can place your cookbook in a large Ziploc bag, which has the advantage of protecting the book from all sides, although it makes turning the pages a little bit harder. If none of these items are available, an easy solution is to place your cookbook under the biggest transparent pot lid you have — or simply keep it away from your stove while you're cooking.
