How To Get Your Bunn Coffee Maker As Clean As A Whistle
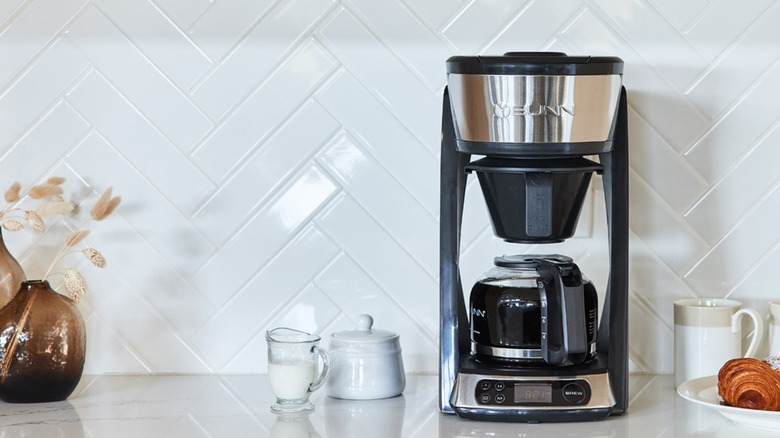
Even though you can brew coffee without a coffee maker, most people would be remiss to actually do that when there's the convenience of a machine to do the job for you. And while there are a lot of coffee maker options on the market, one of the brands that even professional baristas recommend is Bunn. With this model, an advanced spray head disperses water evenly over the grounds, meaning you get the best possible flavor out of each mug of joe. The stainless steel tank also means the water can be indefinitely stored at 200 degrees Fahrenheit, so you don't have to worry about waiting to heat things up making your coffee. Bottom line, it's just a good product.
But, like any good appliance, the Bunn is only as good as the care you put into maintaining it. You can't just keep using any device indefinitely while not keeping up with it and think it's going to last forever — this also applies to small devices, so cleaning your coffee maker is important. So, what are the best ways to clean a Bunn coffee maker? It's like any other complex kitchen device: Take time and care and clean every component individually. There's no need to rush things here; take your time and do it right and it'll pay you back for the long haul.
All you need are basic cleaning supplies
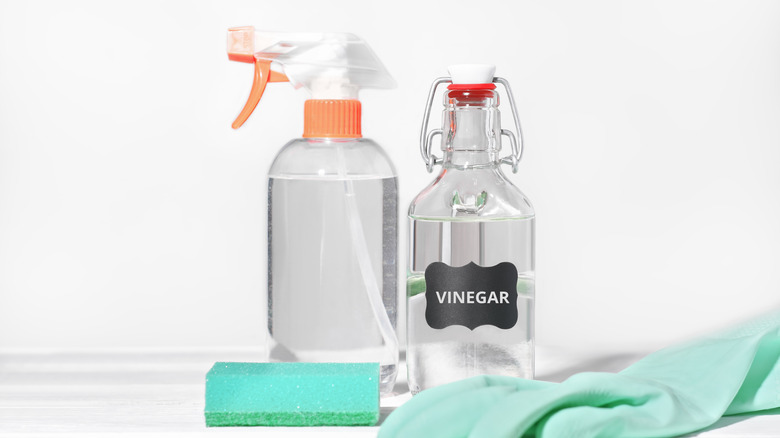
To clean a Bunn coffee maker, you don't need anything caustic to do the job, and in fact, you won't want anything like that, which could affect the delicate inner workings. All you'll need is some soap, water, vinegar, some cleaning cloths, and the spray head cleaning tool that comes with the machine itself. There are a few different models from Bunn, but all of them are going to follow the same basic cleaning procedures.
First, turn the coffee maker off, then wipe down the surfaces of the machine using a damp cloth with a bit of dish soap on it. Next, wipe over these areas again with a second damp cloth (this time water only), then dry it all with a third cloth. That takes care of the outer parts of the machine.
The carafe and brew head are a bit more of a choose-your-own-adventure situation. You can clean them on the top rack of a dishwasher since they're dishwasher-safe, but if that isn't an option, there's another method — and it doesn't even require you to remove the items from the machine itself. Simply run a brew cycle using vinegar instead of water, then turn the machine off and let it soak for 15 minutes. Next, dump the reservoir, rinse it, and run cold water through the machine several times until the vinegar residue is all gone.
The last part of the process is the spray head
Cleaning the spray head is the trickiest part of the whole process, but even that's not so bad. First, you need to unscrew the spray head, then check for any mineral deposits — if you see some, just clean them out with a tooth pick and/or Q-tip. Then, clean the spray head with some soapy water and it's all set.
Next, focus on the spray head tube. This is where the cleaning tool that came with your machine enters the picture. Insert it into the tube and move it up and down while rotating to remove any stubborn mineral deposits. From there, you just reattach everything, and you're done and ready to brew your next cup of coffee.
The important thing is to do this cleaning regularly; it's recommended to do so at least once a month. It can seem like a pain, but it's worth it for both the quality of the coffee it'll produce and how much longer the machine will last as a result.


