How To Properly Reverse Sear Meat In The Oven
There are all sorts of ways to prepare meat. You can grill it, you can roast it, you can deep fry it — and you can sear it. Typically, when you sear a steak or a piece of chicken, you hit it with initial high heat to create an outer crust and then finish it in the oven. It's a great way to add a slightly crunchy outer texture that makes every bite fantastic.
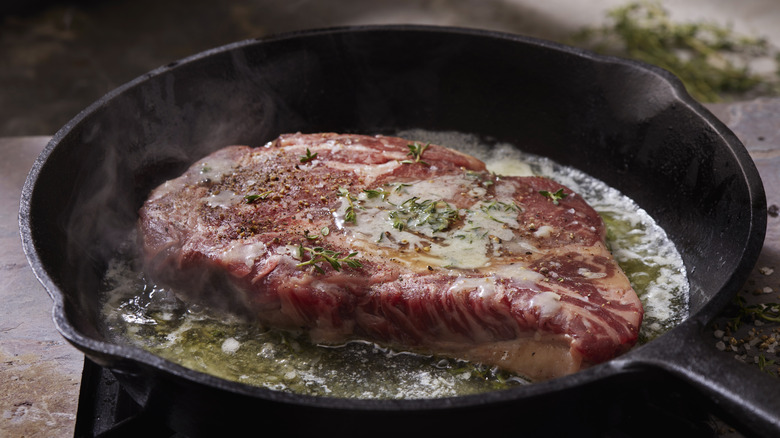
But what about reverse searing? That may sound like someone is doing a bit, but it's an actual technique in which you cook a piece of meat in the oven first, then finish it by searing it in a pan. Like any cooking technique, there are some things to know about how to pull it off. You can manage this on the grill, too, although to do so, you basically have to turn your grill into a convection oven — so let's talk about how it works in the oven.
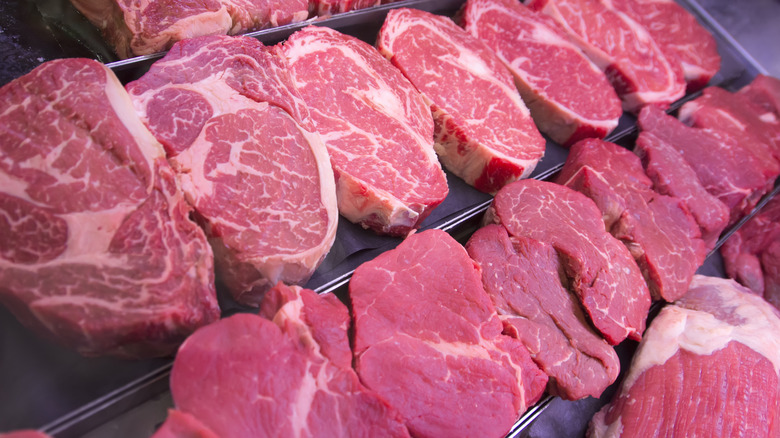
First, a little bit thicker is better here, no matter which type of meat you're using — steak, pork chops, or chicken breast. Thin steaks won't take to a reverse sear as well, and they're much more of a pain to try to get a temperature on. Go for the big boys, and make sure to season them before putting them in the oven.
Lower temperature in the oven, then high heat on a sear
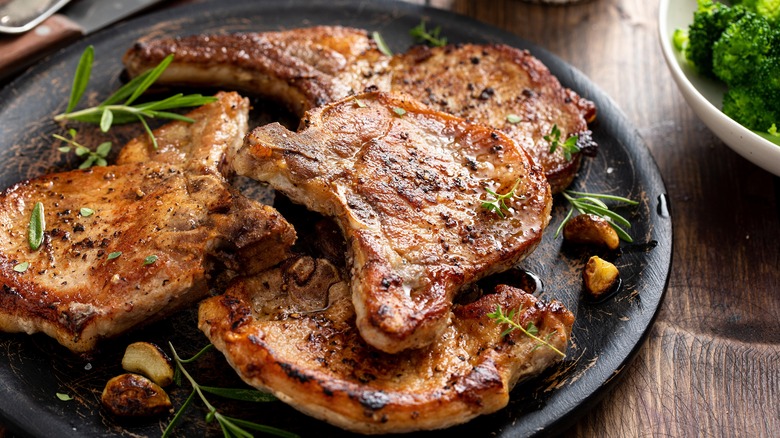
If you're going for a medium-rare steak, your target is an internal temperature of 120 degrees, which should take about 45 minutes at 275 F in the oven. With pork chops, while your ultimate target is 140-145 degrees (or a little less if you want; the dangers of pork cooked to medium are overstated), you should pull it from the oven at 110 degrees (around 30 minutes at 250 F), because sear and rest are going to take it the rest of the way. For chicken breast, you want to bring the internal temperature to 165 degrees, which should be about 35-45 minutes at 325 F. This temperature is more critical than other meats because even slightly undercooked chicken can be a serious hazard for things like salmonella and campylobacter.
Next is the most critical step: Let the meat rest for at least 10 minutes. This allows the muscle fibers in the protein to relax and the juices to soak back into the meat, ultimately leading to a more flavorful meal.
From there, get a pan hot; for pork chops and chicken, you'll want a bit of oil in there since they're leaner. Sear the living heck out of whichever protein for 2 minutes on each side (you can go a little bit less on steak). If it's steak or pork with a fat cap, sear that side down to render it, and boom — a perfect reverse sear.
There are plenty of benefits to reverse searing
There are benefits to a reverse sear that you don't get with the regular searing process, too. A reverse sear will give you an extremely evenly cooked steak, while the standard sear tends to make the outer parts of the meat a bit more cooked than the interior. You also don't lose any of the steak drippings like you often do with a regular sear; they're right there in the pan afterward, ready to be used in a flavorful sauce.
You also get a crispier crust more quickly because of the Maillard reaction, the browning of proteins and sugars when exposed to high heat. (Fun fact: This same scientific process is also how you get soft pretzels.) While you'll get a Maillard reaction browning whichever searing method you use, it's harder to manage when dealing with a higher moisture level. Cooking your meat in the oven first slightly dries out the surface (but not the interior), meaning that when you go to sear, it'll happen quickly and evenly — exactly what you want, because it doesn't affect the internal temperature nearly as much.


