Why You Should Grease Your Bundt Cake Pan With Shortening, Not Butter
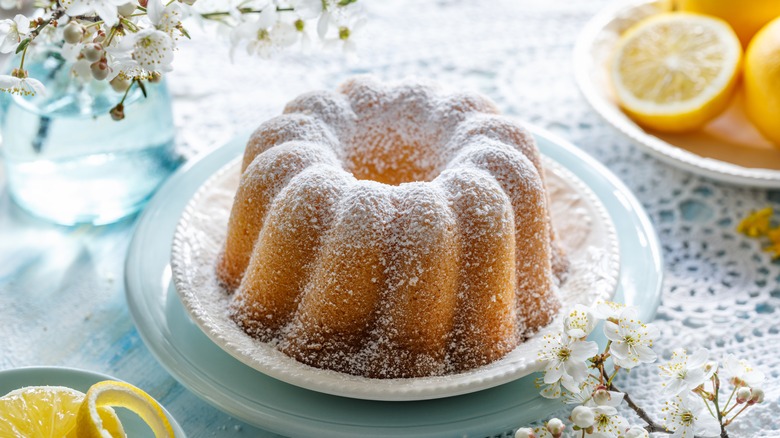
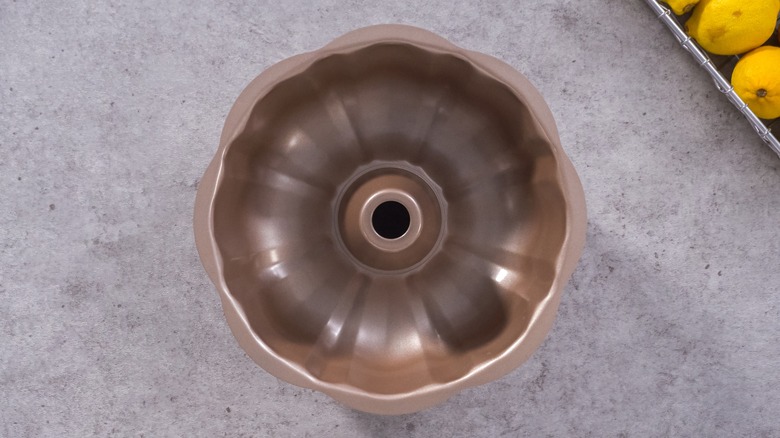
Baking a Bundt cake is a neat trick because you don't need to have a lot of baking skills to make one; you just need a good pan to make a cake that's totally eye-catching. Invented in the 1950s by David Dalquist, the owner of the famed Nordic Ware bakeware company, the Bundt pan is a deep, heavy aluminum cake pan with a hole in the middle, and you can pour any flavor of cake into it and come out with something downright fancy.
These days, there are lots of different shapes of Bundt pans, from geometric to heart-shaped — there's even an octopus! However, no matter what style of pan you choose, you should always grease it with shortening instead of butter. Bundts are typically made with very moist batters, so they have a tendency to stick to the inside of the pan even more than other cakes. Even if you normally get away with greasing a regular cake pan with butter, don't risk it with a Bundt. All it takes is one sticky spot, and your cake can fall to pieces. Shortening and butter might do a lot of the same jobs in baking — like making pie crusts — but they aren't quite the same when it comes to pan-greasing science. Got a Bundt? Get thee some shortening.
Shortening versus butter
Baking a basic Bundt cake is not all that complicated — as long as you follow the directions. It's the attention to detail that usually trips people up, especially when it comes to getting the actual cake out of the pan. In online baking circles, there's always lots of discussion about getting Bundt cakes to properly release, usually accompanied by pictures of cakes that have met a tragic fate. Dig into the comments, and you'll see over and over again that experienced Bundt bakers advise using shortening over butter. This is because butter isn't the same as vegetable shortening. Butter is a mix of fat, water, and milk solids, which — when cooked — can actually make the cake stick to the pan. Shortening on the other hand, is just pure fat — no water, no milk solids, no nada.
To properly oil up a Bundt pan, it's important to get the shortening into every nook and cranny. Use a traditional pastry brush with natural bristles to paint the insides of the pan — it can get into the small spaces of pans that have fine details. Silicone brushes don't work well for this job because the bristles are too soft and flexible for working with shortening, which is solid at room temperature.
Flour the surface after greasing
Even if your pan is nonstick, it's a good idea to grease it with a layer of shortening, because the nonstick coating can deteriorate over time. As a little added insurance, dust the greased surface of the pan with some flour by dumping about a quarter cup of flour into the pan, then rotate the pan around in your hands to get the flour on all the surfaces. Once you have all the surfaces greased and dusted, flip the pan over to dump out the loose flour, and then give the pan a hard tap or two against the counter to get the excess flour out. If you notice any bare spots at this point you can go back in with your greasy pastry brush and touch things up, then dust the spot with some flour.
Once you have the pan properly greased up, all that's left is to pour in the batter and bake. But your work isn't quite done. When the cake is out of the oven, before you remove it from the pan, leave it for at least 20-30 minutes to cool before attempting to take it out. Yes, the cake is technically cooked, but the crumb is very fragile while it's warm — and a heavy, dense cake like a Bundt can very easily come apart if you try to de-pan too soon. Between proper pan greasing and a little patience for cooling, you'll never have to worry about a Bundt cake getting stuck again.


