14 Gas Grill Hacks You Need To Know
Gas grills are favored by amateur grillers and professionals alike, who are well aware of the high standard they bring to the table — and while cooking with propane will bring good results, natural is even better. "Natural gas grills are the Cadillac of grilling, in my humble opinion," says pitmaster Shawn Hill to The Grilling Dad. "Yes, the setup cost can be prohibitive, but the quality is almost unmatched."
While gas grills may be more expensive upon first purchase, they're a more economical choice long-term, saving you from having to buy endless amounts of charcoal. They're also super-easy to operate and can heat up far faster than other grill types, getting your food on the table faster. Gas grills are also a good choice for a more neighborly griller due to their more limited smoke release and the super-simple to break down and put away. And if that wasn't enough, they're also pretty adaptable. Gas grills needn't be used in the same way every time, and there are loads of nifty hacks and tricks you can pull with yours to make your cookout even more fun and delicious.
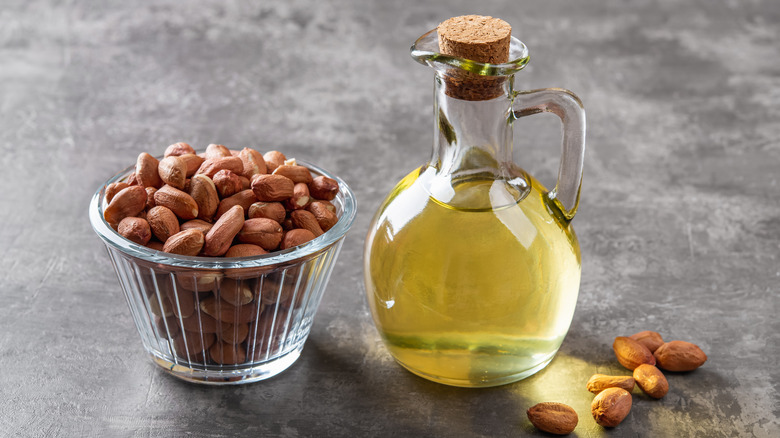
1. To season your gas grill, use peanut oil
As any grill pro will tell you, seasoning your appliance is a crucial first step. "Seasoning, also known as 'curing,' is usually done by heating the metal grates, adding oil, then allowing it to cool and absorb," explains Weber's grill master Dan Cooper on Living Etc. The types of metal typically used in gas grills, carbon steel and cast iron, can rust very quickly. They're even more susceptible to doing so when they're heated to super-high temperatures and then allowed to cool repeatedly. Seasoning the grill essentially moisturizes it, with the oils absorbed keeping the metal healthy and making your food taste even better.
But to season a gas grill properly, you need the right oil. If you pick an oil with too low of a smoke point, you risk filling your garden with a charred, burnt smell. The trick is to use an oil with a high smoke point, like peanut oil, as it won't give off so much of an acrid scent. Canola oil can also work well here. Once you've heated up your grill properly, "Use your brush to spread the oil over the grates, making sure you apply a thin, even layer," says Cooper. Let it cool, and wipe away the extra peanut oil — and you'll be good to go.
2. For a deep clean, use an onion
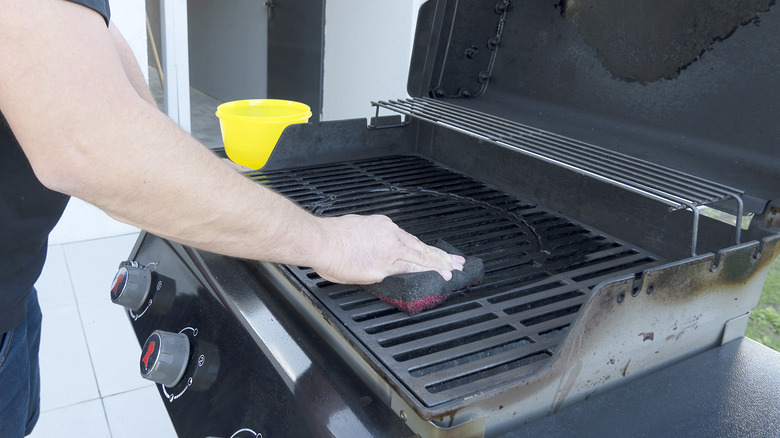
Cleaning a gas grill, or any grill for that matter, can be surprisingly tricky. As you cook food directly on the grill's grates, it tends to leave a fair amount of waste and grime behind, and once your grill cools down, that waste can adhere itself to the metal with inhuman strength.
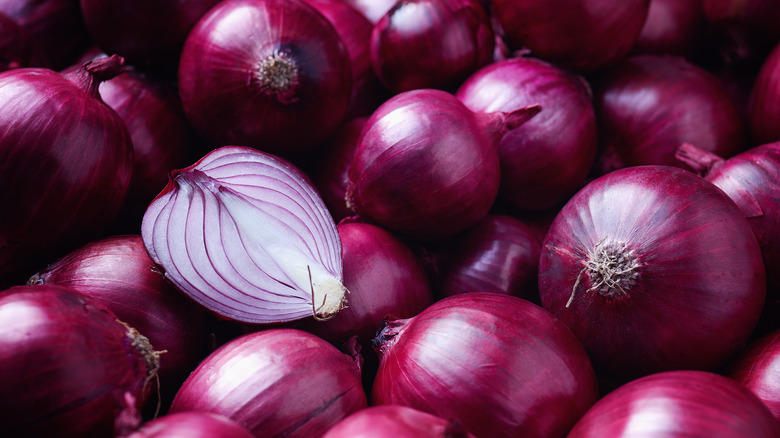
But instead of cleaning your grill with a brush, simply grab an onion and cut it in half. Using an onion to clean your grill utilizes the vegetable's natural acidity and enzymes, which are surprisingly effective as a cleaner. Onions also have an antimicrobial quality, according to PubMed, which ensures that your grill remains safe for use and avoids you having to sanitize them using any harsh cleaners that could leave a nasty taste in your mouth.
Use any type of onion you wish, and once you've sliced it in half, place it onto a grilling fork or skewer. Then, rub it down all of your grates lengthways, ensuring that each piece of metal gets slightly moist. Make sure your grill is super-hot while you're doing this, as this helps to loosen any baked-on grime, and it also helps the onion to release its oils more effectively. Keep rubbing until your grates are sparkling clean, replacing the onion with a fresh one if necessary. Flick away any residual pieces of dirt with a stiff-bristled grill brush.
3. Pinpoint your hot spots with bread
All gas grills have hot spots, areas on the grill that get way hotter than other parts. With gas grills, this can simply be a quirk of its manufacturing, or it can indicate a larger issue, like a blocked burner. Hot spots can be troublesome as they cause your food to cook unevenly, and certain items that need to be well-cooked to be edible or avoid any risk of foodborne illness may create an issue. They can also be problematic for the opposite reason: If you place a piece of food on your hot spot, it'll cook faster and will be more prone to burning.
So, knowing where your grill's hot spots are so you can either avoid them or address a blockage is important. But there's a simple hack to find out, and it involves nothing more complicated than a sliced loaf of bread. Fire up your grill and allow it to come to full temperature. Then, take slices of regular white bread and lay them out across your grill, closing the lid and allowing them to cook for a minute. Once you open the grill and flip the bread, you'll be able to see which has cooked the most, and these are the areas where your grill is the hottest.
4. For perfect steaks, do a reverse sear
The perfectly cooked steak is the holy grail for meat-eaters, and on a grill, it can be difficult to achieve. Placing a steak on a burning-hot grill may give you a perfectly-brown crust quickly, but it can also leave it done on the outside and still totally raw inside. If you try to cook it any more than that, you'll end up with a burnt exterior.
That's why our favorite hack for grilling steaks is to reverse the process. Reverse searing focuses on cooking the steak gently first, ensuring that its internal temperature reflects the doneness you want, before amping the heat up at the end and finishing with a sear. This method allows you to better control the consistency of your steak and stops it from becoming too tough on its outer layers for an overall more tender result.
To reverse sear steaks on a gas grill, or any other grill, for that matter, begin by heating it to approximately 250 degrees Fahrenheit and placing the meat on the upper shelf. Let them cook until they change color from pink to brown or until they have an internal temperature of 105 degrees. Take them off, crank up the grill to the maximum temperature, and then place them on the main burners, searing them on each side for a minute or two before letting them rest. Add some butter or your favorite sauce, and enjoy some food heaven.
5. Use warm water to check your propane levels
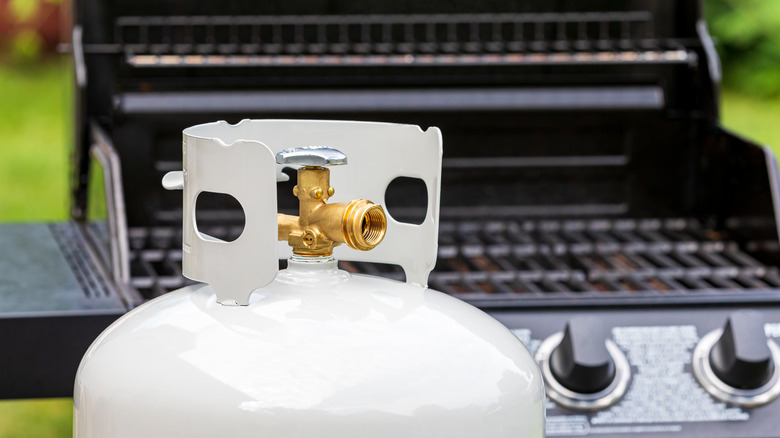
Without enough propane, you won't get very far with your gas grill. You generally get through about two pounds of propane every time you cook on your grill, meaning that most domestically-sized propane tanks will have about 10 to 15 sessions in them before they need refilling or replacing. It can be tricky to tell how much propane you have left, though, and if you're going to be having an especially long cooking stint in your backyard, you don't want to run out midway through.
But a quick hack can help to check your levels using warm water. Keeping your tank upright, run some warm water down one side of it, and then feel where you've poured it, going all the way down. When the temperature of the metal goes from warm to cold, that's where you have propane left. This is because propane has a cooling effect and will pretty much instantly react to any warmer temperature introduced from the outside. It's worth pointing out that this isn't an exact science, and more precise methods like using a gauge or calculating its weight will give you a more accurate read. In a pinch, though, it's a useful indicator of whether you need to replace your gas or not.
6. Make some DIY side tables for your gas grill
While some gas grill models come with flip-out side tables, others aren't equipped with them. But you shouldn't underestimate the importance of having one. A side table allows you to quickly move food to and from the grill without having to fiddle around with finding extra plates or moving away from the cooking area. It also offers an area to rest your utensils, any seasonings, and your beer.
If you don't have side tables, though, you can make some pretty easily by repurposing your grill's arms. Remove any rubber handles that are attached to the arms, keeping the screws and bolts that were used to attach them. Then, take two wooden boards that are big enough to lie across both arms and drill any gaps or sections into them that you require for slotting in utensils, as well as holes for the screws. Place the bolt on one side of the board, and use the screw on the other side to attach it to the metal arm. Do the same on the other side; you're good to go. Bear in mind while doing this that it might alter the ease with which you can move your grill around, and it could cause it to take up extra storage space.
7. Grab a toothpick for your burner tubes
Gas grills need maintenance just like any other kind, and in some cases, the type they need is pretty specific. One area that needs particular attention is the burners. Grill burners are the equipment that provides your grill with heat. These metal tubes, which run the length of your grill, are covered in holes or slats through which the fire burns. Gas grills will usually have several burner tubes, each of them providing heat to a different section of it.
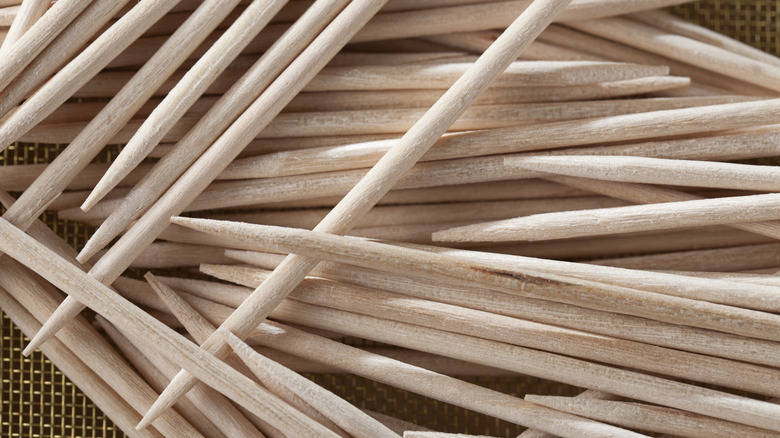
However, these burners can get clogged up or corrode over time, and when they do, your grill will suffer. If the heat can't get through the burners in certain parts, then you'll develop more uneven heat spots. You should aim to clean your burner tubes several times a year, and when you do so, as well as cleaning the outside, you'll also need to clear any blockages. To do this, all you need is a toothpick. Just use the sharp end to poke through the holes, easing out any dirt before shaking it out through the end of the burner. Be sure to read your manufacturer's instructions to see how exactly you remove the burner tubes from the appliance and make sure everything is switched off before starting your clean.
8. Winterize your grill for better performance
Like any piece of equipment, gas grills are prone to diminishing in quality over time. But there are things that you can do that will help extend their lifespan. One of these is protecting it over the winter. Gas grills are far more prone to corrosion or rusting when cold, wet weather sets in. And while you can leave your grill outside in the winter months, doing so without protecting it runs a higher risk of it losing its use.
Before you store your grill for the winter, disconnect your propane tank, and make sure to store it outside. Not only will it be perfectly fine outdoors, but keeping it outside reduces the chances of any vapors released via a leak harming anyone. The outside area you store it should also be well-ventilated.
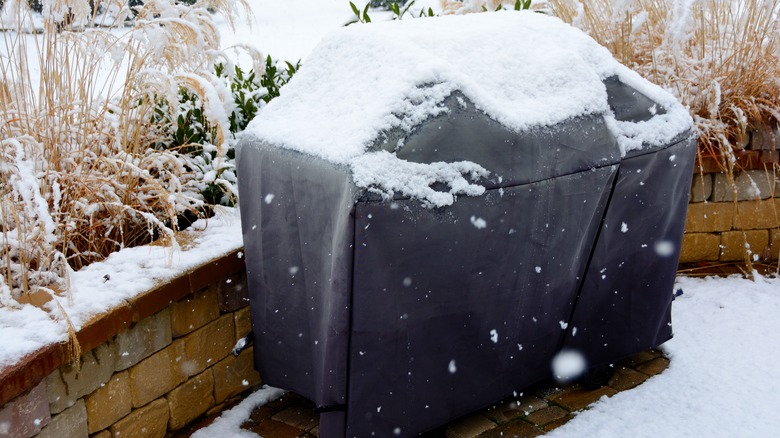
Then, give your grill a complete and thorough clean before inspecting it for any damage. Season your grates before storing them, too, to stop any moisture from working its way in. Dismantle the grill as much as possible, removing the burners along with any other attachments and keeping them in separate, thick bags. Finally, cover your grill with a weather-resistant sheet, even if you're storing it in your garage, especially if you're leaving it outside for the winter. Make sure that you're inspecting it when you take it back out in the spring to ensure that no damage has occurred while it's been hibernating.
9. Soak your skewers to stop them from burning
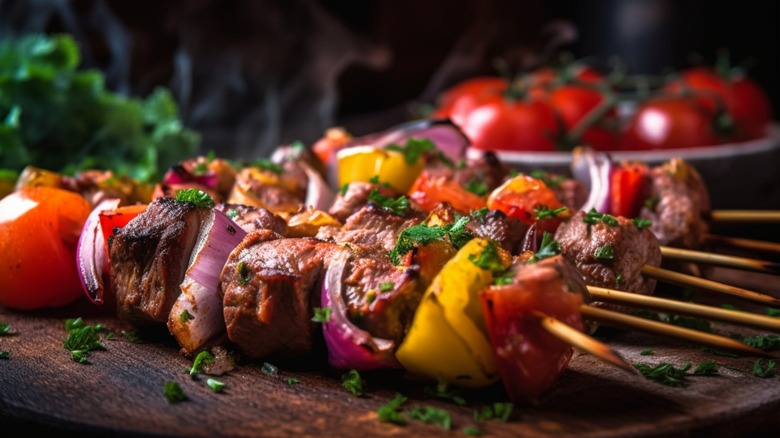
Whether you're cooking meat, fish, or vegetables, skewered foods are a must when grilling season arrives. But if you're using wooden skewers, you run the constant risk of them burning. Wooden skewers are dry, brittle, and highly flammable, and even if they're covered in food, they can start to smoke and burn when they come into contact with the high heat of the grill. This can leave your food tasting exceptionally bitter.
The secret of how to grill with wooden skewers, though, is one that we'll happily share: Just soak them in water. Before you skewer your items, soak the skewers for about half an hour. This will allow them to take in enough water to stop them from burning, although bear in mind that they'll still become super-hot, so don't touch them with your bare hands. Don't leave them soaking for much longer than this, as they'll become pulpy and hard to work with.
Importantly, the bigger and better quality your skewers are, the less likely they'll be to snap or become overly waterlogged. Make sure to pat off any excess water from them before you skewer your items, too.
10. Turn your gas grill into a smoker
Gas grills are naturally equipped to do many things, but one thing they're less good at is smoking. These grills get their heating power from a gas source as opposed to wood, which you need to burn in order to give food a smokey flavor. Additionally, the construction of gas grills doesn't necessarily lend itself to trapping smoke in, with gaps and openings allowing it to seep out easily.
But nothing is impossible, and with a bit of work, you can turn your gas grill into a smoker any pitmaster would be proud of. To start, you'll need to configure your grill properly. Smoking works from a low-and-slow cooking method, so you'll want to light one of your burners, which will burn your chosen wood, while you let your food cook on the opposite side of the grill. You should never let your grill get above 300 degrees Fahrenheit.
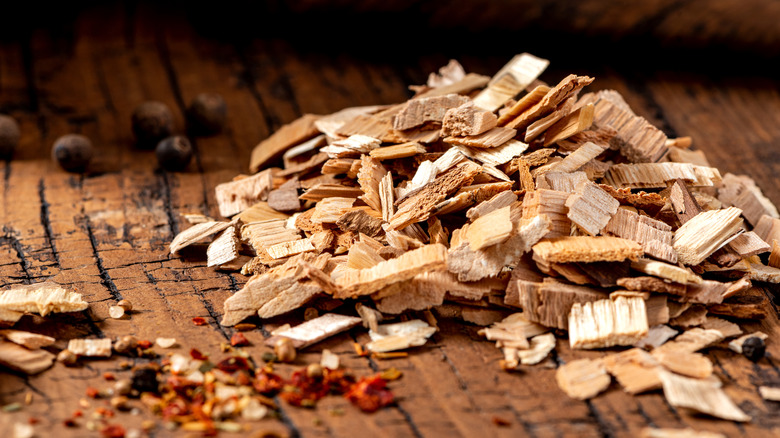
Then, grab some tin foil and poke holes in it before wrapping it around your chosen wood chips, which you'll want to pre-soak so that they don't catch fire. Place the package over your burner, and once it starts smoking, put in your food and close the lid. Keep an eye on it as it cooks, potentially adding more wood if you need to or introducing moisture via a small heatproof bowl of water.
11. Optimize your food for the best results
The beauty of using a gas grill is that you can cook pretty much anything on it. But certain foods will work way better than others. Gas grills are perfect for foods that cook quickly and need high temperatures to cook. Think, vegetables, chicken, steak, and anything that will benefit from cooking quickly.
By optimizing your food to your grill, you're making sure that you get the best taste possible out of your items. Foods that are better suited to a low-and-slow cooking format, like barbecue or thicker cuts of meat, might be best cooked elsewhere. But things that benefit from a quick sear as opposed to the deep, intense one that charcoal offers will fare well on your gas grill. One thing to bear in mind, too, is that the type of gas that you use will affect your eventual taste. While propane is arguably easier to use thanks to the maneuverability of the tanks, natural gas will give you that quintessential grill flavor.
12. For a better sear, use a cast-iron skillet
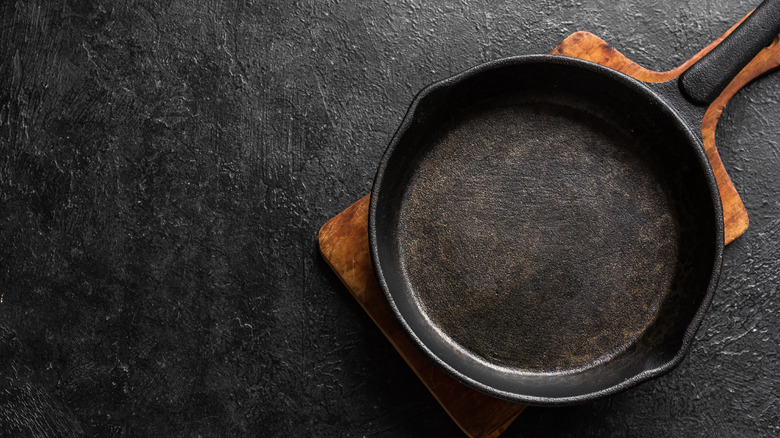
While gas grills can give a good sear to a host of foods, sometimes it's not enough. And if you want to really amp up the sear on your food, use a cast-iron skillet. Cast-iron skillets are excellent for searing as they retain heat well, which means that they're able to get to a screamingly high temperature without too much of it dissipating. This is especially useful if your gas grill has steel or stainless steel grates, which won't trap heat as well.
Cast-iron skillets are also useful because they stop any of your food items from falling through the grates or any meat drippings, causing flare-ups. They also prevent the risk of your food sticking to the grill, which can result in you watching your burgers disintegrate before your very eyes. Just place your cast-iron skillet on the grill and allow it to heat up for a while before adding fat and then cooking your burgers, steaks, or fish inside it. Remember that both the skillet and the handle will become extraordinarily hot and incredibly dangerous to touch, so ensure that you wear gloves, keep a safe distance, avoid touching it until finished, and use lengthy utensils.
13. For a hotter gas grill, hack it with lava rocks
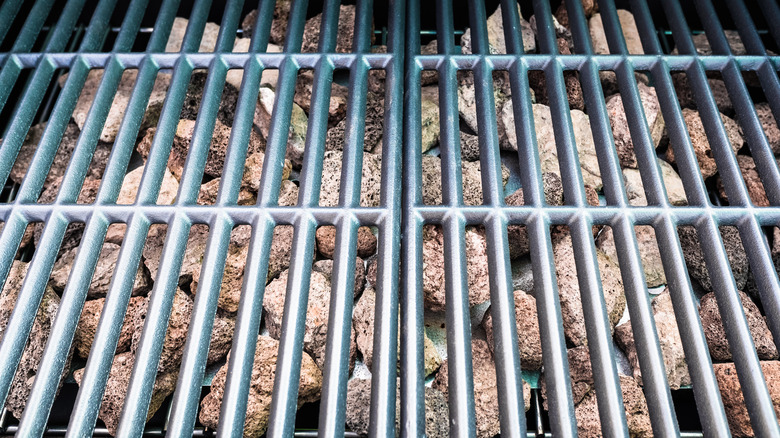
One issue with gas grills is that although they try hard, they can never quite reach the high temperatures that charcoal grills can. Well, luckily, there's a hack for that, courtesy of former "Top Chef" contestant and Navi Kitchen owner Preeti Mistry, as discussed on LifeHacker. It involves the use of lava rocks, which are particularly well-suited to trapping heat, thanks to their formation at ultra-high temperatures.
To do this, Mistry removes the grate from their grill and places an expendable grate over the burner. Then, they place a layer of lava rocks over the grate and then cover it with their usual grates before turning on the grill. As the grill cranks up, the heat won't dissipate as quickly as it normally would and instead gets trapped in the lava rocks, raising the overall temperature. This method is particularly useful for items that you need to get a deep, dark sear onto.
Bear in mind that your lava rocks won't last forever, as they'll naturally break down in quality over successive heating sessions. Food drips can also affect them and potentially start to introduce unwanted odors or smells into your food. Aim to sub them out for fresh rocks every 3 to 6 months or so.
14. To degrease your grill grates, grab a coffee can
Grill grates can become seriously dirty over time, and if you're not cleaning them after each cooking session, things can build up. And this build-up can ruin your barbecue for several reasons. The first is on a pure taste level: Burnt-on fat and grime will, inevitably, affect the flavor of your food, giving it a horrid, greasy odor and taste. It will also increase the likelihood of unwanted flare-ups, which can be hazardous. And to add to all this, every time you avoid cleaning your grates, you just make it harder to clean next time around.
If your grates have become way too greasy, or there's a significant amount of burnt-on food that isn't shifted by regular cleaning, you can harness the power of steam. Fill a coffee can with water, turn on your grill, and place the can inside, closing the lid. This will create a steam bath that will permeate the grime. You can make it even more powerful by adding in some vinegar, as its acidity helps to soften any build-up. While you're doing this, ensure you keep a safe distance to prevent any risk of steam burns. Once the grates have steamed for about half an hour, you can then remove the can and wash off the loosened dirt.
