How To Clean A Stand Mixer And Make It Look Good As New
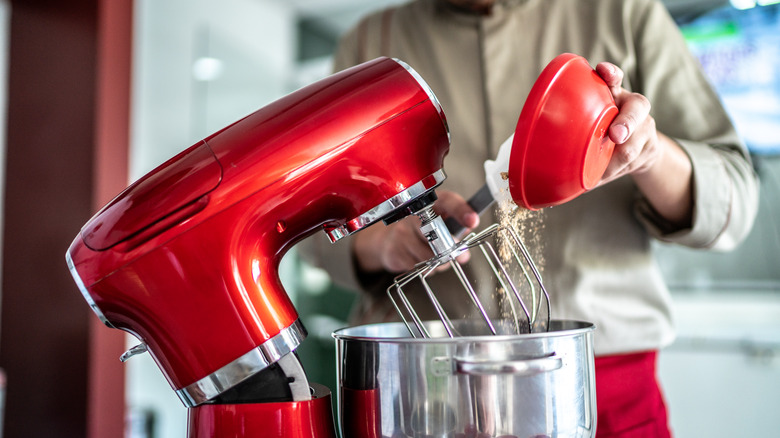
Stand mixers are the sort of kitchen appliance where as soon as you buy one, you wonder how you ever lived without it. It's a product that's going to see a ton of use (although you shouldn't use a stand mixer for small baking tasks). And when you're using something a lot, things can get messy quickly. This is a product that tends to whip things around at decent speeds, making splatter a distinct possibility. Over time, small particles of food can collect and harden, forming a thin layer of grime — particularly in crevices where it can collect — that looks decidedly unappetizing. So, how do you clean these stubborn, grimy areas? The good news is that you don't need any sort of special tools or cleaning products to make your stand mixer look like it's straight out of the package. All you need is a cloth, a toothbrush, a cotton swab, and the willingness to use some elbow grease.
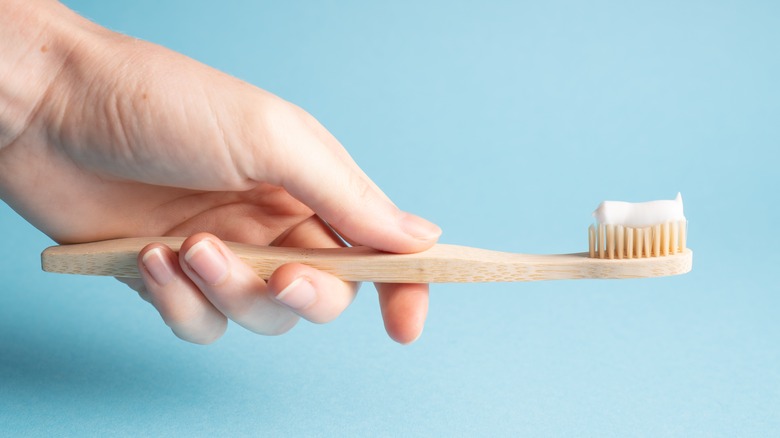
The toothbrush is going to be your key tool here, which isn't surprising. Toothbrushes can be used to clean pretty much any hard-to-get-at surface, which is what makes them so useful for spring-cleaning a kitchen.
The key to cleaning a stand mixer is attention to the details
A toothbrush is your key to scrubbing deep into the grime that collects around the knobs on the mixer, after which you should wipe away the excess scunge with the cloth.
You're using pretty much the same methodology with the mixer head, too. If there's any caked-on food after wiping the surface with the cloth, the toothbrush will take care of it. The cotton swab comes in at this point — use it to wipe around the crevice at the base of the mixer head. (You can use baking soda on the swap if it's really grimy, but as long as you haven't waited years between cleanings, that probably won't be necessary.)
There's one other part of the mixer you should focus on cleaning, and it's one people forget: the underside. You know those pads on the bottom of the mixer? They're there to hold the whole apparatus in place during the mixing process. Food can collect there, though, and eventually, your KitchenAid will lose stability. Be sure to wipe them out to keep that from happening.
You should also clean the various components after every use
It probably goes without saying, but you should clean your stand mixer's bowl and attachments thoroughly between each use. Soaking the attachments in a bowl of soapy water is the first step to softening the most stubbornly-attached bits of food. You'll probably want to gently scrub out the bowl for the same reason.
Then, you should put both in the dishwasher, as long as the attachments are dishwasher-safe. (Be sure to check on this beforehand; you don't want to have to buy an entirely new dough hook.) It's equally important to dry everything by hand at the end of the process, particularly if your dishwasher isn't up to the task. Leaving water on the surface of the bowl or attachments can cause rust and mildew.
As long as you follow simple cleaning and maintenance procedures, stand mixers can last a very long time. Considering how useful (and expensive) they are, you're going to want that to be as long as possible.


