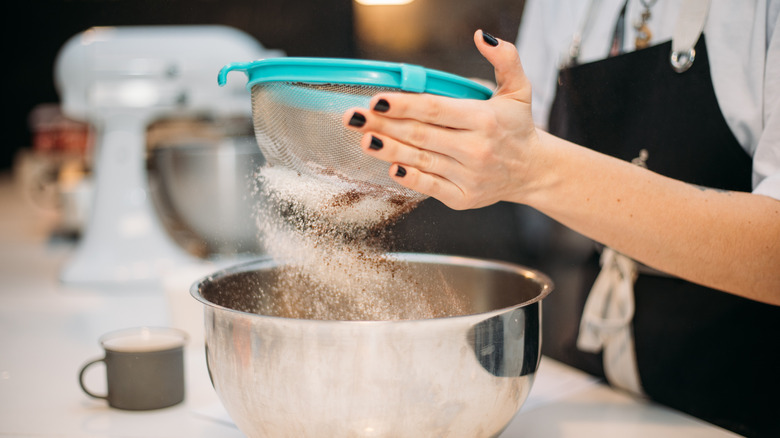
Finally, A Way To Make Cleaning A Sieve A Breeze
Sieves are an essential kitchen tool, but they can be challenging to clean when food particles become lodged in the fine mesh. The right cleaning technique can save you some hassle in the kitchen, while also keeping the mesh in good condition. The trick is to wash the sieve immediately after using it. That way, you can easily rinse any lingering food debris rather than battling with crusted-over gunk once it dries. To do so, first turn the sieve over and shake out any food particles clinging to the mesh. You can deposit debris into the trash or over your sink if you have a garbage disposal.
While the sieve is still turned over, use hot water to rinse the mesh and dislodge any stuck food. Next, wet a cloth or sponge, and apply a small amount of mild dish soap to it. Take the damp cloth and use it to gently clean the inside and outside of the sieve. Once the tool is completely clean and free of food debris, rinse the remaining soap and place the sieve over a clean towel on the counter until it dries. While this technique is ideal for immediate cleaning, you'll need to bring out the big guns if the sieve is extremely dirty.
How to restore a particularly soiled sieve
There may come a time when you can't clean your sieve right away, which means you'll need to employ a more robust cleaning method. Say you used a sieve hack to make scrambled eggs, and now the tool is coated in stubborn, dried eggs. In this case, fill up your sink with very hot water, add soap, and give the sieve a good soak. Make sure it is fully submerged for at least 15 minutes to loosen stuck-on debris. If it is still hard to clean after 15 minutes, allow it to soak in soapy water overnight. You can also create a DIY cleaning solution by adding a bit of white vinegar to the water and soap mixture.
Vinegar contains acetic acid, which is a powerful cleaning agent capable of dissolving food, oil, and other substances. To clean sieves and other kitchen utensils with this method, mix 1 gallon of water with 1/2 cup of white vinegar and allow the tools to soak for about 30 minutes. Keep in mind that white vinegar can harm certain metals, such as aluminum. However, lots of sieves are made from stainless steel, which won't be harmed by the cleaning solution. In addition to knowing how to clean a sieve effectively, you should also be aware of what not to do.
Cleaning and care practices to avoid
You may be tempted to use a pointy tool or implement to push debris from between the mesh of a sieve, but this is a major no-no. Doing so can cause the holes between the mesh to widen or even break the wires if you push too hard. Similarly, avoid using compressed air for the same reason, as the force of the air may be enough to distort the wire mesh.
In the event your sieve is already broken, you must replace it as opposed to repairing it. Repairing a sieve can negatively impact your recipes, especially when baking. The fine mesh must be intact to properly separate dry ingredients, such as flour. If it's deformed, it can lead to unwanted textures of baked goods. Investing in a new tool is a much better option when dealing with a damaged sieve, especially if you're a prolific home baker.


