Want To Practice Your Cake Writing Skills? Break Out The Mustard
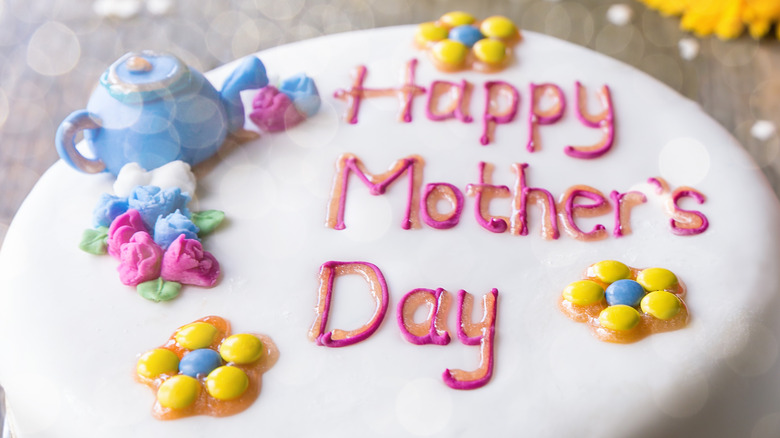
Whether you've been baking for years, or just frosted your first homemade cake, the key to undeniably beautiful, professional-looking cakes is practice. If you've ogled at birthday cakes with loving messages written in fancy script atop their surface, it's important to know that this technique is a bit hard to get down at first (and cake art success stories certainly don't happen overnight).
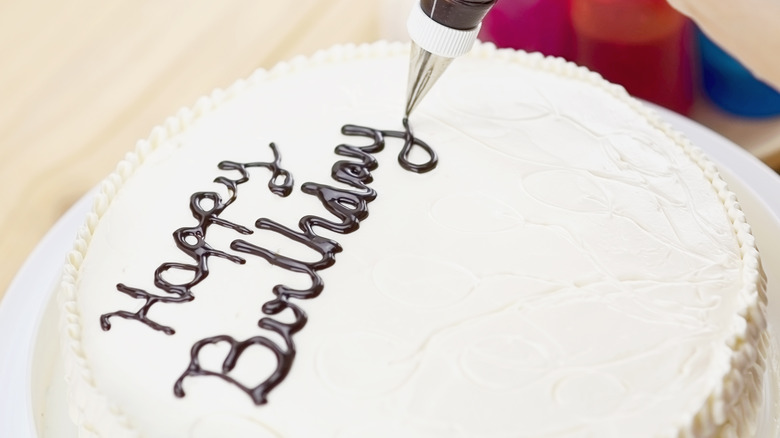
Just like learning cursive or calligraphy, using frosting or melted chocolate to write on a cake takes a few trial runs to build up muscle memory. Luckily, you can practice piping out fun cake messages, letters, and loved ones' names on parchment paper, a cutting board, or plate before writing out the words "congratulations!" on your frosted cake.
While practice makes perfectly crafted cakes, you might cringe at the thought of the many batches of wasted frosting as you learn how to use it for lettering. Luckily, you don't have to waste precious buttercream frosting or royal icing in your practice sessions. Instead, break out the mustard and pour it into your practice piping bag as an easy way to familiarize yourself with writing letters, numbers, and thoughtful messages. Then, when you're ready to pipe words onto bakes, you'll be ready to decorate your cake like a pro.
How to practice your cake writing
To practice your cake writing using mustard (though any condiment of a similar consistency will do), simply locate your piping bag, cut a small hole in the bottom edge of the bag, then place a round frosting tip through the cut-out edge. For easy filling, rest your piping bag in a tall cup, folding the edges of the bag around the rim of the cup, and fill it halfway with mustard.
Once you've done so, you'll be ready to practice your cake writing, all without the need to make any extra frosting. Try out your writing skills, words styles, and message spacing by piping out the mustard onto a parchment paper round the size of the top of your cake. You'll want to hold the top of the bag with one hand for stability, then apply consistent pressure with the other hand as you pipe out your letters.
When practicing with the mustard, it helps to first write out your message on parchment paper to give you a framework to trace. Alternatively, you can print out stylish fonts and place the print directly under your parchment paper as a guide. When you get the end of each word, press your piping tip down and lift it straight up to avoid smears. Take as long as you need until you find your stride. Experiment with block or bubbly letters — or start with cursive, since its swirly nature is pretty forgiving for beginning cake writers.
More tips for learning to write on cakes
After you've practiced piping out your cake's words with mustard, you'll be well on your way to a creatively decorated cake. When you're ready to put your icing words to the test, fill your piping bag in the same way — this time with your choice of frosting, melted chocolate, or even caramel sauce.
Use a colorful homemade cream cheese frosting to write on classic carrot cakes, or play around with royal icing on cake surfaces that don't contain lots of fat, like fondant. If you are using traditional buttercream or cream cheese frostings, you may need to thin it out the firmer frosting you used to coat your cake with a couple teaspoons of milk to achieve a nice flowy, yet silky and pipe-able consistency. Melted chocolate is also a beautiful and delicious way to write on cakes, and it's relatively easy to make.
Before taking your writing skills to the top of your chilled cake, use a toothpick to make little marks to guide the spacing of your lines and words. You can even use the toothpick to write your words first as a helpful outline for writing on the frosted surface. Whatever designs and styles you choose, the result of all your practice is sure to be a truly impressive sweet treat with clean lettering, perfect for any occasion.


