Scallop Your Cake For A Professional Look Without Any Special Tools
Cakes were once saved for celebrations because their ingredients were too expensive for everyday consumption. Today, the frosted desserts aren't only reserved for major occasions, but you can still make yours feel extra special with some simple decorations. One of the easiest ways to decorate a cake is to use a technique called scalloping. This method is so easy because all it takes is an icing bag (even though a plastic bag with the corner cut out will do just fine) and a spoon.
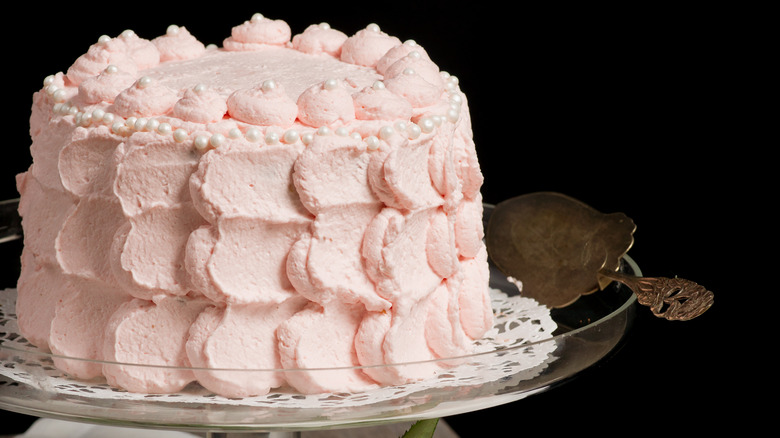
Scalloping is a simple way to add some flair to a classic layer cake. The process creates a series of overlaid icing discs that run along the outside and top of the cake, their appearance reminiscent of rows of rounded scallop shells. If you think of the way that potatoes overlap in a recipe for scalloped potatoes you have an idea of what it looks like. All it takes is a little bit of time and patience, and you'll have a beautifully decorated cake in no time.
To prep your cake for scalloping, there's one step that's essential for all types of decoration. In order to ensure the smoothest scallops, you'll want to start with a crumb coat.
Don't forget the crumb coat
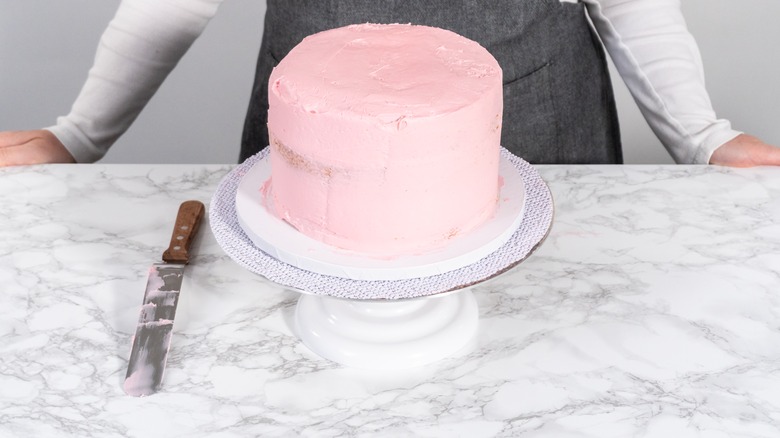
A crumb coat is a thin layer of frosting that goes around the entire cake to catch any crumbs along the cake's surface. Think of it as a layer of primer before you put on the real deal. It catches any spare crumbs from the cake and traps them in a base layer so the outer layers stay nice and clean. No need to worry if you don't have an offset spatula or palette knife, the preferred tools of pastry chefs. A standard butter knife will suffice.
To apply a crumb coat, you can use any frosting, and spread it around the entire surface of the cake. It's okay if bits of the cake layers are still visible as long as there is some icing over the top to hold onto crumbs. It's also helpful to have a bowl nearby to deposit excess frosting into as you wor. That way you can remove any frosting that's still holding crumbs before getting more to continue applying. Once you've got the whole cake covered, smooth off the edges with a bench scraper and let it rest in the freezer for a few minutes before adding your scalloped layer.
How to scallop a cake
Once you have your crumb coat in place, you're ready to start scalloping. To do this, you don't need a professional round-tipped piping bag, you can just fill a plastic storage bag with frosting and snip off one of the corners. Then pipe out a small orb of frosting on the edge of your cake. Next, press the bottom of your spoon into half of the icing and drag it horizontally across the cake. This should give you a semicircle shape that trails off evenly in one direction. Pipe out another sphere of frosting that overlaps the semicircle slightly and repeat this process around the entire side of the cake. You can continue in a spiral on the top of the cake, give it a coating of plain frosting, or use a cake topper.
If you want to speed the process up slightly you can work in vertical lines as well. Put out small dollops of frosting in a vertical line, then drag each separately across with a spoon before repeating with another line of frosting blobs. Finish the sides by leaving a simple column of peaked frosting spheres so that you don't ruin the rest of your hard work.
It's also important to remember that you should wipe off your spoon after each swipe. This will keep each scallop clean as you continue to work. You can change things up by alternating icing colors for every row, column, or for every single scallop.