21 Tips For Making Soup Like A Professional Chef
Soup has been a part of human diets since 20,000 B.C. Back then, pits would get dug into the ground, lined with animal hides, filled with hot water and rocks, and boiled to help cook meat. It was a primitive form of food safety that evolved into a way of life. In fact, according to AP News, Americans consume more than 10 billion bowls of soup annually, making it one of the most popular foods in the U.S.
Aside from being loaded with fiber, keeping us hydrated, and being a great source of vitamins and minerals, soups are popular because they are an affordable, filling, and comforting one-dish meal that can keep us satiated for a long time and help soothe the symptoms of the common cold according to Healthline. Although many commercial soup brands are available at grocery stores, these are often loaded with high amounts of sodium, saturated fat, and excess calories.
They may be convenient, but you miss the satisfaction of making a batch of homemade soup. Beyond the nutritional benefits, the flavor of homemade soup cannot be beaten. And it certainly costs less to produce than buying pre-made soup from the store. If you want to know how to make the tastiest and most satisfying soup at home with the least fuss, here are a few tips for making soup like a professional chef that'll take your soup game from lackluster to championship level.
1. What is the difference between a soup, bisque, and chowder?
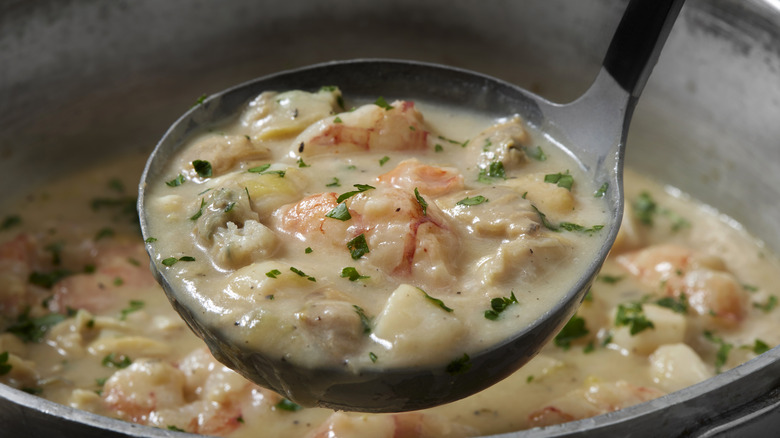
Soup, bisque, and chowder all fit under the general umbrella of soups. A basic soup is usually classified as clear or thick. Clear soups are made with broth, like a chicken noodle soup, while thick soups are often puréed together with cream and a thickener, like potatoes. A bisque and a chowder are historically associated with France, and in particular with seafood. Bisques often get puréed and then strained before having cream added.
This results in a luxurious velvety texture, like a lobster or crab bisque. Chowders tend to be more rustic, with chunks of vegetables and seafood and a slightly more modest amount of cream added, like clam chowder. Bisques tend to be seen as more elegant, while chowders are more rustic. Today, bisques and chowders can be made without seafood, blurring the lines between a thick soup and a bisque.
2. What kind of fat should you use?
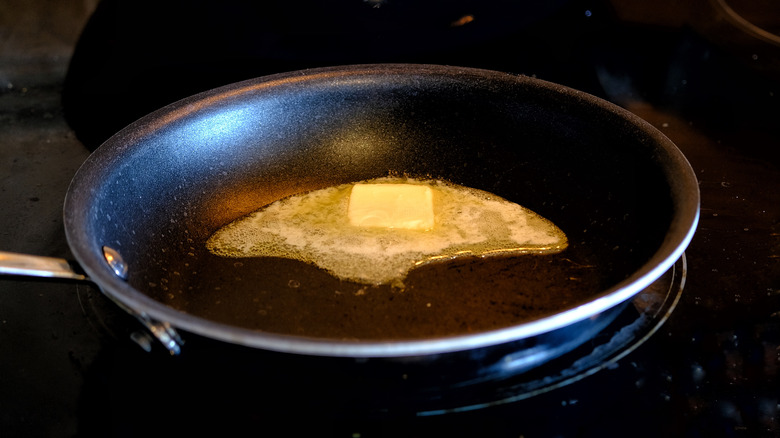
Fat is a barrier between the pan and the ingredients you add, preventing the protein molecules within these ingredients from adhering to the pan, which keeps them from burning. There are two factors to consider when selecting fat — flavor and smoke point. Certain fats have more aggressive flavors, which may or may not be suitable for a recipe.
Bacon fat can overwhelm a delicate tomato bisque but is dynamite when paired with starchy split peas or corn in a chowder. The second factor is the smoke point, the temperature at which a fat begins to burn. Some recipes call for fat that can withstand high heat, like safflower, soybean, or coconut oils. For recipes using lower cooking temperatures, lower smoke point fats are ideal, like olive oil, butter, or sesame oil. For most soups, we combine butter for flavor with olive oil to hasten the butter burning.
3. Picking your vegetables
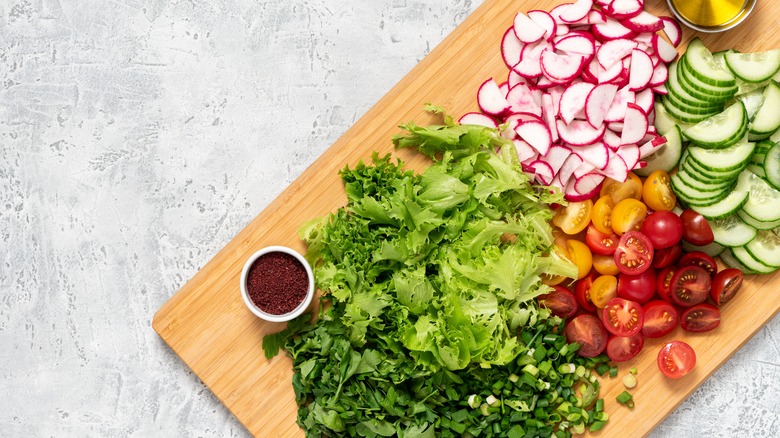
Let's be honest, how many of us have bought vegetables and then forgot they were in the vegetable drawer of our refrigerator, to discover they had begun wilting and had some blemishes on them? Soup is the ideal vessel for these forgotten vegetables. Remove any questionable parts, chop them up, and throw them in.
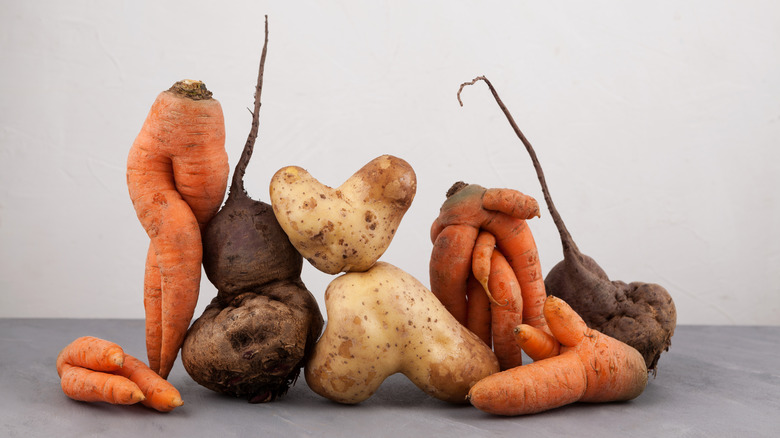
This is also the time to use any leftover frozen vegetables you may have stashed away for a rainy day before they begin to develop freezer burn. They can be just as nutritious and super easy to add to a quick soup recipe. And finally, if you have access to ugly produce, which tends to get rejected by grocery stores due to being subpar either because of imperfections or having odd shapes, you can buy these at discounted prices and use them in your soup.
4. Repurpose leftovers
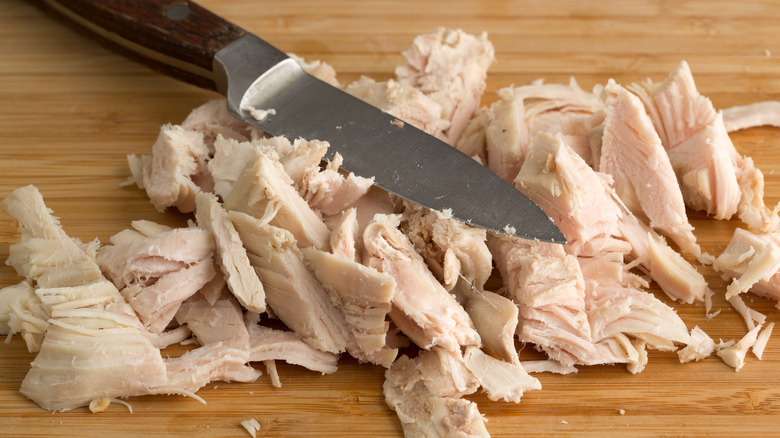
Sometimes leftovers aren't as appealing after a day or two. What better way to repurpose those tired leftovers than by making them into soup? Virtually anything can be turned into soup. If you made a bumper crop of mashed potatoes, turn them into potato soup. Stir-fried some mushrooms for an Asian dish? Make a mushroom bisque. On day four of what seems like a never-ending parade of different ways to use that Thanksgiving turkey?
Make a turkey noodle soup. The possibilities are endless, and the benefits are significant. These leftovers pump up the flavor in your soup, save you money on ingredients, and help eliminate food waste. Approximately 40% of all food processed, produced, and transported in the U.S. ends up in a landfill. Be a part of the solution, not the problem and make soup.
5. What is a mirepoix?
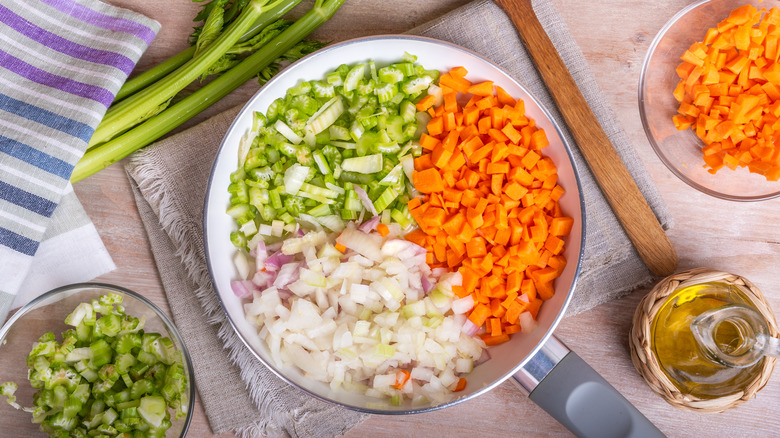
The base of virtually every soup or stew recipe begins with a combination of finely chopped aromatics, including carrots, celery, and onions, known as mirepoix. This fancy French term gets its name from the 18th-century aristocrat who popularized it, the Duke Charles-Pierre-Gaston François de Lévis, Duc de Lévis-Mirepoix. Beginning a recipe with this combination of vegetables helps to lay a solid foundation of flavor upon which the rest of your ingredients can build.
Variations of this include the Cajun Holy Trinity, which uses green pepper instead of carrot, a Spanish sofrito, which often adds tomatoes, garlic, and red peppers to onions, French Pinçage, which supplements the classic mirepoix with tomato paste and the German suppengrün or soup greens, which may use carrots, leeks, celery root, onions, rutabaga, and fresh herbs.
6. Choosing your meat
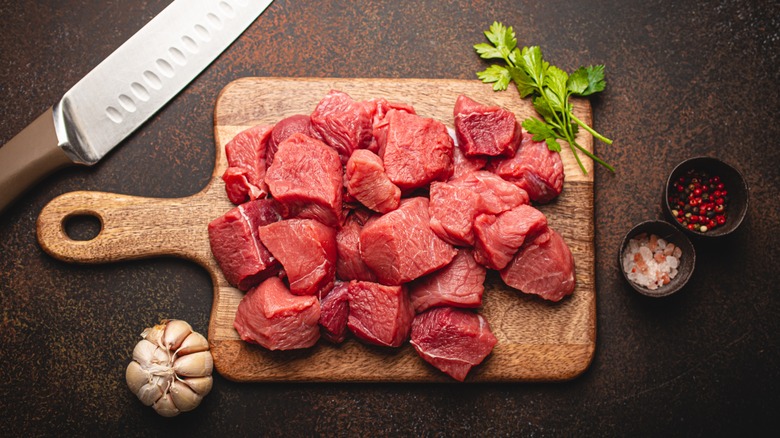
If you are making a soup with meat, choosing the cut of meat is critical to success. This is particularly important for beef. The guidelines are straightforward — always opt for leaner cuts that have a moderate amount of fat and abundant percentages of collagen-filled connective tissues. These include round cuts, chuck, sirloin, brisket, bone-in short rib, and oxtail.
The reason for this is simple, mouthfeel. As the protein cooks within your soup, those connective tissues will begin to disintegrate, slowly turning into gelatin, which helps to tenderize the meat. If using pork, opt for a pork shoulder or loin for similar reasons. And for poultry, we generally enjoy dark meat over light meat for its higher fat percentage. Always brown your meat before adding your mirepoix to give it that robust umami flavor conferred by the Maillard reaction.
7. Why mise en place is important
Mise en place, or putting in place, is an organizational strategy for cooking developed by Auguste Escoffier in the 19th century. The premise for this strategy is to ensure that every tool and ingredient you will need to execute a particular recipe is prepared ahead of time so that you don't forget anything or have to scramble to find it while overcooking a recipe. Doing so not only saves time and reduces waste, it eliminates stress.
To properly execute your mise en place, read your recipe, compile your ingredients and all necessary equipment, clean and process those ingredients, and lay them out in the appropriate order. It may seem like an extra step, but we promise it will make you a much better cook and will ultimately improve the quality of your cooking, particularly with something that can be as complex as a soup recipe.
8. Cut your vegetables the same size
Where cutting your vegetables for a soup is concerned, size matters. It is necessary to cut vegetables roughly the same size. Not only will uniformly cut vegetables cook more evenly, but they also develop a more palatable mouthfeel. This is particularly important for soups that will remain chunky rather than puréed. Additionally, cutting vegetables into smaller sizes will ensure they cook more thoroughly and absorb the maximum flavor.
We like to break it down as such — the more surface area of a vegetable exposed to oxygen, the more robust its flavor. When you cut a carrot or onion finely, its maximum surface area is exposed. This enables all of those edges to contact the oil and spices within the pan, coating them thoroughly so they are completely saturated. For this reason, we recommend you invest in a high-quality chef knife and keep it sharp.
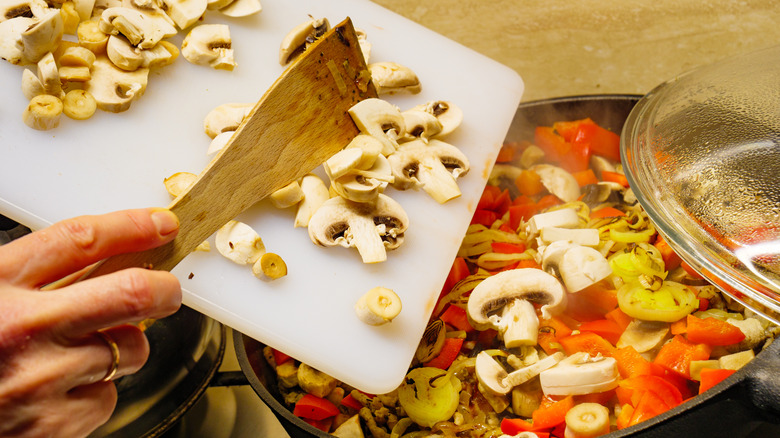
9. Add vegetables in order of how quickly they cook
Beyond the basic mirepoix, which gets added at the beginning of cooking your soup, not all vegetables should get added to your soup simultaneously. Some vegetables take longer to cook than others. Root vegetables like potatoes, butternut squash, turnips, rutabaga, and celery root should be added first. You should also add frozen vegetables early in cooking to give them adequate time to thaw and cook thoroughly.
More fragile vegetables that get tender rapidly, like asparagus, fresh peas, broccoli, and green beans, can be added toward the latter half of the cooking process so they do not completely disintegrate in the soup. The last thing to add is greens, like spinach, or fresh herbs, like parsley. These require just a couple of minutes to heat through to wilt without losing their flavor and texture.
10. The importance of salt
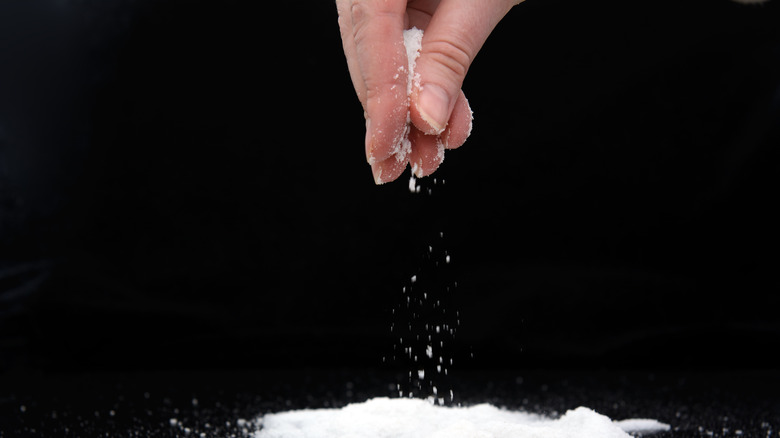
Salt is a critical ingredient in cooking. Not only does it provide flavor, but it also performs some necessary tasks in terms of overall texture. We always use kosher salt for cooking. It is easy to measure, dissolves rapidly, and, because of its larger-sized granules, it doesn't blend in with other ingredients, like sugar.
For maximum flavor, it is recommended that salt be added at the beginning of cooking to get completely absorbed by all of the ingredients in a recipe, particularly for meat or vegetables in a soup. And finally, salt performs the vital task of drawing moisture out of vegetables, which helps to tenderize and cook them faster in soup.
11. When you add your spices matters
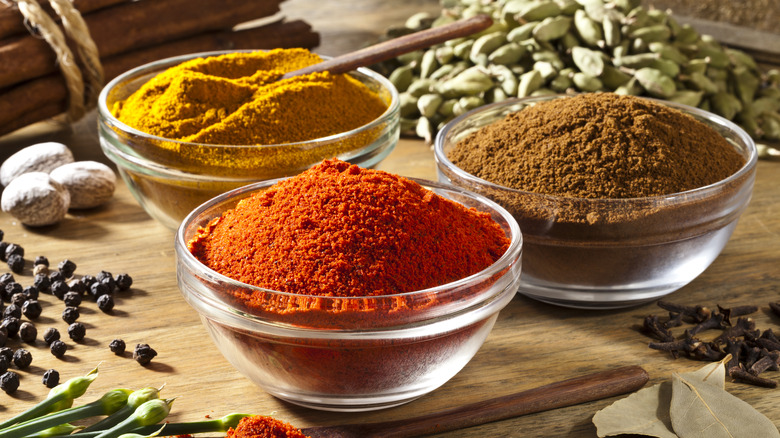
There are a few things to know regarding using dried herbs and spices in cooking. First, make sure they are fresh. Ground spices lose most of their flavor within six months to a year. We recommend buying whole spices and grinding them yourself using a dedicated coffee grinder or buying smaller quantities of ground spices more frequently.
Be sure to store your spices in an airtight container in a cool, dry place away from sunlight. When adding herbs and ground spices to soup, we always add them to the mirepoix after salting it to allow the spices a minute or so to toast in the oil. This infuses the aromatics and oil with their flavor, which will coat the vegetables and permeate the liquid you cook the soup in.
12. Why should you use wine (or beer) in soup?
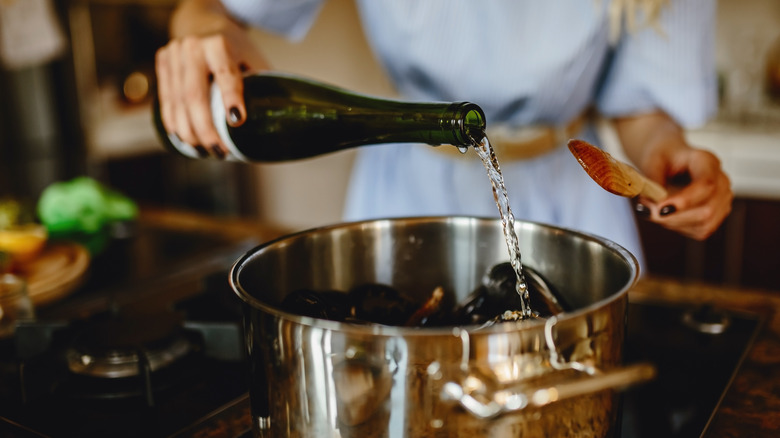
Adding alcohol can infuse the soup with flavor and help to break down and tenderize meat and vegetables, thanks to its acidity. It is always recommended that you use wine or beer you would drink, not something cheap. And never use what is called cooking wines. These are inferior wines loaded with sodium. When making soup, we generally use a dry white wine, like a sauvignon blanc or pinot grigio, or fortified wine, like vermouth.
We add it after cooking down the mirepoix and toasting the spices. This allows us to deglaze the pan with the wine, scraping up any caramelized bits stuck to the bottom. Contrary to popular belief, when cooking with wine, not all the alcohol will burn off. After an hour of simmering a soup, approximately 25% of the alcohol will remain.
13. What is the difference between stock and broth?
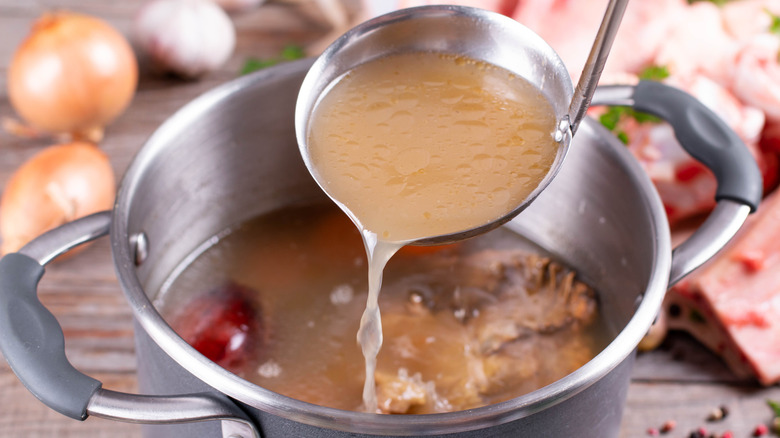
Making stock at home is always a good idea when cooking soup. However, most of us don't have hours to devote to homemade stock, which means we need to rely on store-bought stock or broth to make our soup. But which one? The broth is made by taking meaty bones, aromatics, vegetables, and spices and cooking them in water for approximately 2 to 4 hours.
Stock is made by roasting meat bones and cooking them with aromatic vegetables in water for 8 to 12 hours to extract all the collagen from these bones, making them rich and gelatinous. Bone broth is a misnomer. It is a stock made with roasted bones and simmered for up to 48 hours to extract all the nutrients from the bones. When making soup, you can use all three interchangeably. Just note that stocks or bone broth generally have less sodium than regular broth, so adjust your seasoning accordingly.
14. Thickening soup
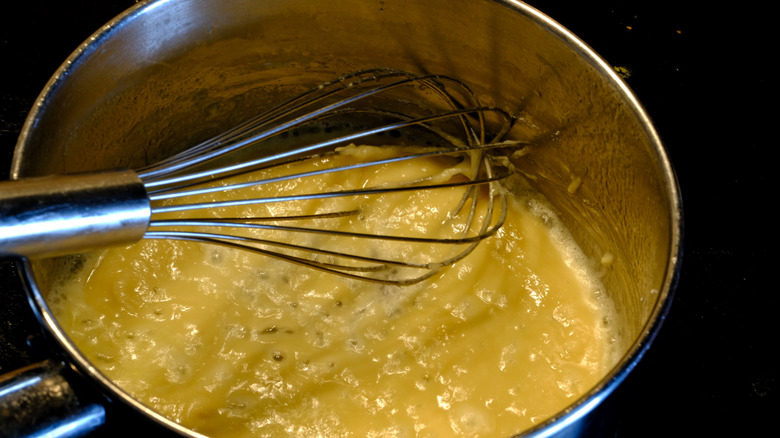
Some soups, like a classic New England clam chowder, benefit from being thickened for the right texture. Common thickeners include a flour and butter mixture known as a roux or adding some bread. These are both effective, but be cautious about not overdoing it with the thickener, or your soup can get pasty. The problem with these thickeners is that they are not gluten-free, which can be a deal breaker for those with allergies.
Gluten-free thickeners include starches, like corn, tapioca, arrowroot, water chestnut, sweet potato, and potato, or gums, like xanthan and guar. These are great, but as their names connote, they can be slightly gummy or starchy if not added with restraint. Alternative gluten-free methods for thickening soup are puréeing some of the cooked vegetables, adding some puréed cottage cheese or sour cream, and adding some lentils or rice.
15. Simmer, don't boil
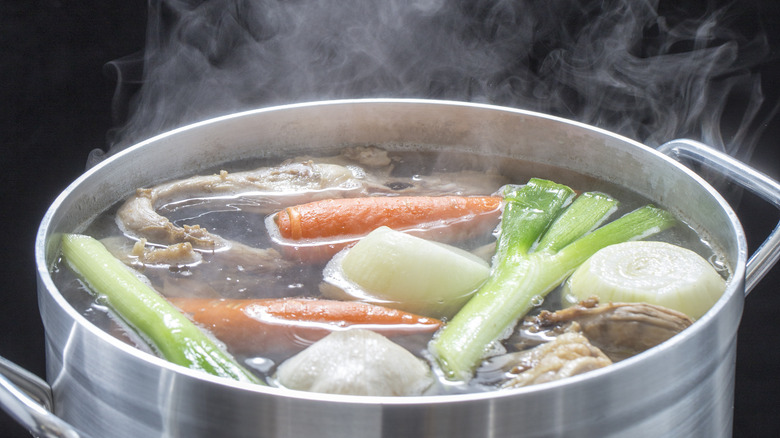
Most soup recipes call for bringing the stock with the raw meat and vegetables to a boil before reducing it to a simmer to cook for a prolonged period. There is a reason you want to heed this advice carefully. Boiling is an aggressive method of cooking that occurs at about 212 degrees Fahrenheit.
It produces large bubbles that continuously break the surface. These bubbles can easily damage and disintegrate delicate vegetables or proteins, like fish. For this reason, reducing the temperature to approximately 180 to 190 degrees Fahrenheit and simmering your soup will prevent any fats or proteins from sticking together and making the broth murky. It will also keep your soup from scorching to the base of the pan, which completely ruins soup.
16. How to purée soup
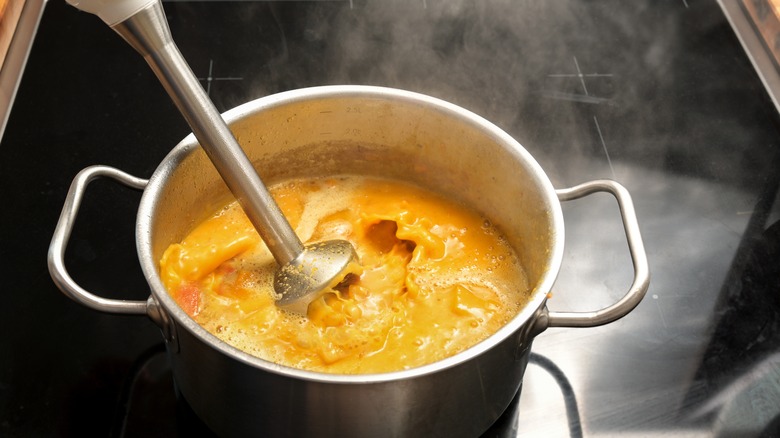
The topic of how to purée soup may seem obvious, but there are nuances to consider. First, equipment is crucial. You can use a blender or food processor, though you must cool the soup first to avoid steam from collecting in your device and exploding on you, which can cause a bad burn. This takes time, and the cooled soup tends to be somewhat grainy instead of smooth. Our device of choice is a quality immersion blender with a metal blade.
You can purée hot soup in its pot with an immersion blender, saving time and achieving an infinitely better texture. Don't forget to add oil, milk, or reserved stock to help loosen it up and blend it thoroughly. Also, if you notice that your puréed soup still appears chunky, you can put your puréed soup through a fine mesh sieve to strain it further, removing any excess clumps.
17. How to make soup creamy with or without dairy
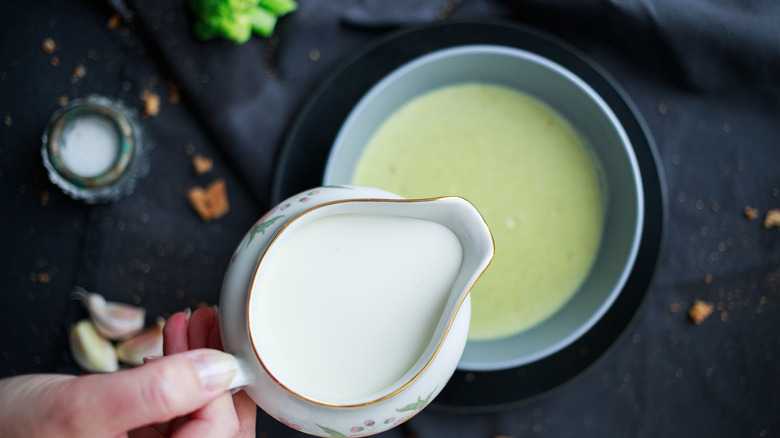
At the risk of this sounding the same as how to thicken a soup, you can make the soup creamy by adding a roux or a slice of bread before puréeing the soup, but that isn't necessary. What you want is a velvety mouthfeel, which increases satiety. This can be achieved by incorporating cream, sour cream, yogurt, or even puréed cottage cheese.
For non-dairy alternatives, consider adding ground nuts, puréed vegetables, or dairy-free milk alternatives, like coconut milk, almond milk, or cashew milk, which all convey a rich flavor to your soup. Do not attempt to use a non-dairy creamer, especially if it is flavored, to thicken the soup. These tend to overpower the taste of the soup.
18. Always adjust seasoning to taste
We will be the first ones to admit when we see adjust seasoning to taste in a recipe; it annoys us. Doesn't the recipe already have what it needs seasoning-wise if tested thoroughly? The answer is yes and no. Every person has different taste buds, meaning the distribution of sweet, sour, salty, bitter, and umami taste buds are distinct to your tongue, making one person's perfection another's disappointment.
Also, the ingredients you use will determine the final flavor of your soup, even if you follow it to the letter. The cooking process in and of itself will impact what your food tastes like, enhancing some flavors and mellowing others. Therefore, you should always taste your food before serving it. You are looking for whether it needs more salt, pepper, other spices or herbs, acidity, or sweetness. The key is balance, which cannot be determined until the soup is finished.
19. When to add noodles or rice
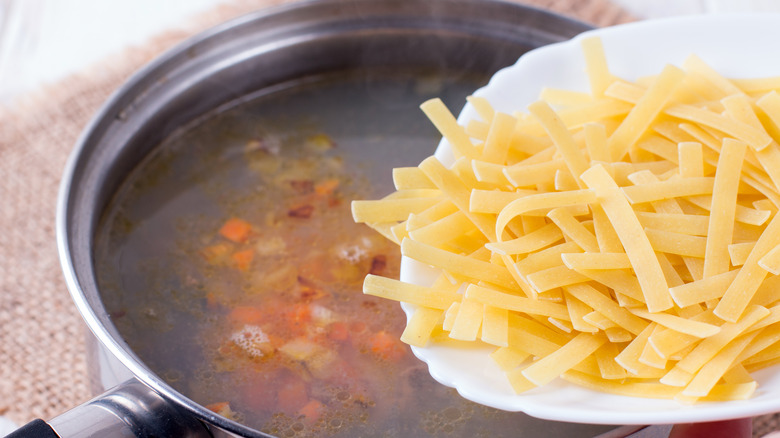
Something critical to know is when and how to add pasta or rice to soup to avoid being over or under-done. First, you can cook the pasta or rice separately and add it to each serving of soup as needed. The only problem with this is that the noodles or rice won't absorb any of the flavors from the soup, making them bland.
Alternately, add your noodles about 6 minutes before the soup is finished and the rice about 15 minutes before the soup is done to ensure they cook precisely to al dente. Once the soup has finished cooking and sits for a minute or so, the starch will be done. And finally, make sure you begin with far more stock than you will want in the end to offset the amount of liquid the pasta and rice will absorb while cooking.
20. Don't forget the garnish
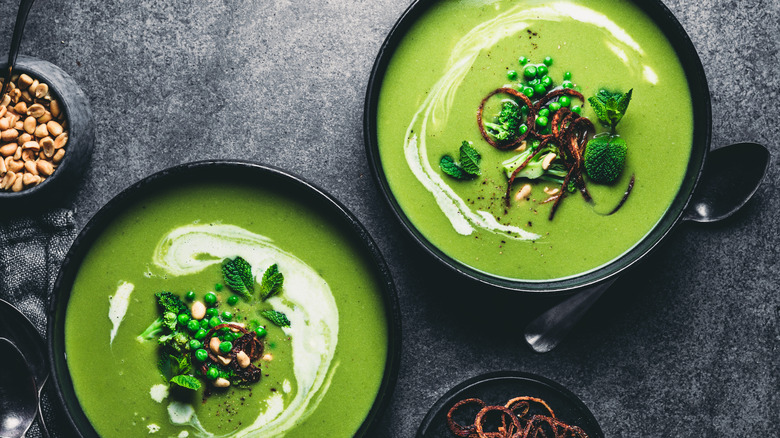
One of the guiding principles for a chef when plating anything is to invoke all five senses while eating. This is even more crucial when it comes to plating soup. You must be able to eat with your eyes through various colors, by smelling a complex perfume of aromas, and by feeling diverse textures on your tongue. Taste all five flavors sweet, sour, salty, bitter, and umami, and even listen to the different ingredients as they chew and crunch in your mouth.
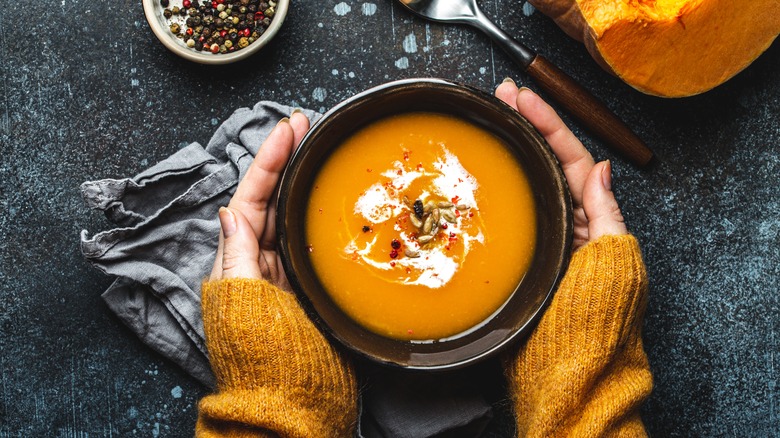
This is a complete and satiating experience, making garnishes invaluable. We usually limit our garnishes to three to four max per soup so as not to over-complicate things. Great options include fresh or roasted vegetables, herb oils, cheese, croutons, nuts or seeds, fried shallots, pickled vegetables, chips or popcorn, bacon bits, lemon zest or a lemon wedge, and crème fraîche.
21. Freeze your soup
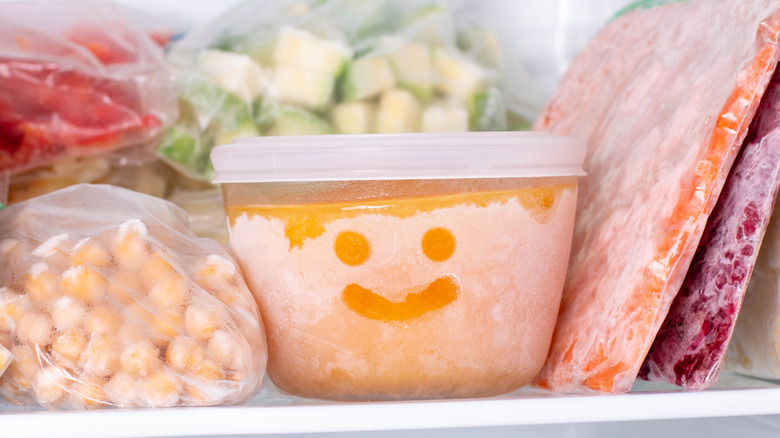
If you take the time to make homemade soup, you might want to make a double batch and freeze some. While any soup can be frozen, those with a lot of dairy, pasta, or rice require adjustments. You will want to add the dairy or starch to the soup after you have thawed and reheated your soup rather than before freezing. Soup can be frozen for up to three months. To freeze soup, cool it thoroughly before distributing it into individual-sized freezer bags or containers.
Be sure to allow excess space for the soup to expand in your freezer bags and eliminate as much of the air as possible from the bag before laying it flat in the freezer. For best results, store soup in the back of the freezer to minimize temperature changes. And always be sure to label containers with the date and type for easy identification.
