15 Cooking Uses For Your Mason Jar You Need To Know About
Mason jars are designed for canning and preserving foods. However, while this may be the use they were initially intended for, it doesn't mean that you can't use your mason jars in other ways. Believe it or not, the glass jars — along with their circular metal lids — can actually come in handy for a variety of cooking and meal preparation tasks.
Whether you have some extra mason jars that you didn't need for canning that batch of homemade jelly, or you don't want to waste the jar from the pickles you grabbed at the farmers market a few weeks ago, you'll be amazed to hear about all the different ways you can put a mason jar to work in your kitchen. From baking pies and tarts to marinating meats to even making your own butter, the uses are nearly endless. Continue reading to learn more about a few of the less conventional ways to use a mason jar for cooking.
1. Bake mini cakes
There are several gift ideas that involve layering the ingredients to make cakes, brownies, hot chocolates, and other sweet recipes inside a mason jar. Your recipient can then measure out the right amount of the mix and add the needed wet ingredients to make the dessert. However, did you know that you can actually bake mini cakes directly inside the mason jar to have a ready-to-eat gift that the special someone on your list is certain to enjoy?
To make these mini cakes, you'll need one-pint mason jars. Simply follow the directions on a box of cake mix, spray the inside of the jar with nonstick baking spray, and add the batter to the jar. You should add about 1 cup of batter to each jar, taking care to wipe any splatters off of the sides of the jar. Because the cake in the jar will be smaller than the full recipe calls for, subtract about 15 minutes from the total cooking time, but still check for doneness with a cake tester or toothpick. To help the cakes cook evenly, you should also rotate the baking sheets under the mason jars about midway through the cooking process.
After the cakes have finished cooking, remove them to a cooling rack to cool completely. Then, you can add some frosting if desired, put a lid on the jar, and decorate it as desired before gifting it to a friend or family member.
2. Make fruit and yogurt parfaits
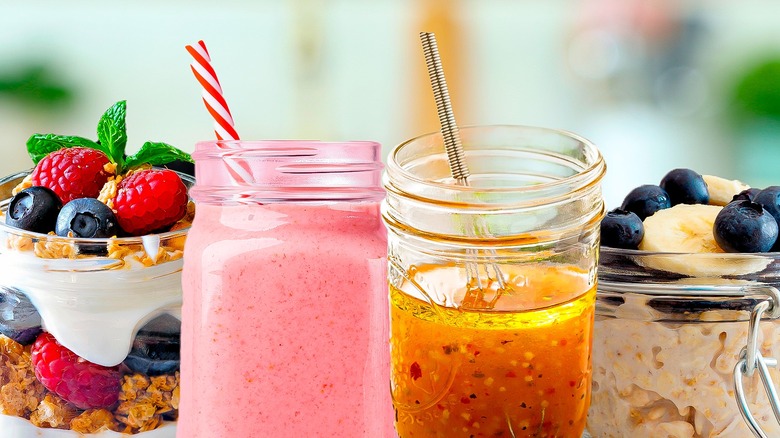
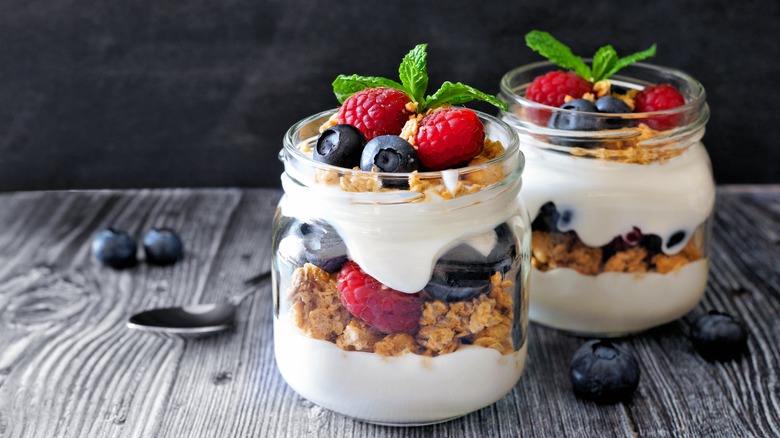
Does it seem like getting out the door for school or work is always such a scramble in the mornings? Using your mason jars to make fruit and yogurt parfaits ahead of time could be the solution you're looking for. They'll make a quick and delicious breakfast that you can enjoy at home, or easily grab to bring with you for later.
All you'll need is your favorite yogurt, berries, and granola. You could even add some nuts or seeds into the mix, or some protein powder for a little extra boost. You can even make several parfaits at the same time by layering the ingredients in the jar. Start with some yogurt, then some fruit, and repeat. The only thing you won't want to add to the layers is the granola. Reserve it and leave it in a small cup or bag. When you're ready to eat the parfait, you can add on the granola, so that it will still be crunchy.
3. Make overnight oats
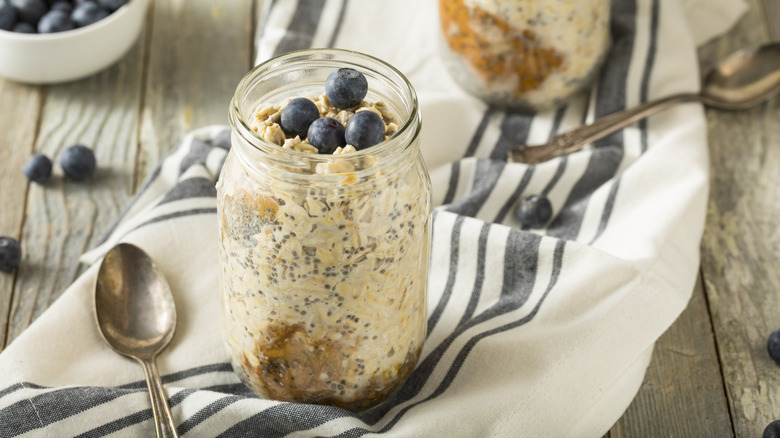
Overnight oats are another quick and easy breakfast meal that you can prepare using a mason jar. If you're not familiar with what overnight oats are, they are precisely what they sound like. Oats that are prepared overnight. Rather than boiling milk or water on the stovetop and cooking the oats in the hot liquid, they soak in the liquid for several hours to make them soft and ready to eat.
One of the best things about this mason jar use is that there are so many different overnight oats recipes and flavor combinations to choose from. There is something for everyone. You'll be able to experiment until you find a few go-to recipes. You can make vegan oats by using almond milk, mixing in your favorite fruits and nuts, adding chia seeds to boost your brainpower, and so much more. Modify the recipes you find with some of your favorite ingredients, and you're certain to come up with the perfect concoction to start your day.
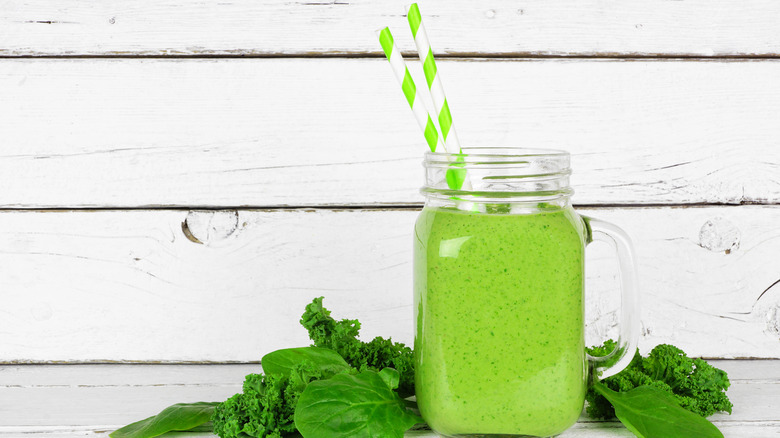
4. Blend a smoothie in it
You may have thought about drinking a smoothie from a mason jar before, but did you know that you might actually be able to make the smoothie in the mason jar itself? Well, it's true. Some blender blades are identical in size to the lid of a mason jar. They can even be screwed over the jar. If this is the case with your blender blades, and they are able to be screwed on securely over the jar's opening, then you can blend the ingredients for your smoothie and drink it out of the same jar.
Not only will this hack save you time by eliminating the need to clean a separate blending jar, but it will also cut back on waste. Whenever you blend a smoothie and try to pour it into a glass, it always seems like so many remain stuck on the side of the blender. Now, all of your delicious smoothies will remain in the mason jar, ready for you to enjoy.
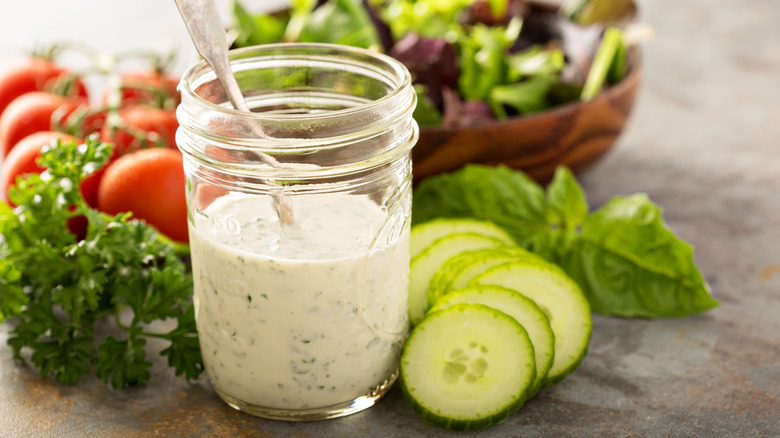
5. Make and store homemade salad dressing
Do you really know what is in the salad dressing you grab off the shelf at the grocery store? Do you know that with just a few ingredients you can make a healthier salad dressing that will also help elevate the taste of your favorite salads? All you really need to make a homemade vinaigrette is some olive oil and balsamic vinegar. You can also add some seasonings — like oregano or basil — for a more flavorful dressing.
If you use a mason jar to make your salad dressing, you have a built-in storage bottle. With just olive oil and balsamic vinegar, the dressing can even stay out on the counter between uses. When you're ready to drizzle the dressing over a salad, just give it a good swirl to remix the oil and vinegar, which will separate after sitting. Then, simply replace the lid on the jar, and enjoy your scrumptious and healthy salad.
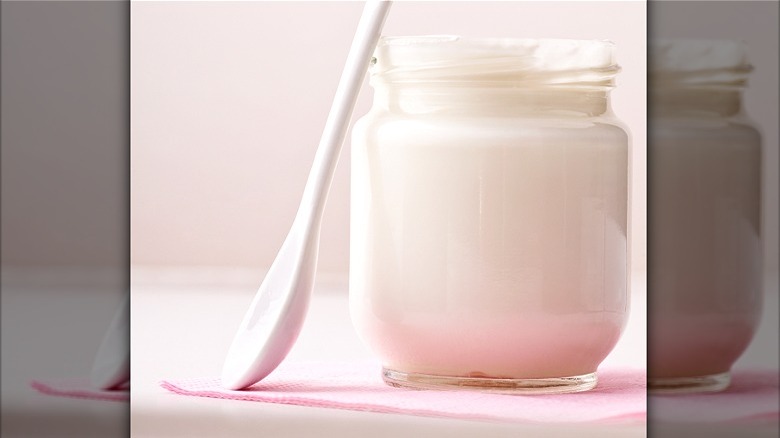
6. Make your own yogurt
With a few mason jars, you can easily make a large batch of homemade yogurt. Making your own yogurt is easier than you might think. Plus, it leaves you in control of the flavor and sweetness. Beyond the mason jars to hold the batch of yogurt you're making, all you need is some milk and a container of yogurt from the store that has active bacteria cultures. For each gallon of milk, you should have about half a cup of yogurt.
If you're using pasteurized milk, warm the milk up in a large pot until it gets up to 200 degrees Fahrenheit. Stir as it is heating, or use a double boiler to make sure that the milk doesn't get stuck to the bottom of the pan. Allow the milk to cool to about 115 degrees Fahrenheit before pouring it into the jars and adding the yogurt. The size of the mason jars you're using will help you determine the right amount of yogurt to add. But aim for about 1 tablespoon of yogurt for each pint of milk. Stir in the yogurt well and leave it in a warm environment — such as a cooler filled with warm water — for 12 hours. After 12 hours, move the mason jars to the refrigerator, or blend them with your favorite ingredients first to make flavored yogurt.
7. Marinate meats before cooking
Mason jars can also work well for marinating meats before grilling them. Just keep in mind the size of the meat you want to marinate, the size of the jar you have, and how wide its mouth is. For example, chicken breast and cubed meats for kabobs will fit nicely in the jar to marinate. Start by adding the meat or poultry you wish to marinate to the jar. Then, pour in some of your favorite homemade or store-bought marinades, put the lid on the jar, and give it a good shake. This should coat your meat well, allowing the marinade to soak into the meat to make it more tender and flavorful.
After marinating your meats, remove them from the mason jar and put them on the grill or skillet to cook. Mason jars have a small footprint and won't take up much space in the refrigerator, especially compared to larger and wider trays or containers. However, while mason jars can come in handy for marinating many different types of meat, they won't be the ideal choice for larger cuts, such as steaks.
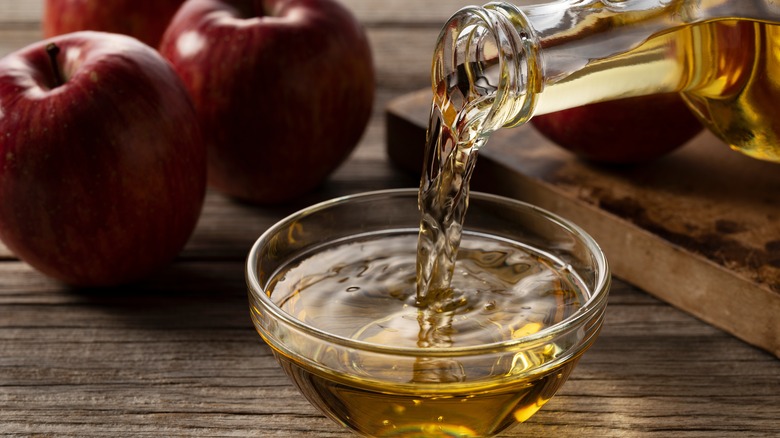
8. Make your own fruit vinegar
Apple cider vinegar is not the only type of fruit vinegar. Fermented fruit juices from grapes, strawberries, peaches, oranges, and other fruits can also be used to make fruit vinegar. Fruit vinegar can add a unique flavor to your favorite recipes. Like other types of vinegar, it is acidic. However, it also holds some of the flavors of the fruit used to make it.
If you're intrigued and want to try making some yourself, a mason jar can help. All you'll need is about 1 pound of fresh fruit (peels and cores can also be used), one-third of a cup of sugar, one-half of a cup of unpasteurized, live vinegar, and water. You'll also need a large, half-gallon mason jar and a cheesecloth.
Once you have all the materials and ingredients together, pour the sugar and fruit into the mason jar and cover them with water. Then, add the unpasteurized vinegar and cover the top of the jar with a cheesecloth. Give the mixture a stir every day for about 7 days, then you can stir it about every other day for the next 7 days. After two weeks, strain the liquid and throw out the remaining chunks of fruit. Return the vinegar mixture to the jar, cover it, and let it sit for up to three months, or until fully converted. Once it has finished fermenting, strain out the mother and put the vinegar into a clean mason jar with a lid.
9. Make butter
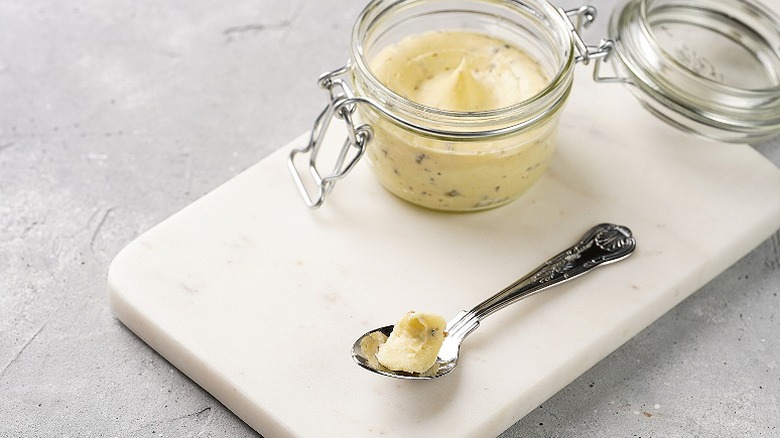
Believe it or not, you can even make your own butter in a mason jar. The directions even call for fewer materials and ingredients than you may guess. In fact, all you need beyond the mason jar with a lid is some heavy whipping cream and a little bit of salt. Pour the cream into the jar, about up to the halfway mark, and add in a few pinches of salt.
Now, flex your muscles because you're going to need them. To turn the heavy whipping cream into butter, you'll need to shake the jar for about 15 minutes. Keep shaking until you notice that the sound is changing. Rather than it sounding like free-flowing liquid, you should hear some louder thuds as the cream is solidifying. Once you start hearing this, you're almost done. Give it a few more good shakes and remove the lid. If you see a solid clump of butter surrounded by a little bit of liquid, you're done. You can strain out the liquid — it's buttermilk, so you probably want to save it to use for a recipe. Then, just make a ball with the butter and put it into a bowl. Slowly start pouring water over the butter, dumping it out periodically, until the run-off is clear. Your butter is now finished and ready to be refrigerated and enjoyed.
10. Make homemade whipped cream
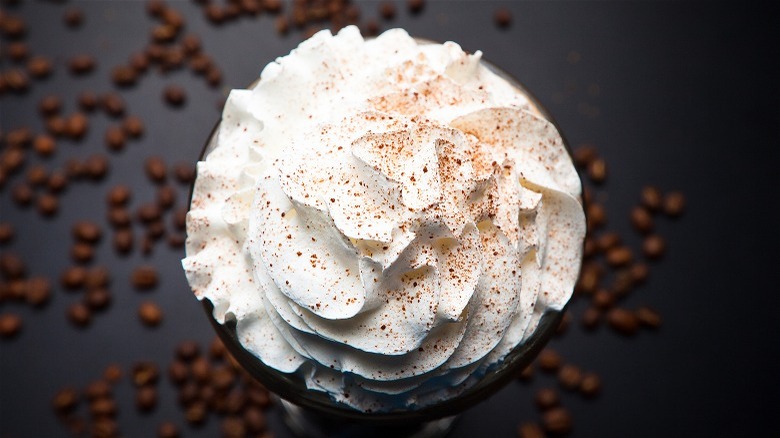
If you know how to make butter in a mason jar, making whipped cream will be even easier. The steps for making it are very similar to those for making butter, but you'll need a few additional ingredients. Fill a pint-size mason jar about halfway with heavy whipping cream. Then, add a little vanilla extract and powdered sugar. Place the lid on the jar. Shake it well, just as you did for making butter. It should take between 1 and 2 minutes of shaking to turn the cream into whipped cream.
While you can always make your own whipped cream with a hand mixer, there is a benefit to using a mason jar: the whipped cream will be ready to store or bring along with you to a gathering. If you're supposed to bring a dessert to a get-together with friends, and don't want to serve store-bought whipped cream, making your own in a mason jar is the ideal solution.
11. Use jar lids as a muffin tin substitute
Have you ever wanted to make muffins or cupcakes only to realize that you won't be able to because you don't have a tin? Or, perhaps, you have a large batch of cupcakes to make, but only have one tin with the necessary compartments. If you have any mason jar lids or rings, you don't have to worry about changing your plan. They are oven-safe and can actually make an excellent stand-in muffin or cupcake tin.
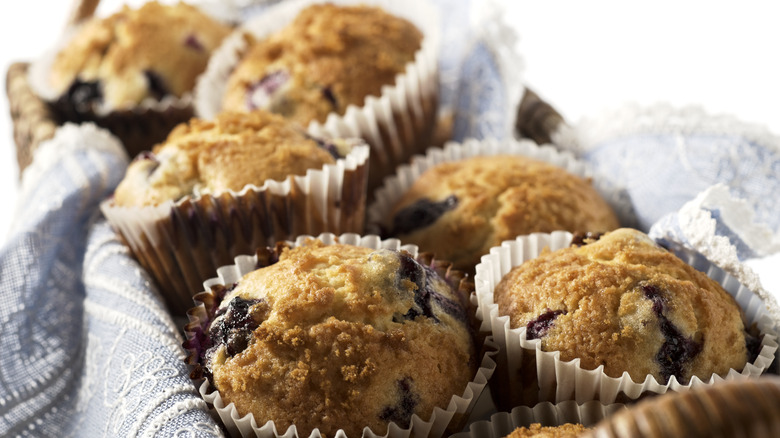
Just lay out the lids or rings on a large rimmed baking sheet. Place a cupcake liner in each lid and fill the liner with your muffin or cupcake mix. Place the baking sheet in the oven — being careful not to let the tip of the liner over — and bake according to the recipe directions. After your cupcakes cool, you can even store or transport them using the lid and the mason jar. Leave the cupcake on the lid and place the mason jar over it (upside down). Now it is ready to be stored to remain fresh, transported safely to a new location, or even given as a gift.
12. Make mini fruit pies with the lids
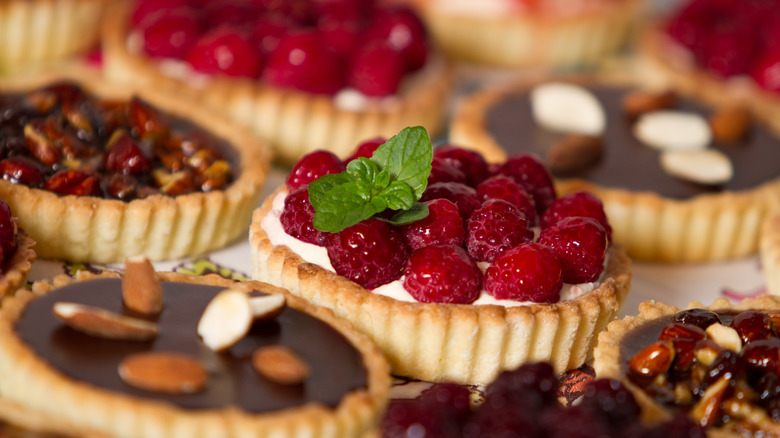
Here's another use for your mason jar lids: they can serve as mini pie pans. Whether you're looking to give pies to friends or family members as a holiday gift, want to make individual-sized pies to freeze for later enjoyment, or like the idea of letting every member of your household personalize their filling, you'll find that mason jar lids are perfect for the task.
Look for wide-mouth mason jar lids for appropriately-sized mini pies. Either make your favorite pie crust recipe to portion between the lids or cut a store-bought crust into sections to fill each section. Once you have the crust laid out, you can fill each lid with your favorite pie topping and bake until the edges turn golden brown. This will take approximately 20 minutes. After removing the pies from the oven, let them cool for a few minutes before taking them out of the lid. Then, you can either serve or chill the pies, as desired.
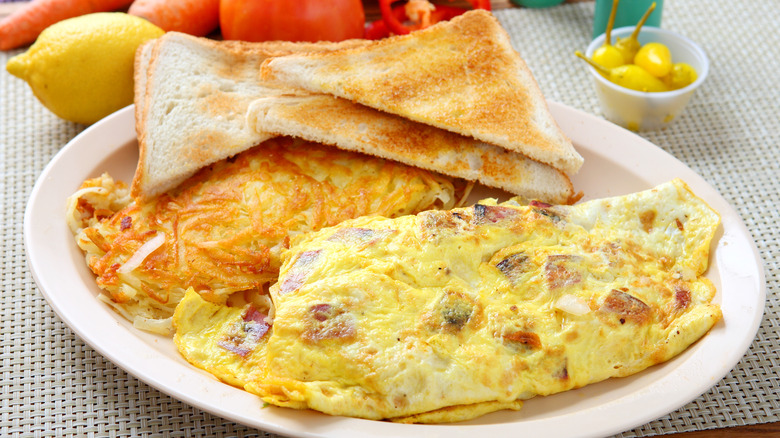
13. Make quick and easy omelets
If you're looking for more breakfast ideas that will help you get out the door more quickly, then mason jar omelets may be the solution you've been hoping for. They make it possible to do all the prep work for making an omelet – cracking the eggs, slicing the veggies, and more — the night before. Then, in the morning, all you need to do is pop the mason jar in the microwave to cook the omelet.
To prepare the omelet jar, start by coating the inside with nonstick spray. Then, add your eggs, veggies, breakfast meats, seasonings, and any other desired ingredients to the jar. Place a lid on the jar and put it in the refrigerator. In the morning when you're ready to cook the omelet, just give the jar a little shake to redistribute the ingredients and microwave it for approximately 2 minutes. You want the eggs to be fully cooked and set before removing the omelet. Once cooked, open the lid and slide the omelet out to enjoy.
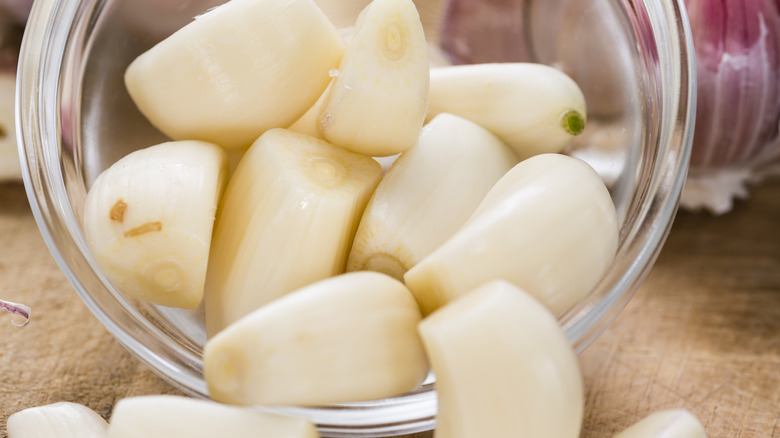
14. Use the jars to peel garlic for your recipe
Have you ever made recipes that call for an entire head of garlic? If you have, then you know how time-consuming it can be to peel each and every clove on the head. Fortunately, there is a simpler solution — and one that a mason jar can help you with.
If you peel away some of the outer skin from the head of garlic, put it in a mason jar, and close the jar with the lid, shaking the jar can actually peel each clove. This happens because the garlic cloves are banging around inside the jar, hitting the side walls and one another. As they knock into these things, it causes the peels to get looser and eventually fall off. So, once you have the garlic inside the jar, give it several really good shakes. After several seconds, take a look to see if all of the skin has been removed. If not, keep shaking it for a few more seconds until each clove is clean.
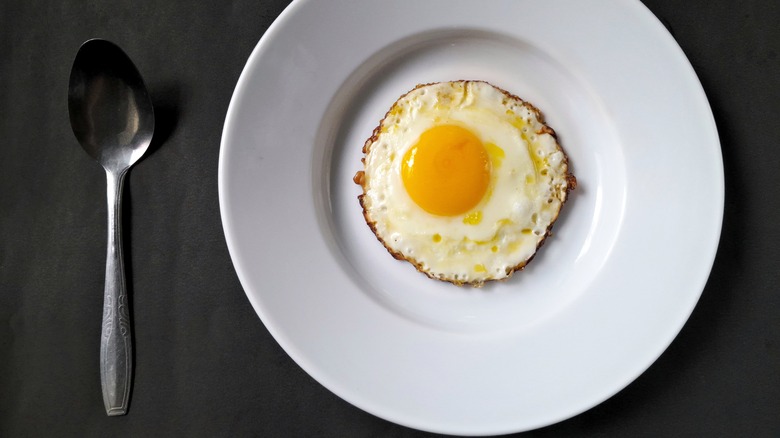
15. Make perfect fried eggs
If you like making breakfast sandwiches, such as a copycat Egg McMuffin, getting your fried eggs to turn out correctly is half the battle. Did you know that a mason jar can help make perfect fried eggs? More specifically, the mason jar lid ring can help with this task. If you think about the shape of the lids, they are the ideal size for a fried egg on a breakfast sandwich.
Just put the ring on your hot and buttered or oiled frying pan. Crack an egg directly into the ring and let it cook. Once the egg has cooked enough to become solidly formed, you can take the ring off and flip it over. Then, top the egg with cheese, if desired, and add it to your breakfast sandwich. Take note that this tip uses a mason jar ring — the open circle that goes over the flat disc that gets sealed on when canning. You will not be able to do this with a one-piece lid, because you need an open ring in order to provide a space to cook the egg.
