For Restaurant-Quality Scones, Make Sure To Use Cold Butter
A good scone is a bit of an otherworldly experience. When they're perfectly tender on the inside, crusty and caramelized on the outside, with just a hint of sweetness (or packed with rich, buttery flavor if it's savory) they seem deceivingly simple. Scones are not made from complicated recipes in terms of ingredients; usually just flour, butter, eggs, sugar, milk or cream, and flavorings. They are, however, one of those recipes where technique makes all the difference between a pillowy, tender crumb and a dry, crunchy brick.
Scones are one of the recipes that bakers tend to hold pretty close to the chest. It can take a lot of trial and error to come up with a version that stays really tender and moist without being so saturated that they don't take a proper shape. If you've tried to make a restaurant-quality scone at home and you're not sure what you're doing wrong, there are a couple of common mistakes home bakers make. There are also a couple of insider secrets that will elevate your lemon blueberry or cranberry pumpkin scones to commercial bakeshop status. All you need to do is prevent too much gluten from developing (which you can control by minimal stirring and kneading) and using really cold butter.
Gluten development
Gluten is the sticky substance that develops in flour when it's mixed with water, milk, or something else that's wet. It's actually a linked compound that is made up of glutenin and gliadin proteins, according to King Arthur Baking Company. The copound is present in all regular wheat-based flours. When you add water or milk to your flour and mix things around, the two proteins link up. The more you mix, the more gluten develops. This is a good thing when you're making, say, a crusty loaf of sourdough, which is why bread dough is kneaded so much. But chewy gluten is not so good when you want to make something with a delicate texture like a scone.
To prevent the glutenin and gliadin proteins from ruining your scones, always avoid any over-mixing once the flour is introduced to the liquid. For this reason, always measure out your mise en place and mix your dry ingredients together first before adding any liquid — this is not a dump cake situation where you throw everything into the mixer and let it rip. Once you've measured the ingredients out, there's still one more step you can take to minimize gluten development: adding cold butter to the dry ingredients.
Cold butter technique
Before you add your milk or cream to your dry ingredients, you need to add butter to the dry mixture, just as you would when making a pie crust. The trick with scones is to make sure the butter is very cold, and you can even freeze the butter first. The cold temperature will slow down gluten development, reports ASDA Good Living. Also, many recipes say to mix the butter into the flour with your hands — but you'll want to avoid this, as your body temperature will warm up the butter. Instead, use a pastry cutter or a fork, which you can also refrigerate before using to keep the butter extra cold. If you opt to freeze your butter, a nice hack is to use a cheese grater to shave it into the dry ingredients.
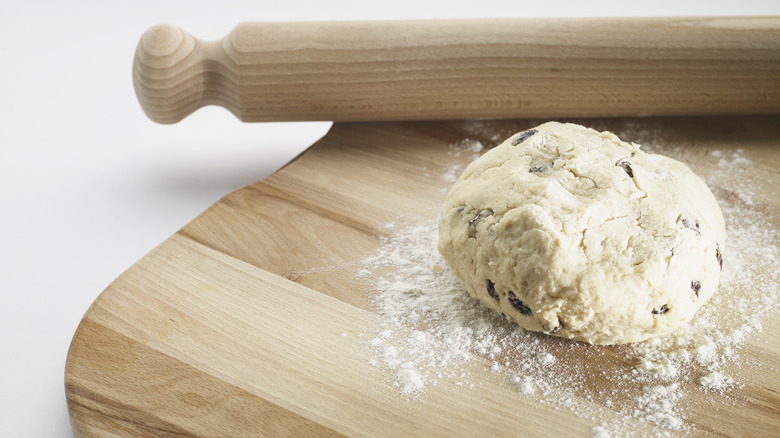
Once you have all the butter incorporated into the dry mix, you'll add the wet ingredients. Just like the butter, make sure everything is cold. Place your milk, eggs, and anything wet in the fridge to chill while you're mixing in the butter. Once the wet things are in the bowl, the key is to use a very light touch while mixing. The goal is to get the ingredients to just barely come together enough for you to be able to turn the dough out onto a flat surface without falling apart. If you keep your ingredients nice and cold (and don't over-stir), you should get the perfect flaky, fluffy scones.


