The Best Kitchen Tools To Cream Butter And Sugar If You Don't Have A Mixer
It's been just over a century since Hobart found a way to shrink its 80-quart commercial mixer down to a size that would fit into home kitchens, producing the ever-useful KitchenAid stand mixer. Since then, a stand mixer has become a standard kitchen appliance. Home bakers have become so dependent on them that there's a valid argument about the necessity of buying a second bowl for your stand mixer.
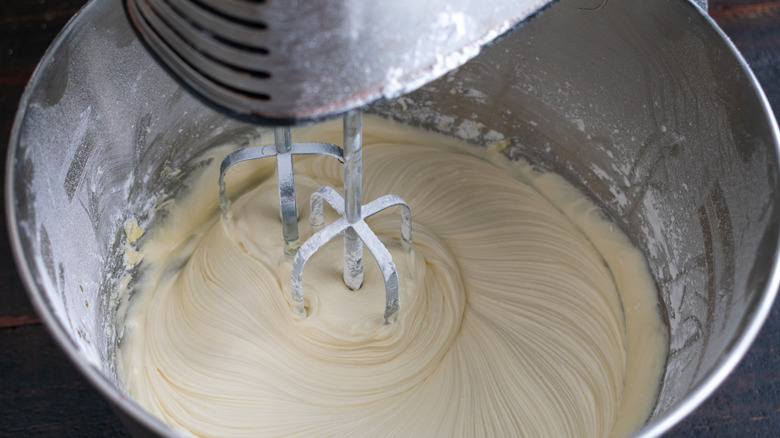
Moreover, a stand mixer is one of the most useful tools when it comes to creaming together butter and sugar. Creaming is a vital step to a light, well-risen cake, and most cookies. As the crystalline grains of sugar dissolve into the butter, they create pockets of air. Those pockets remain throughout baking to yield an airy, sponge-like interior texture. Without creaming, the cake would be dense and rise unevenly.
That simple explanation belies the complexity of creaming, however. King Arthur Baking explains how seemingly minor variations in the butter's temperature can spoil an otherwise perfect recipe. Butter that's too cold won't mix with the sugar — they'll combine, but there won't be enough air pockets. Those air pockets can't form in butter that's too soft, either. The magic recipe involves a cool room temperature of 67 degrees Fahrenheit.
At that temperature, the butter is soft and pliable but doesn't show any signs of melting. This flexible butter will cream perfectly, even without an electric mixer.
Old-school tools to cream butter and sugar
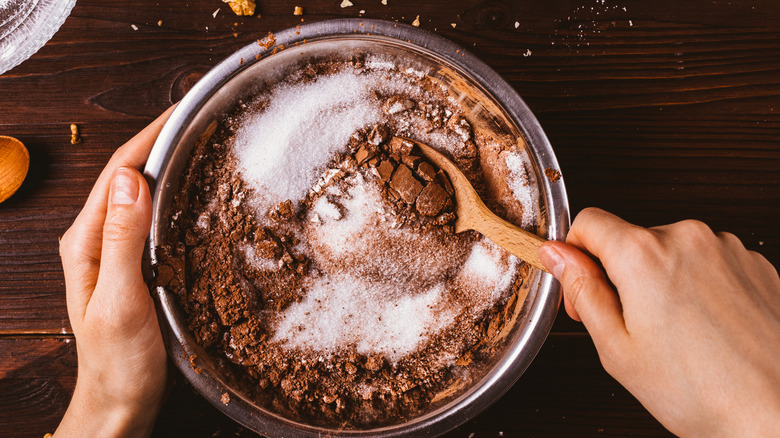
It wasn't long ago that a bowl and wooden spoon were all you needed to mix ingredients in the kitchen. Even with Claire Saffitz's tips for mixing the perfect cake batter, there are bakers who aren't afraid to dust off a wooden spoon for some old-fashioned creaming. Per marthastewart.com, after ensuring the butter is at that ideal temperature in a mixing bowl, smash it into the sugar with the back of a fork. As those combine, switch to a spoon, or spatula, and start stirring. Between bursts of stirring, be sure to scrape the side of the bowl. This will take at least five minutes, but not much more. Once it's lightened in color, and if you barely feel any sugar if you rub some between two fingers, it's ready to go.
One of the benefits of this method is that it almost guarantees you won't overmix. That's right, beating too much air into the butter can have similar squat, soggy results as not enough creaming. If the butter has turned white, you've gone too far. And this mistake isn't one you can fix. For cookies, the results will probably be okay but for tall cakes, it won't work. You'll need to start over. With an electric mixer, you're more likely to make this mistake, but also more likely to be able to easily redo this step. Mixing by hand is hard work.
How to skip creaming butter and sugar
Many recipes rely on creaming with no way around it. But there are also plenty of baked goods that forgo any type of creaming. For example, brownies usually start with melted butter. That means no air will be mixed into the butter. The results are the same as they'd be in a cake, squat and dense. In this case, that's the point. Best of all, without creaming, they're easy to mix.
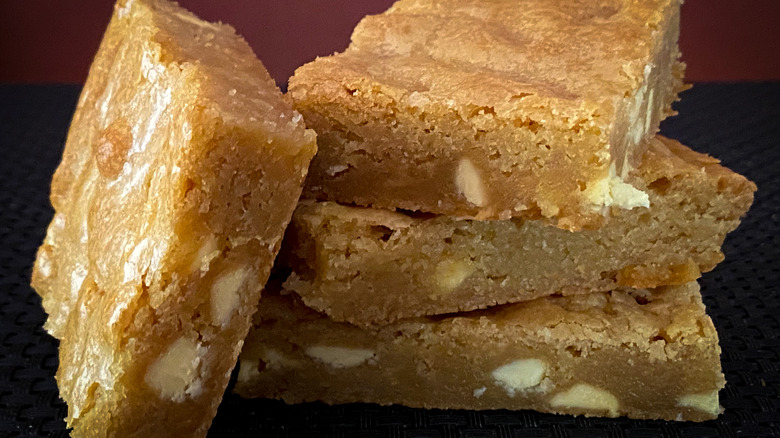
When there's no air creamed into the dough, it's all up to baking powder (with the occasional assist from baking soda) to achieve any rise. Those chemical leaveners don't have the oomph to create a rise that won't collapse onto itself, though. That collapse makes for a fudgy, satisfyingly chewy cookie, brownie, or blondie.
The added bonus of using melted butter for these recipes is you can heed Duff Goldman's one tip to totally transform your blondies. Browned butter brings a whole other level of nutty complexity, that pairs perfectly with vanilla and other blondie ingredients. The New York Times' recipe for "Brown Butter Vanilla Cookies" are a great way to put this technique to the test.


