14 Mistakes You're Making With Mug Cakes
Cake is delicious and all, but sometimes you just want a quick, easy-to-make cake that doesn't dirty all your dishes. Enter the mug cake, a single serving of cake that you can whip up in just a few minutes. Best of all? You can microwave mug cakes, so you don't even need to heat your oven to enjoy a portion of warm, fresh cake.
Although mug cakes are generally simple to make, we won't lie: It can be easy to make a mistake or two along the way, especially if you're just starting with this convenient cake hack. Unfortunately, because there are only a few ingredients involved in a mug cake, just one little mistake can mess up the final result big-time. That's why we've rounded up 14 of the top mistakes people make when baking mug cakes and are giving you all the details you should know to avoid failures in the future. Now, go enjoy some mug cake!
You're not separating dry and wet ingredients
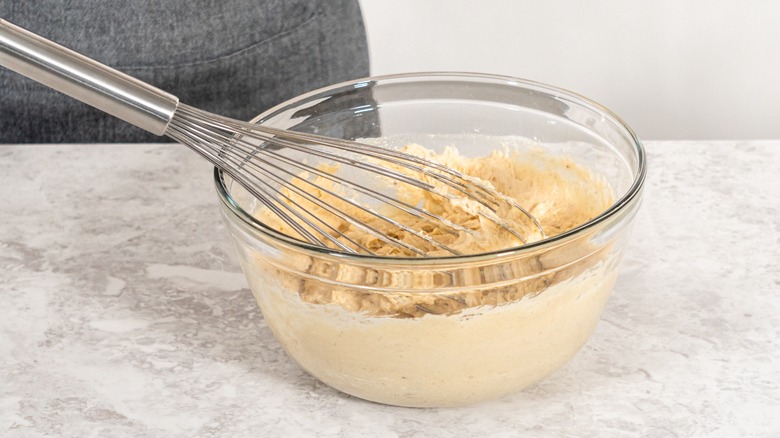
All the ingredients of a mug cake ultimately get combined, so it doesn't matter how you mix them, right? Wrong. This is a common mistake people make when preparing regular cakes and other baked goods. It can also change your results.
Many mug cake recipes will tell you to mix the dry ingredients — like flour, salt, and cocoa powder — and wet ingredients — like eggs, oil, and milk — in separate bowls before combining the two. Yes, this goes against the idea of making everything in one mug, but it's an important step you shouldn't skip. As a former restaurant manager notes on Quora, mixing dry ingredients with other dry ingredients and wet ingredients with other wet ingredients ensures that they're all combined properly. The Quora user explained: "This provides for even distribution. You wouldn't want half your cake to rise, would you?"
For the best results, mix your dry and wet ingredients separately. Then, carefully mix your dry ingredients into the wet ones. Be sure to gently combine them instead of overmixing them.
You forgot to prepare the mug

If you've fallen victim to a mug cake that cooks just right and tastes delicious, but half of it sticks to your mug's interior, you aren't alone. We've been there. It can be easy to forget the first step in making a successful mug cake: greasing the inside.
The easiest way to do this is to spray a thin layer of nonstick cooking spray on the inside of your mug, being sure not to miss any spots. Don't forget the bottom, too. If you don't have any nonstick cooking spray on hand, you can rub a small amount of cooking oil along the inside of the mug using a paper towel.
Some recipes may also suggest adding a dusting of flour to the inside after greasing the mug. However, this isn't always necessary. Although it can help you remove your cake from the mug, not everyone likes the floury crust this step creates. You can always experiment with different mug cake recipes to see what works best for you. Worst case scenario: You get to eat the yummy leftovers.
You didn't use self-rising flour
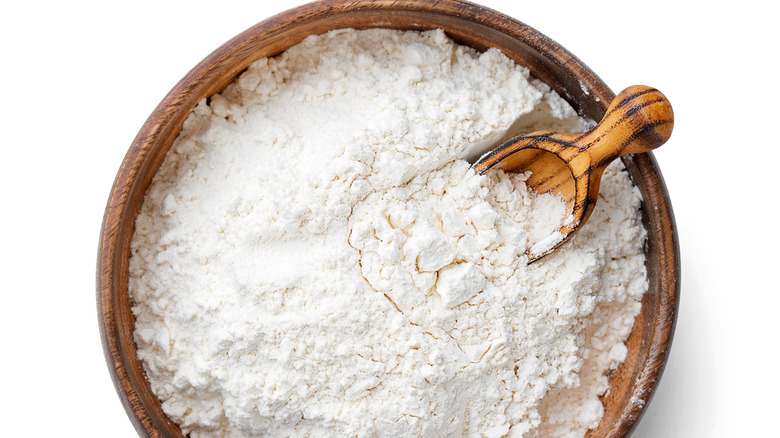
This one isn't necessarily a deal breaker, but it could help save time and ensure proper texture in your mug cake. Self-rising flour is a flour mixture that includes salt and baking powder, two ingredients that help cake become cake. This type of flour gives these baked goods a light and fluffy consistency. Without all the right science involved with flour and other ingredients, cakes can be too dense and dry.
Your recipe might call for regular flour, salt, and baking powder to be added separately — which can also work. But, self-rising flour can give a little more reliability to your mug cakes, helping them reach their full rising potential in the short time they're in the microwave. If you do end up using self-rising flour instead of regular flour in your recipe, be sure to leave out the baking powder and salt that the recipe includes, so you don't go overboard with those ingredients.
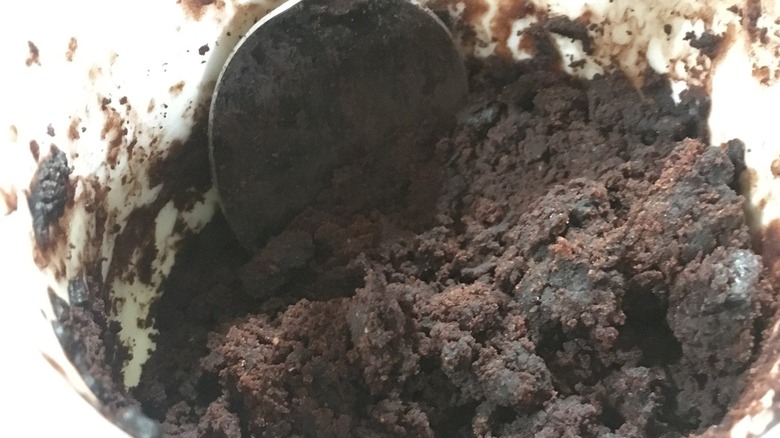
You're not experimenting with flavors
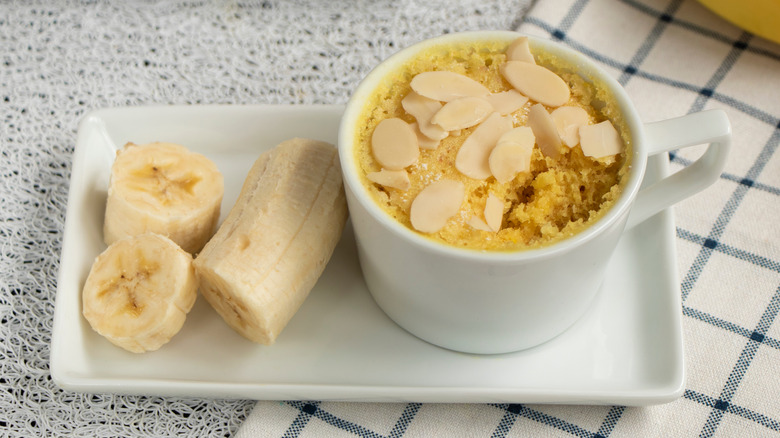
Chocolate and vanilla are standard flavors, especially when you're whipping up a quick mug cake to curb your sweet tooth. But, we recommend going outside of your comfort zone and creating something with new and exciting flavors once in a while.
Anything you do with a real cake you can do with a mug cake. Your favorite cake creations or new recipes can provide inspiration. That means blueberry mug cake, banana cake, and even red velvet cake aren't off the table. It might take a little more baking prowess to use these more advanced recipes to create your mug cake, but they're 100% doable.
A helpful trick: Start with a simple vanilla mug cake, and add your favorite flavors from there. If you add liquid, be sure to reduce the amount of water or milk in the recipe to balance the dry and wet ingredients.
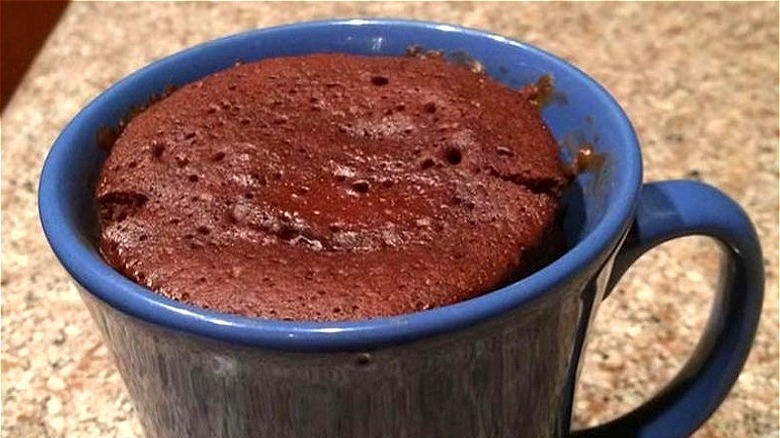
You're overfilling the mug
Possibly one of the most important rules for a successful mug cake? Only fill the mug halfway. It's best to use a mug that is 12 ounces or larger. Any size will do, as long the mug has enough room to get all your ingredients in without overfilling it. Most recipes are designed for mugs this size, so if you only have smaller mugs, you'll need to cut down on the ingredients a bit.
The reason for the half-mug rule is that mug cakes expand a lot while they cook. The next time you make one, watch it in the microwave. You'll notice the cake puffs to about twice its size while heating. Although some of that puff decreases as the cake cools, the ingredients need room to expand and eventually deflate. If you overfill the mug, you'll end up with a bubbly mess on the outside of your mug and only remnants of what could have been a yummy cake inside.
You swapped baking powder for baking soda
Contrary to popular belief, baking soda and baking powder are not the same. Add a little of both to vinegar, and you'll immediately see the difference. While baking powder might fizz and bubble a bit in the vinegar, baking soda will sizzle and create a much stronger reaction that could cause the mixture to overflow its container.
Baking soda helps baked goods become brown, fluffy, and airy — like biscuits. It's usually reserved for baked goods that already contain acid, like lemon cookies. These cookies don't require any additional acidic ingredients. On the other hand, baking powder does contain acid, so it's best for foods without acidic ingredients. Some recipes call for both to balance out acidic and non-acidic ingredients. If you have a recipe with one or the other, be careful not to inadvertently swap them, as it could mess up the flavor. This is especially true when you add too much baking soda to your mug cake mixture, which often results in an unpleasant bitter flavor that makes for a disappointing cake.
You're not using the right number of eggs
Many cake recipes have eggs, or at least some type of egg alternative, as a listed ingredient. This component helps to give the cake the right texture. Without eggs, cakes can be dry and flat. However, going overboard can also make the result too eggy, almost as if you created a sweetened omelet. That's probably not the kind of cake you're going for. Usually, just one small egg does the trick in a mug cake.
If you stay away from eggs in your cooking and baking, there are other alternatives. Plenty of mug cake recipes don't require them. And, others that do include eggs offer egg substitutions you can use instead. For example, a couple of tablespoons of mashed banana works well. You can also use applesauce, buttermilk, or a flax egg, which combines ground flaxseed with a bit of water.
You're sticking only to a mug
Yes, it's called a mug cake. No, that doesn't mean you can only use a mug to make your delicious snack cake quickly. Say you'd like to make a mug cake for yourself and your partner. Doubling a recipe and using a cereal bowl could be a quicker way to get the job done than separately microwaving two mug cakes.
In other words, if you have multiple mug cakes to make — or you simply want a heartier serving of one for yourself — it's completely okay to use a container that's not a mug. It just needs to be microwave-safe, of course. Glass and ceramic bowls are usually the best options because they won't warp in the microwave, so you can be sure your mug cakes hold the shape of the container. However, you can also use plastic containers if they're specifically marked as microwave-safe.
You're forgetting a few drops of water
Mug cakes can be finicky, just like regular cakes. Some recipes might come out delicate and moist, while others are denser and a little drier. It may not be your fault or your recipe's fault. Sometimes, cakes just do what they want to do, especially if ingredients are a bit past their expiration date or your microwave doesn't cook the most reliably. This trick could lend a little more consistency to your mug cakes every time, especially if you have a problem with them not coming out as moist as you'd like.
After you've added all the ingredients into your mug, simply add a few drops of water to the top of the cake. Usually, about one tablespoon of water is all you need to improve the texture. Some water seeps into the cake. Other water evaporates in the microwave, working to moisten the cake as it cooks. If you find that one tablespoon doesn't evaporate properly in your microwave, use one teaspoon next time instead.
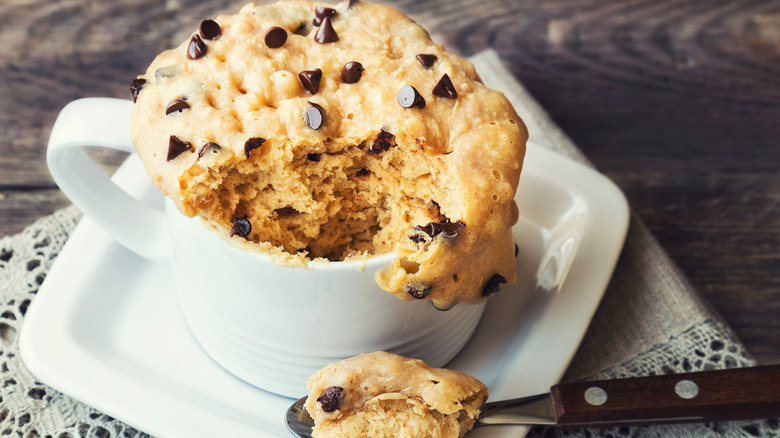
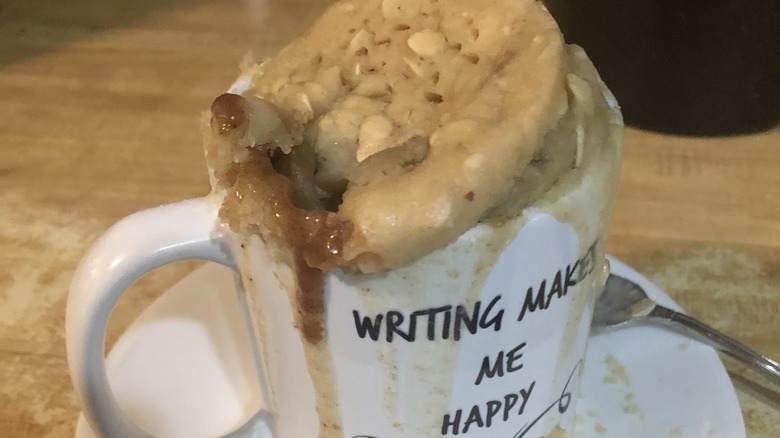
You didn't add any crunch
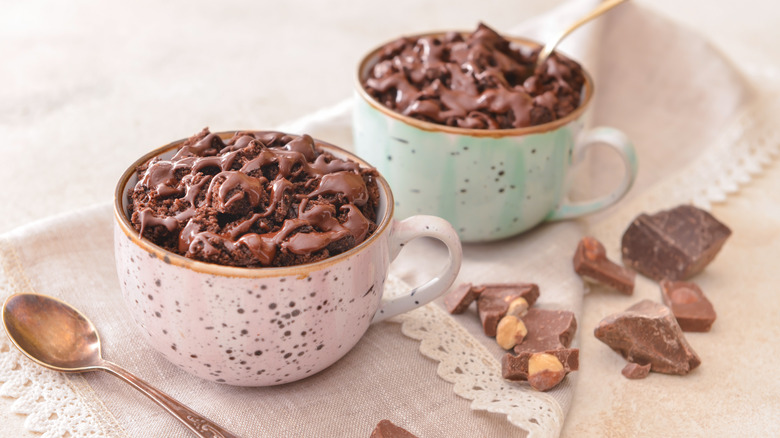
When making a mug cake, forgetting to add crunchy ingredients isn't necessarily a mistake. But, if you haven't tried it, you probably don't know what you're missing. Toppings like nuts, chocolate chips, and coconut flakes can add another layer of flavor and just the right amount of crunch to take a humdrum mug cake to the next level. It's up to you whether you top the batter with your goodies before microwaving it, or wait until it's cooked to work your magic.
Rather than place them on top, another option is incorporating crunchy ingredients into your batter. Chocolate chips work well for this. You can also try adding chopped nuts, toffee bits, cookie crumbles, or sprinkles into the cake batter itself. Fold in your crunchy ingredient using a small rubber spatula, and enjoy the extra texture and flavor they provide in your finished cake.
You don't know your microwave well enough
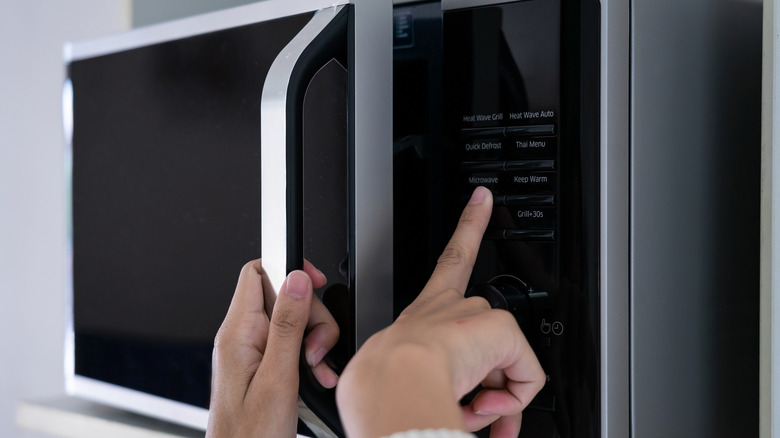
Microwaves come in lots of varieties, with some much more powerful than others. Therefore, there's no guarantee that your mug cake will turn out exactly like you'd hoped by following a recipe. Recipe creators typically use generalizations when writing their instructions, as not everyone's microwaves work the same. For example, a 1200-watt microwave will usually cook items faster than a 600-watt microwave.
If you don't use your microwave much, you'll need to be watchful as your mug cake cooks. Rather than rely on the exact instructions in a recipe, learn what signs indicate that your cake is almost ready. Most mug cakes will expand by about double as they're nearing the end of the cooking phase. This usually happens at around the one-minute mark, but again, this depends on your microwave. Let the cake cook for about 5-10 seconds past this point. Then, turn the microwave off and let the cake sit for another minute or two in the microwave before removing it.
Some microwaves have power levels, which can be helpful for high-powered microwaves of 1,000 watts or more. If you have problems with your mug cakes cooking fast on the outside but not cooking fully on the inside, try turning down the power to 60%-70%.
You don't let it rest after cooking
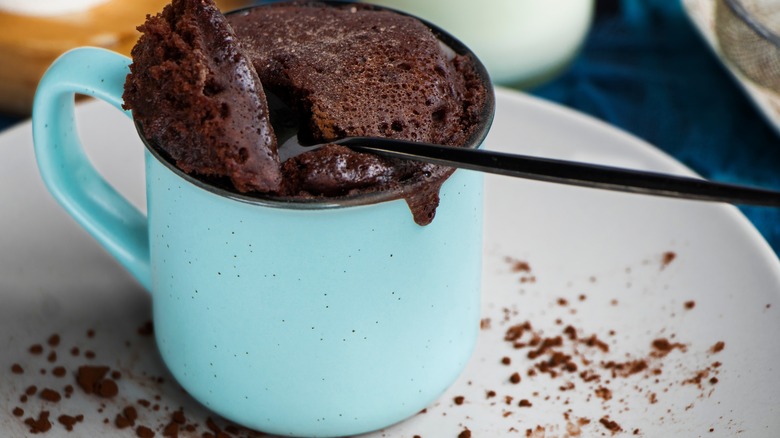
Microwaves continue cooking food you leave inside them for a short amount of time, even after the actual cooking process ends. Mug cakes need this time to solidify themselves. If you cook the cake for a full two minutes or more in the microwave, you'll likely end up with an explosion. However, you can cook the cake for 60-90 seconds, then turn off the microwave and leave the cake inside to let the heating process continue making its way through the batter to complete the cooking process.
In most cases, giving a mug cake an extra one or two minutes in the microwave with it turned off is the best way to help turn your batter into a completed cake. If your mug cake is still a bit runny after this time, put it back in the microwave for 10-20 seconds. Then, turn off the microwave and let the cake sit inside for another minute or two.
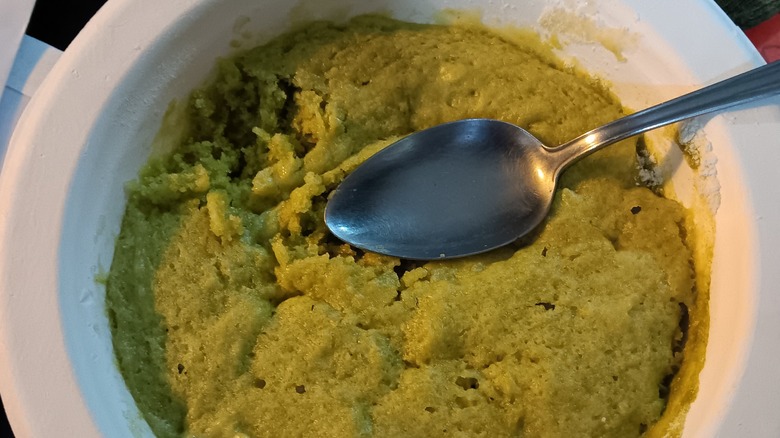
You're not using mug cake to get some extra protein
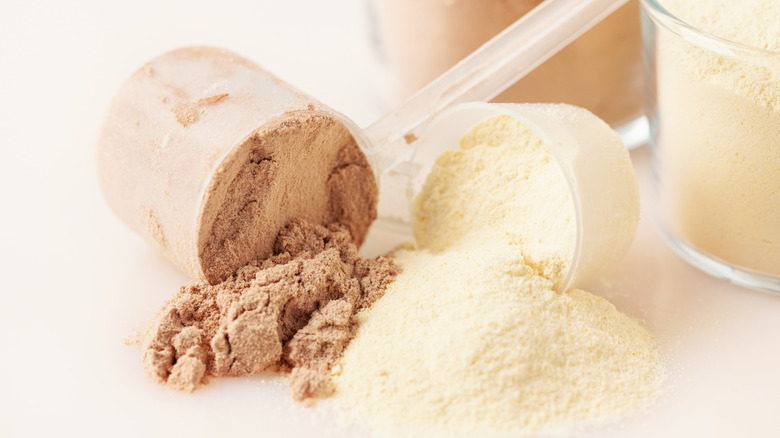
Protein is a necessary part of daily nutrition. According to Healthline, it assists several bodily processes, like building muscle and repairing damaged tissue. Need an easy way to add protein to your daily routine? Look no further than your mug cake to get more of this macronutrient into your diet. This trick works especially well if you're not a fan of protein powder mixed into beverages. Instead, add a scoop of your favorite high-protein powder to your mug cake for a hearty, satisfying, and protein-packed snack.
Most recipes use protein powder in place of flour. Aside from that, you can experiment however you see fit. The best part is that you can use any flavor of protein powder you'd like. Start with a basic vanilla or chocolate powder and add in other flavors, like banana, strawberry, or peanut butter. Or, you can choose fun flavors like caramel, birthday cake, or caffè mocha to get a little more adventurous.
You're only making your mix from scratch
While mug cakes aren't tough to make, and they certainly aren't time-consuming, there's one way you can make them even easier: using a boxed cake mix instead of making your own batter from scratch. With this method, you'll also be able to benefit from the exciting flavors that come from boxed cake mixes. You can make your mug cake recipe even more interesting by combining these mixes with interesting toppings. A strawberry cake mix could be topped with banana slices, and a coffee cake mix could be supplemented with warm cream cheese icing.
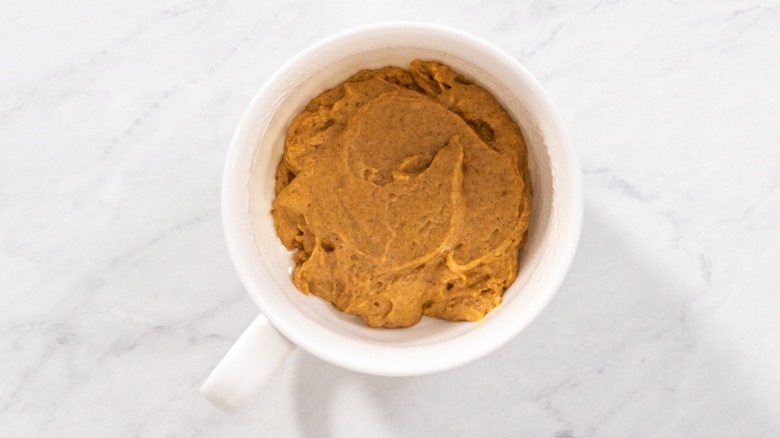
You'll only need some water and oil as additional ingredients for most mug cakes made from a boxed mix. If the recipe on the box calls for egg, you'll want to add that too. However, you might only need half a small egg. Don't forget to spray the inside of the mug with cooking spray, before adding these ingredients. Stir until combined to a cake batter consistency. If needed, adjust the texture by adding a little more water or cake mix. Then, microwave, let it rest, and enjoy!