12 Martha Stewart Tips To Make You A Better Baker

Over the years, Martha Stewart has come to the rescue with her tips and tricks in the kitchen, not to mention all of her nifty decorating ideas during the holiday season and organizing skills for everyday life. But if her fans had to pick just one area that they look to Martha for, many of them would probably say that it is her baking recipes and solutions that make her the ultimate queen of all things homekeeping.
If you yourself want to become a better baker, then studying up on Martha's skills is probably a great place to start. While she is known for making beautiful and elaborate treats, she approaches everything in a very easy-to-understand fashion that makes even the most amateur of cooks feel more at ease in the kitchen. From choosing the best ingredients to fully optimizing your tools, Martha has amassed dozens of baking tips. Today, we are highlighting 12 to keep in mind the next time you don your baking apron and whip out your stand mixer.
Top your pie crust with sugar
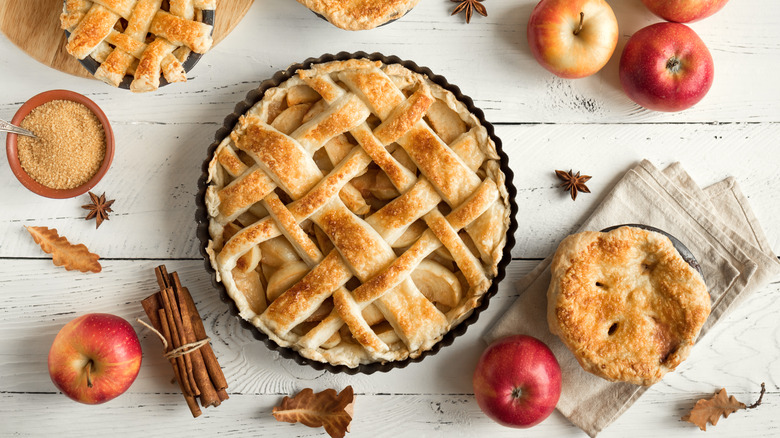
As the saying goes, baking the perfect pie should be, well, as easy as pie. But there are a lot of steps along the way where you need to pay close attention if you want to master this dessert, essentially boiling down to its two main components: the crust and the filling. Whether you are making an apple pie, key lime pie, or chocolate cream pie, having a good crust is going to be important.
Martha Stewart has a simple yet effective tip for elevating your pie crust to the next level: Add a thin layer of sugar on top of your crust before baking. The reason for adding sugar is two-fold. Not only will the sugar give a nice aesthetic touch to your pie, but it will also amp up the texture by providing it with a nice crunch. After all, no one wants a mushy slice of pie. So sprinkle some sugar around the crust (or all over the top if you are going for a lattice pattern) and slide it right into the oven.
Spray your measuring cups
No matter what dish you are baking, you are likely going to need to rely on your measuring cups to provide accurate proportions when mixing your ingredients together. And when it comes to baking, do not get distracted by novelty measuring cups or spoons. When stocking your cabinets with the best tools, you are going to want to get measuring cups with flat lips and ones that have been properly calibrated. Basically, stay away from the "pretty" measuring cups that look more like something you would want to display on your shelf.
Martha Stewart actually took to Twitter for this baking tip: When using Pyrex measuring cups to portion out sticky ingredients, be sure to spray the interior with a non-stick spray. The last thing you are going to want to wind up doing is having to scrape those sticky ingredients out with a spoon or spatula, which can not only cause a mess but also mess up your measurements if there are any leftover ingredients that refuse to come out.
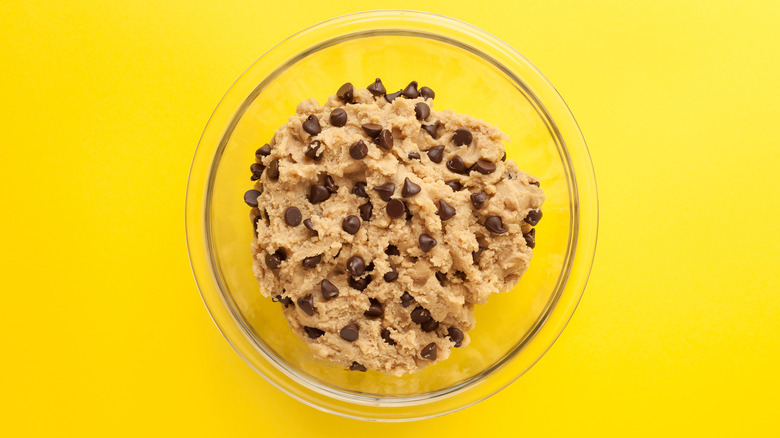
Use an ice cream scoop for cookie dough
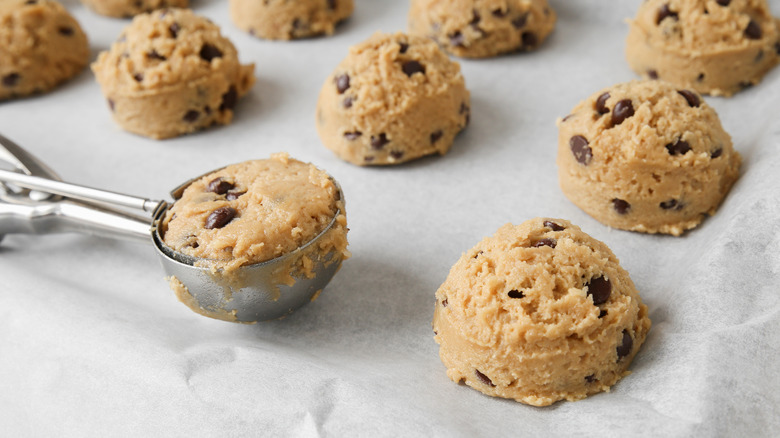
Baking can be a somewhat tedious endeavor if you are trying a new recipe or you are new to the process. When baking cookies, for example, you might not anticipate how much time it can take to take your dough and separate it out into individual portions before baking. Leave it to the Queen of Baking, Martha Stewart, to come up with a no-brainer solution that makes portioning out cookie dough seamless (as well as cleaner for your hands).
The next time you make cookies, use an ice cream scoop for the cookie dough. You are going to want to invest in a scoop that comes with the crank that is used to press the dough out of the spoon, and Martha Stewart's website advises paying attention to the size of the spoon based on how big or how small you like your cookies. Using an ice cream scoop will make it much easier to bake evenly-sized cookies. Martha can be seen using an ice cream scoop when baking cookies in a video posted on her Instagram. It definitely comes in handy when making large batches!
Opt for kosher salt
Salt is perhaps one of the most essential pantry items to make sure you have stocked if you are inclined to do a lot of cooking and baking at home. But not all salt is created equal, and if you want to make the most of this mineral, then you want to make sure you are selecting higher-quality salt when shopping at the grocery store.
As a general rule, you will want to shop for kosher salt when stocking up for any recipe, but particularly baking. It is the salt Martha Stewart's staff uses when developing recipes for Martha's website, as it is considered the most ideal for all-around cooking and can be easily adapted for most dishes. Kosher salt is also inexpensive, so it is just as accessible as your iodized table salt, but without any of the added iodine which you generally want to avoid. So, kosher salt is not just best for baking, but for all of your cooking regardless of whether you are preparing a sweet or savory dish.
Make it cold, bake it hot
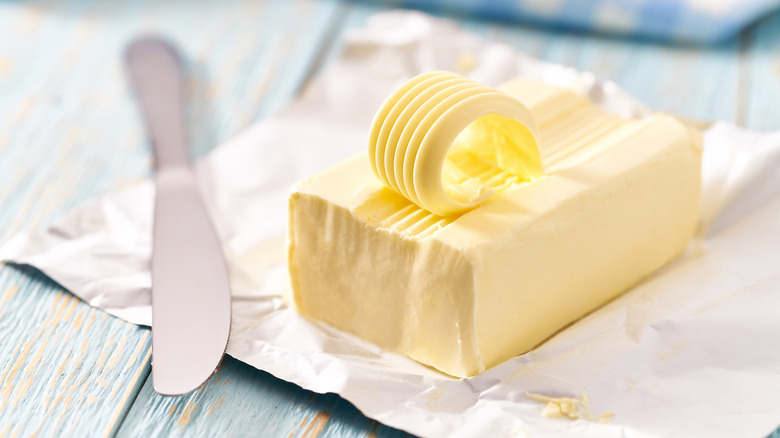
Martha Stewart has built her entire brand on easy-to-copy tips and tricks in the kitchen, and she certainly knows a thing or two when it comes to baking. She has shared a number of tips over the years, but this one she considers to be her golden rule when baking a dessert. Martha appeared on "Good Morning America" where she answered a number of questions from fans, and one home baker inquired about achieving the kind of dough that would yield a flakey texture.
Martha's solution is straightforward and she considers it to be her "golden rule" when baking: Make it cold, then bake it hot. The making it cold step involves using cold ingredients when creating the dough, like very cold butter (Martha freezes hers). If it's too cold, Martha suggests using a cheese grater on the butter that you can then easily mix into the rest of your ingredients.
Follow instructions to a T
It may seem like a given, but following the instructions as written is one of the most important steps to adhere to if you want to become a better baker. While you might be able to improvise more when making a savory dish, you do not have as much leeway in baking. To get the right consistency and texture, following instructions is going to be important, since a lot of baking relies on having the right proportions and ratios.
As Martha Stewart herself would advise, even the smallest details that do not seem that significant can have a big impact on the final result — like measuring one cup of flour versus one cup of sifted flour, according to Showbiz CheatSheet. The precise measuring and following of instructions can make baking seem a little more intimidating for anyone just starting out (perhaps that is why shows like "Nailed It!" are so enjoyable to watch), but the more you practice, the more you will get the hang of it.
Use glassware to separate plastic wrap from rising dough
Patience is a virtue when baking, and that is especially true when preparing breads or pastries that require the dough to rise before popping everything into the oven. Keep in mind, too, that the dough will typically need to rise twice: once before and once after your dough is formed into whatever shape you are baking. But nothing can be worse than your dough rising and ultimately sticking to the plastic wrap that is on top during the proving stage. Especially since so much time is involved when letting the dough rise, you want to make sure your time is not wasted.
Martha Stewart shared a simple solution for this hiccup on YouTube: Use glassware like a few carefully-placed juice glasses to keep the plastic wrap and the rising dough separated. That way, your dough has plenty of room to rise without you having to worry that it will hit and stick to the plastic wrap.
Use a buttermilk substitute

Buttermilk is acidic, fermented milk that can be used in a variety of ways in your cooking. From onion rings to biscuits, buttermilk is a key ingredient in many of our favorite foods.
Like many of the ingredients Martha Stewart uses in her baking, she prepares her own buttermilk at home with items you likely already have in your kitchen, which is an easy way to avoid having to buy it in the grocery store. On YouTube, she demonstrates how all you need to do is add some lemon juice to your whole milk and mix it together. Martha also appeared on "Good Morning America" answering fan questions about baking tips, and she noted that you can make buttermilk using whole milk and rice wine vinegar.
There are other ways to make your own buttermilk using different ingredients you may already have at home, eliminating the need to buy it. If you have heavy cream, you can add a touch of vinegar and have instant buttermilk.
You don't need to go out and buy a sifter
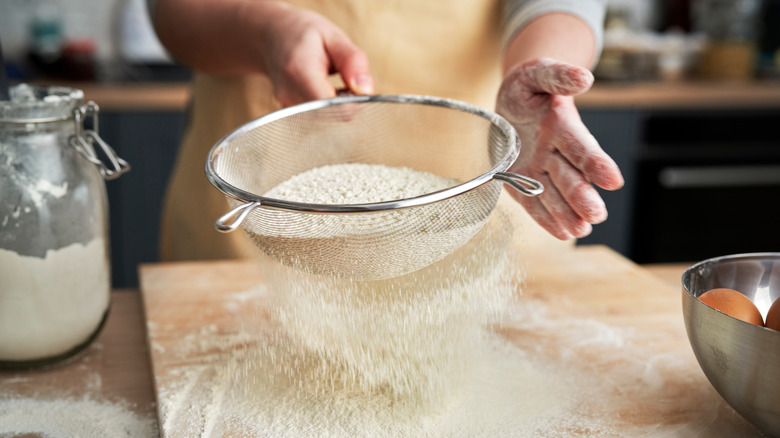
Sifting flour is an often-important step when baking to give your dry ingredients an even consistency, but do not feel pressured to run out and invest in a new kitchen tool. Instead of investing in a sifter, or a sieve, you can simply use your whisk or even a fork to mix your dry ingredients together, according to Martha on YouTube. Stewart does point out that the results will likely not be as light, but it will help to break up any clumps that may be hiding in the flour. If you do not have a sifter, you can also use a fine-mesh strainer and lightly tap on it to help separate out the clumps.
There are some other uses for your sifter, however, so if you already own one, there is no need to toss it in the garbage. Sifters can be great tools when baking with chopped chocolate, because it will filter out the smaller shaved pieces.
Build your own setup for perfectly-measured cake layers

If you want to take your cake-baking skills to the next level, consider a layered cake. Not only will it be a much more moist cake, but if you love frosting, it will totally amp up the flavor. Tackling a layered cake can seem intimidating if you have never tried it before, but in a YouTube short, Martha Stewart demonstrates a homemade contraption that will make it way easier to ensure your cake layers are even.
This trick may require someone in the house to be handy with tools, but it is well worth it if you want to make layered cakes on a regular basis. Take a wooden bread board and configure it so you can stick several dowels in it, depending on how large your cake is going to be. Then, take two even pieces of wood (for example, if you need half-inch layers, get two half-inch pieces of wood) and fix them onto the dowels so everything stays in place. Then simply lay your knife flat along the wood pieces and slice your cake pieces lengthwise, and your layers will come out even every time.
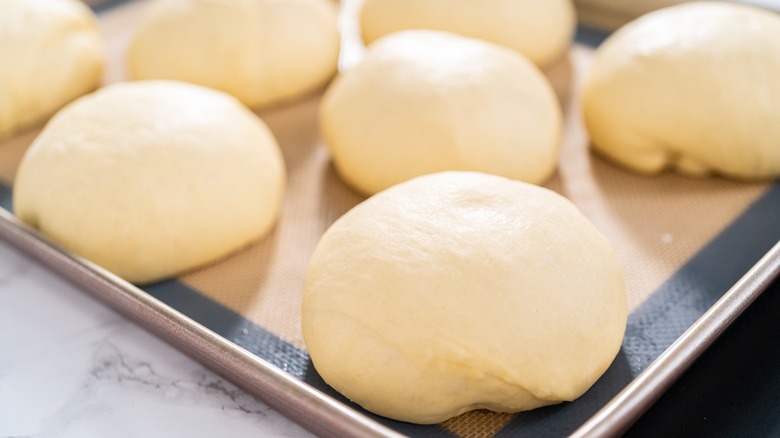
Refrigerate cookie dough before baking
It can be so tempting to bake your cookies right away once the dough is complete, but a little bit of added patience goes a long way. Take your dough and place it in the fridge for a short while before scooping it onto a sheet and placing it in the oven.
According to Martha Stewart's website, refrigerating your cookie dough for at least 30 minutes will prevent the dough from spreading too much in the oven, plus it will result in a more flavorful cookie. If you are baking cookies that are going to be cut into a shape, refrigerated dough will help retain the shape more easily.
You can even refrigerate your dough for as long as 24 hours prior to baking, but few of us would be so patient that we can wait an entire day without enjoying freshly-baked cookies. No matter how long you refrigerate the dough, Martha recommends letting it sit at room temperature for several minutes before scooping it out onto your baking sheet.
Martha follows 4 Ds when decorating cookies

Your basic chocolate chip cookies are going to wow a crowd no matter how they look, but sometimes you want to give your treats a little embellishing. If you are decorating your cookies (say, for a special holiday or birthday), Martha has an easy four-step process to make sure your cookies come out looking pristine (without all of the mess).
The four Ds are dipping, dripping, decorating, and drying. The first step involves dipping the tops of the cookies into the icing, which is going to give you a flat, level surface for decorating. Right away comes the second step by letting the excess frosting drip off the cookie so your surface is even. Next, you decorate your cookie. Finally, you let the decorations dry before eating. Notice how the drying step comes at the very end, meaning that you do not want to wait for your base layer of frosting to dry before you decorate: You want to do so while it is still wet, according to Martha's blog. Martha shared on Instagram that you want the cookies to dry uncovered overnight for the best results.