The Placement Mistake You Might Be Making With Meat Thermometers
We may receive a commission on purchases made from links.
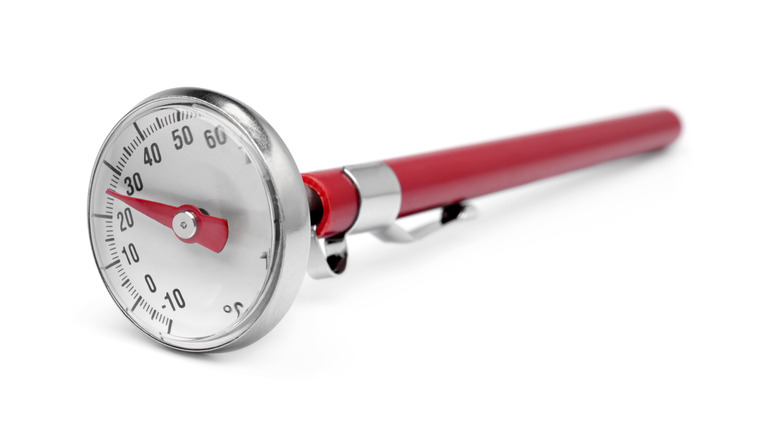
One of the most important tools any cook or chef should own is a good quality quick-read thermometer, which is often referred to as a meat thermometer. Along with a decent chef's knife and a few pieces of quality cookware, you can make almost anything (per Atlanta Journal-Constitution).
Step into any commercial kitchen and you'll see pretty much every chef and line cook using one of these light, hand-held instruments. Chef's jackets even have a special pocket on the outside of one or both arms for storing it for easy access. They're fairly inexpensive, around $12-14 on Amazon, and the investment pays major dividends in terms of saving on overcooking expensive products. This is because temperature and time are everything in a commercial kitchen and can mean the costly difference between a perfectly roasted medium rare prime rib and a big, overdone slab of rib roast.
Hand-held thermometers are good for more than just temping meat, however. Chefs use them to know when chocolate is tempered, for making sure water is the right temperature (and not too hot), and for blooming yeast for making bread.
They are most often used for cooking meat, however, hence the name. And although these thermometers are simple to use, you need to be sure you're putting your thermometer in the right spot in the meat for an accurate temperature.
Placement is everything
When you're making an expensive cut of meat, your two best friends are your meat thermometer and a timer. Some cooks have great timing, and also know how to test meat using a touch test to know when it's done (per Food & Wine). These skills come with working for a long time on a commercial hotline, however, and unless you grill 40-50 filet mignons a night five days a week, you're going to have much better results at home if you just use a thermometer.
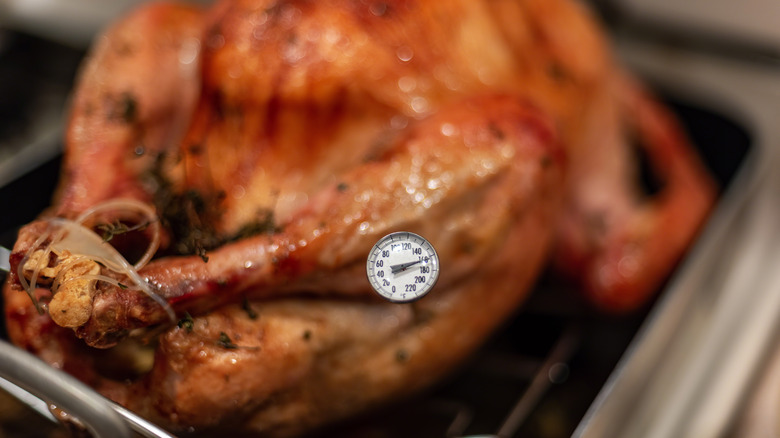
Most recipes will tell you to take the temperature of your piece of meat by inserting the thermometer into the center of it. This is mostly true, however, there are some considerations to keep in mind. For instance, for some proteins, the center is not necessarily the thickest point of the meat and will therefore not be the coldest. Whole roasted chickens, for example, should be tested in one of the thighs or under the breast (per MasterClass) and you shouldn't rely on those plastic timers that sometimes come already stuck into the breasts like the ones you see most often in turkeys (per HuffPost).
It can also be a little tricky to estimate where exactly the center of the piece of meat is, and it can be easy to insert the thermometer too shallow and get an inaccurate reading.
Proper probe placement
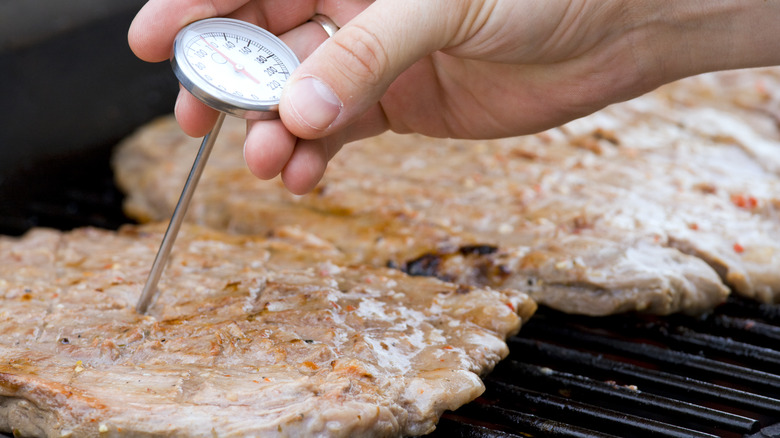
To be sure you get a proper reading, you have to make sure you're taking your temperature at the proper center of the meat. To do this, J. Kenji López-Alt advises that you push your thermometer all the way through whatever it is you're cooking — until it comes out the other side if you can — and then slowly pull it back through to halfway (per Facebook). If you're cooking a large piece of meat like a prime rib or a turkey and you can't push the thermometer all the way through, push it all the way in until the tip hits the bone and then slowly withdraw it.
While you're pulling the thermometer probe out slowly, watch the temperature changes. You'll see that when you're close to the surface you'll get higher readings as that part of the meat is cooked more. What you're trying to find as you gently pull the thermometer back is the coldest point. It takes a regular (non-digital) thermometer about 15 to 20 seconds to register a temperature, so stop at different points to let the instrument catch up (per University of Minnesota Extension), an instant-read digital thermometer works a little faster. Once you find that lowest temperature, that is what you should go by when you're trying to figure out if something is cooked or not, depending on what it is you're making and its target temperature.


