Tips For Keeping Fish From Sticking To Your Grill
Nothing beats a big, fat, juicy grilled steak, but when was the last time you put fish on the barbie? University of Pittsburgh Medical Center (UPMC) Health Beat likes this meat alternative because it can lower blood pressure and provide other health perks like omega-3 fatty acids. Some varieties of fish lend themselves better to grilling, so you'll want to consider which varieties to try. Fish also cooks much faster than a rack of ribs or bone-in meats and chicken, so you'll need to stay on your toes throughout the process.
There's just one problem with grilling fish, though. It can stick to the grill, making for messy cleanups. According to FoodFireFriends, foods like fish contain proteins that will bond right onto grill grates when things heat up. The Better Fish points out that this problem doesn't happen so much with meats, because fish loses its moisture faster. Who knew?
Preventing the sticking (and losing half your fish) is all about the right balance and picking the best kinds of fish to grill. Marinating the fish is up to you, but often all you need is salt, pepper, and lemon. ThermoPro emphasizes that the main reasons for fish sticking to grills are the grates being cold, dirty, and using the wrong oil. Patience is also key to the process since you'll need to wait at the grill while the fish cooks (which doesn't take too long). Don't run off to grab a beer or talk to a neighbor, 'cause you could end up with a charred piece of seafood that no one wants to eat. Follow these tips and you'll be done in no time with fish that won't stick to your grill.
Choose the right kind of fish
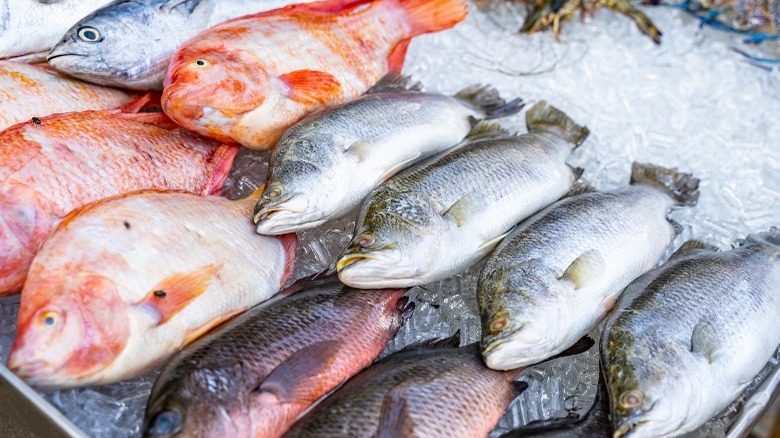
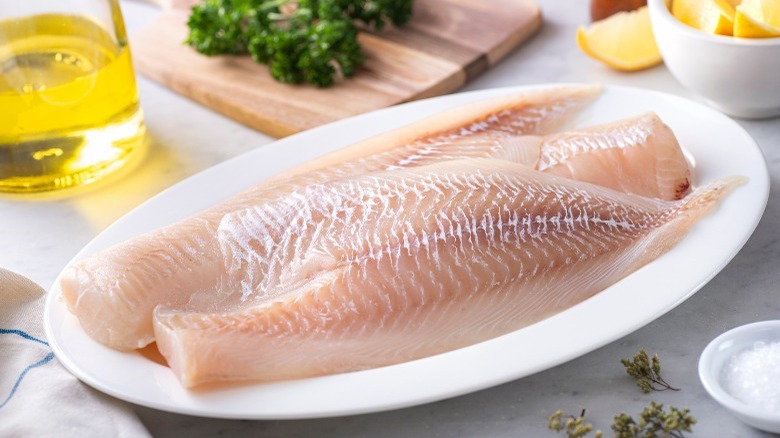
You don't normally see grilled flounder or Dover sole on restaurant menus, and there's a good reason. Fish like these are delicate, and pieces of them will become one with your grates. You can sauté, bake, and broil them indoors, but putting them directly onto a regular grill will be an exercise in futility. Summerset recommends grilling thicker, denser fish like salmon and halibut. City Fish Market agrees that hearty, white-fleshed fish have better chances for survival on grills, and suggests other ones like grouper and red snapper.
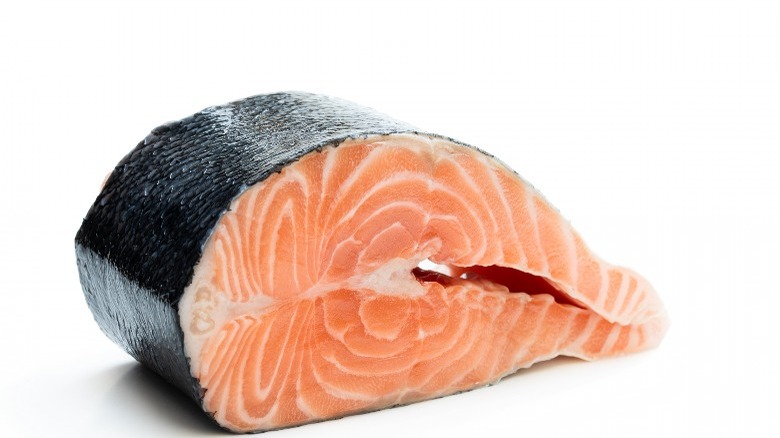
What about the cut of fish, though? The WebstaurantStore likes the presentation of a whole grilled fish, especially because it looks impressive and the skin holds in so much extra flavor. Still, you and your fellow fish fans might not know how to clean the fish and might hate dealing with all of the extra bones. Skin is also optional. If grilling a fish steak, the skin should be at least 1-inch thick and it will have more bones than a fillet. Fillets have skin on one side only.
Clean up those grill grates
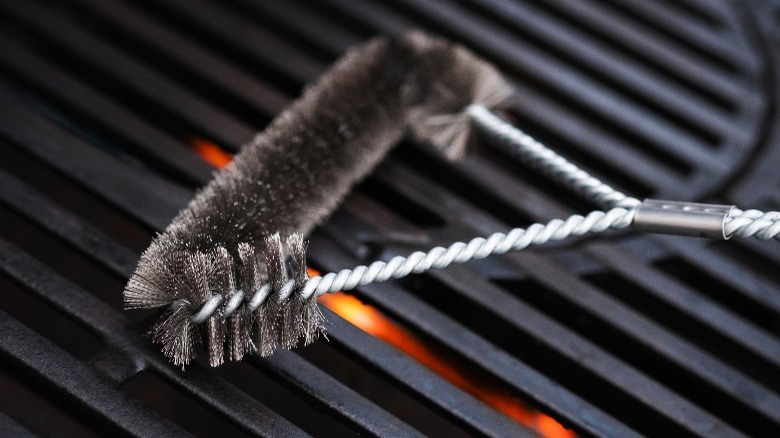
Grill masters worldwide understand the importance of cooking on clean grills, and it's especially important when you are working with fish. Besides making them less prone to sticking, clean grill grates won't have remnants of what you cooked on them the last time. Yuck. It's good to get into the habit of cleaning the grates after grilling each time but if you're like us you don't usually feel like doing this. So before you're ready to start cooking, take some time to get that grill fired up and ready. Wild Alaskan Company likes heating it up very high and scrubbing away with a grill brush. That heat will loosen up the gunk on the grates, and make it easier to get off.
Smoking Meat Geeks also mentions the scrubbing method, confirming that it works best when the grates are still hot. This source also cleans grates by covering them up with aluminum foil, firing up the grill, and closing the lid. It works like a self-cleaning oven — after you remove the foil, there will be a white residue that you can remove with a clean brush or sponge. For a good soaking, put cold grills in a large, deep container and fill it up with water, baking soda, and dish soap. Scrub them down afterward, and wipe them dry with a clean towel.
Leave the skin on ... usually
Leaving the skin on your fish for grilling is a good idea. It provides added health benefits, holds the fish together, and makes it easier to cook. This is where much of the fish's fatty oils live, and it crisps up nicely over open flames. You might think that you don't need to add extra oil to skin-on fish, but you should. Weber recommends oiling it generously to add even more flavor and to prevent sticking. But if you don't like the actual taste of cooked skin, you are not alone. Feel free to just pull it off and toss it in the trash.
If someone protests strongly to leaving the fish skin on though, they might have a good reason as explained by The Better Fish. Sure they can taste fishy, but some fish skins are downright nasty. While crispy salmon skin might be delicious, monkfish and swordfish skin are leathery and gross. Grilled tuna is delicious but there's a good reason why you rarely see it served with the skin — it's tough and thick, so most people avoid eating it.
Use a flattop grill
If you have your heart set on a grilled delicate fish, there's the option of using a flattop grill and avoiding the grates altogether. The Griddle King explains that these contraptions differ from traditional griddles. The latter uses heat sources like electricity or coal, which are found beneath the cooking surfaces. Flattop grills are metal plates that can be placed on grates or be part of your grill. You can cook other things like pancakes on them, and use cooking pots and pans, too.
BopNGrill has plenty of good things to say about flattop grills, claiming that they cook delicate fish like flounder evenly and won't dry them out. When done the right way, the skin will be nice and crispy and the fish tender and moist. As a guideline, plan to cook a 1-inch thick piece of fish for 10 minutes per side on a flattop grill and adjust the time accordingly. And by the way, flattops can also be used to grill scallops.
Give that fish a rest
You wouldn't want to put frozen fish on a grill — because it won't cook properly. But what about cold fish? The City Fish Market knows that fresh fish is best, but you're probably not always in the position to have a fresh catch whenever you want one. Most of us keep fish in our refrigerators, but it's best to allow them to reach room temperature before grilling. Not only does this help them cook more evenly, it allows the fish time to shed some of the moisture that can cause sticking.
It's always best to cook fish within 48 hours of buying it. Otherwise, the safest route is to place it in the freezer. It can stay there for up to three months. The freshest, best-tasting fish is bright and shiny. You can give it a little poke, too — if it's in optimum condition it'll give you a little bounceback. It shouldn't take the fish more than 10 to 15 minutes to get to room temperature.
Prep that fish
Fish needs some TLC before it heads outside for grilling, so take it out of the refrigerator, unwrap it, and set it down on a clean plate, bowl, or cutting board. The WebstaurantStore then rinses the fish under cool water — use this time to check for anything you want to remove. If you have a fish steak, it's a good idea to check for protruding bones. These can be removed with a clean pair of tweezers.
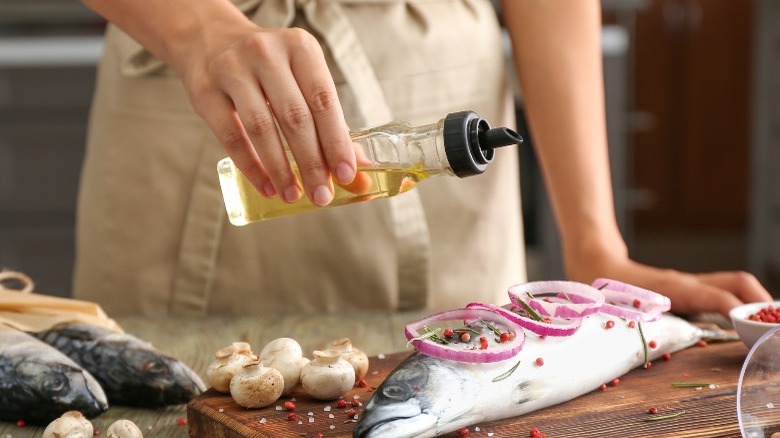
Carefully dry the fish with clean paper towels, pressing gently to squeeze out excess water. You can dab it dry or wrap it up with these, but check when finished for any lingering pieces that may have stuck to the fish. The Wild Alaskan Company suggests drying the fish with clean kitchen towels — there's nothing wrong with that if you clean them in your washing machine soon afterward. The goal is to remove as much moisture as possible, to promote crisping and prevent sticking. When it's dry, brush the sides with your favorite oil and season as desired; you can top it with fresh vegetables or lemon slices. And if you marinated the fish beforehand, remove the excess or the grill could start steaming.
Prep the grates
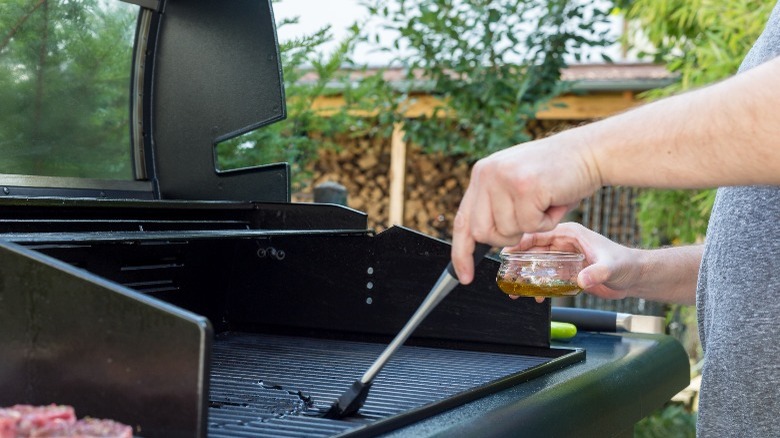
Now that your fish is in a good place, your grill's grates need your attention. Regular oiling will maintain them, but you'll always want to give them a coating before turning on the grill to cook fish. ThermoPro likes using high smoking-point oil (above 400 F) for this purpose because it doesn't smoke up and evaporate; it gives you more control and prevents sticking and burning.
Char-Broil advises against oiling dirty grates so if you skipped that step, grab the grill brush and remove as much debris as possible. Your fish might still stick a little, but you'll know better the next time. This source also recommends a few kinds of high smoking-point oils to try, like avocado, peanut, sunflower, and canola. You can use paper towels or a brush to coat the grates, but always remove the excess or the grill could flare up.
You can also use cooking spray to coat your grates, but never, ever do that when the grill is hot because it could start a fire. You can oil cold or hot grates, too. And if you're out of cooking spray and don't have the right kind of oil, there's another, more out-of-the-box choice: mayonnaise. It might sound gross but it works like a charm. Instead of applying it to the grates, you brush it right onto the fish. Mayo also prevents grilled meats from sticking, too. Just don't coat it on thickly, because that would take away from the taste of the fish or meat and make a big mess.
Heat up the grill
You wouldn't want to put meat on a cold grill; the same holds true for fish. This kind of cold cooking is not conducive to searing and dries out the fish. Traeger recommends heating your grill up to 500 F before putting the fish on it. And the total cooking time depends on the thickness of the fish. Gas grills are easy to heat up, and only require a couple of steps. According to GrillStuff, all you need to do is lift up the lid, and turn the knob to start up the burner(s). You can adjust the heat as necessary while cooking. Safety tips include keeping the grill out of the wind and never using it inside an enclosed area like a garage or basement.
Grill Baby Grill covers the basics of heating up charcoal grills, which can have separate chimney starters or require a lighter or match to get going. Add the coals and light them when ready. If using a chimney starter, you can transfer the charcoal to the grill when it is heated up. The charcoal would be ashy and white to cook properly; then, you can open up the grill dampers, add your beautifully prepared fish to the clean, oiled grates, and close the lid.
Use the right grilling procedure
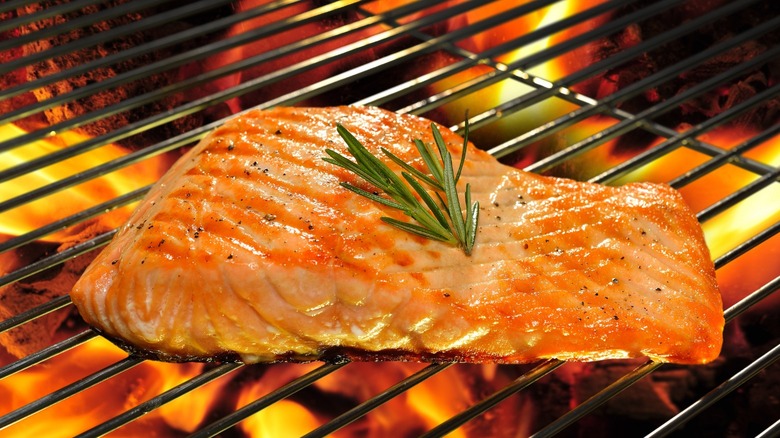
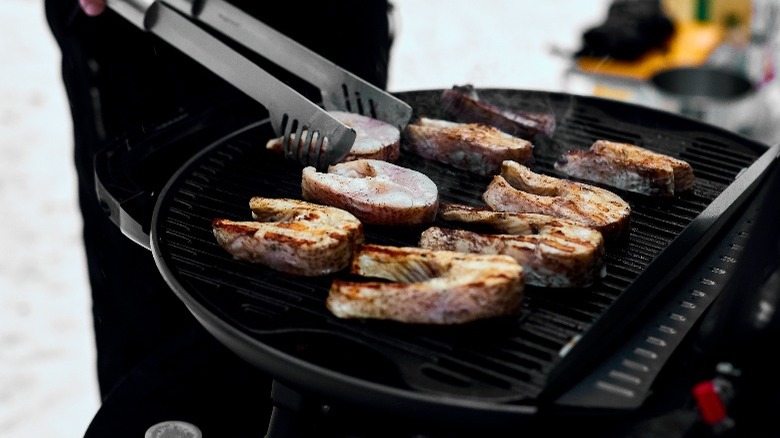
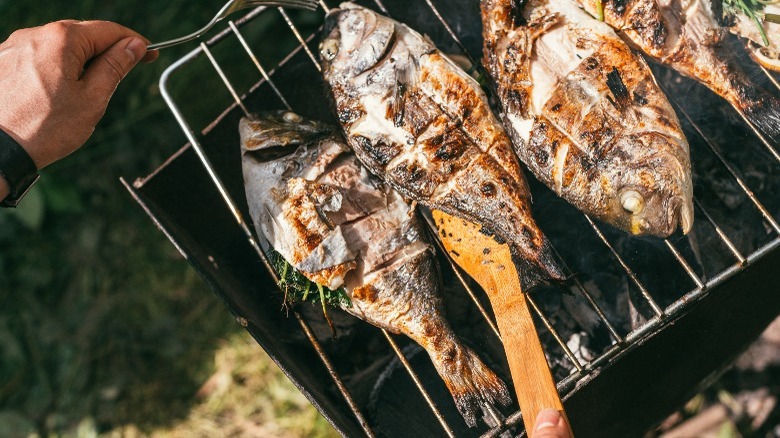
Fish cooks quickly on hot grills, so you'll want to give it your full attention and be ready to flip it and remove it when needed. And the best way to get "oohs" and "aahs" is to create the venerated grill marks — this will elevate your reputation as a master grilling chef. To get this desired effect, place the fish skin-side down diagonally on the grates instead of straight or sideways (via the WebstaurantStore). And by the way, the diagonal placement makes it easier to slide your spatula beneath.
When cooking your fish, don't keep moving it around because that can cause it to flake and stick to the grates. Weber advises against flipping the fish more than once, and we couldn't agree more because it could also lead to flaking. And if you're using a recipe, be sure to follow the directions — ones that keep the fish skin on will usually have different directions than ones that don't. With fillets, you can cover the grill and turn the heat down to medium; it should take less time to cook thick fillets without skin.
How to take fish off the grill
Using a light hand also applies to removing your cooked fish from the grill. Killing Thyme checks for doneness with a metal spatula, gently lifting the fish after the allotted cooking time. If it doesn't easily separate from the grates, give it another 30 seconds to prevent sticking. The internal temperature of fish should be 145 F, so you can also use a meat thermometer to check for doneness. Other signs of perfectly cooked fish include opaque flesh — or you can carefully poke the middle with a fork to see if the fish is flaky.
After all this hard work, you don't want to ruin the fish by hurrying through the removal process. If you don't have a long, wide spatula, you can use two with both hands to lift off the fish. Have your plate or serving board right by the grill, and slowly transfer the fish to the plate. All of that oil might have made it a bit slippery, so keep that in mind; many outdoor cooks have had their fish slide down and splat onto their decks.
Use a wood plank
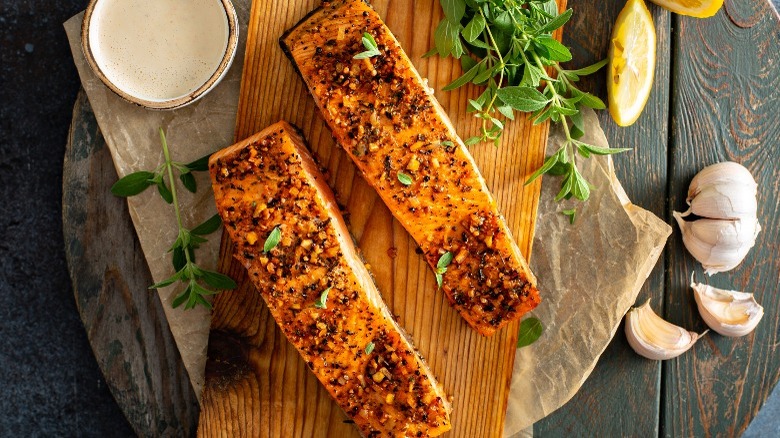
If all of this grill grate prep isn't your style, wood planks and fish are a match made in heaven. Summerset points out that this method will give you more of a smoked (instead of a grilled) taste, but there's nothing wrong with that. Planks create barriers between the fish and grates, so you won't need to worry about anything sticking to your grill. The planks are usually on the thinner side and should be soaked in water for up to two hours — you can find ones made from cedar, cherry, and other woods that will add plenty of good flavors. And if the plank keeps bobbing up to the water's surface, just weigh it down.
Killing Thyme likes to oil grill planks, and you can use a basting brush to put on a light coating. The recommended heat for planks is lower than for directly on the grate, so keep the grill at medium (around 350 F). The damp plank will create steam to smoke and cook your fish. You don't need to flip the fish or plank, but you'll need to wear barbecue mitts when removing the plank from the grill.
Meathead's Amazing Ribs admits that planks earn points for presentation, but claims that they can be expensive because they don't last that long.
Use aluminum foil
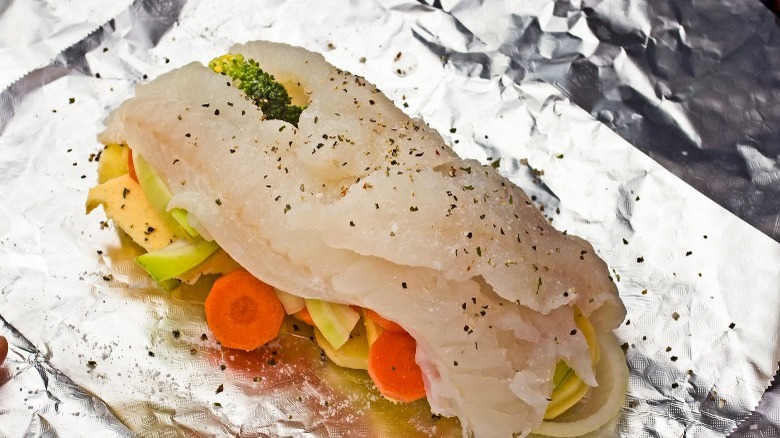
Fish-filled aluminum foil packets can be placed right on grills, and they hold in the juices as long as you pinch them tightly enough. Summerset posts that this method allows the open flame flavor to get into the fish, without the smokiness. The trick is to use several layers of heavy-duty foil so that the package will hold up to the heat. No, you won't have pretty grill marks but the possibility of sticking is next to none.
These packets are easy to make. Lay out several pieces of the foil on a flat surface, and add your fish. Don't overload it, because it won't cook properly and will make a mess. You can add seasonings, pats of butter, mayo, lemon slices, even some veggies. Fold up the ends, and seal them tightly. You can cook these on medium heat and don't have to flip them. They shouldn't take more than five to seven minutes to cook, according to Char-Broil. Remember to use barbecue mitts (tongs are even better) to remove the packets from your grill, and let the packets rest a few minutes before opening. If you do this too soon, the steam will come pouring out and could burn you.
