11 Tips To Help Bake Your Best Bundt Cake Yet
There are days when the idea of baking, filling, stacking, and frosting a layer cake makes you want to weep and buy a ready-made cake from the grocery store instead. That's when the Bundt cake swoops in to save the day. With the graceful and lovely curves of its distinctive shape, the Bundt cake comes with aesthetic appeal already baked into its appearance. No splitting cake layers or crumb coating is necessary.
With a German-esque name like "Bundt," you may think that the unique cake pan with curved sides and a hole in the middle was brought over from Europe centuries ago. However, the Bundt cake pan is very much an American invention, created in the 1940s. The founder of Nordic Ware, H. David Dalquist Sr., created the Bundt pan when several Jewish ladies from the Minneapolis Hadassah chapter came to him with a request (per The Washington Post). They wanted him to recreate a European classic mold used for baking large traditional celebration cakes – in metal instead of the usual ceramic. Dalquist succeeded, and now Nordic Ware boasts a global number of over 75 million homes with a Bundt pan in their kitchen cupboards. Despite the cake's popularity and simplicity, making a flawless Bundt cake still comes with several challenges. Here are 11 tips to help you achieve Bundt cake perfection.
1. Grease your Bundt cake pan
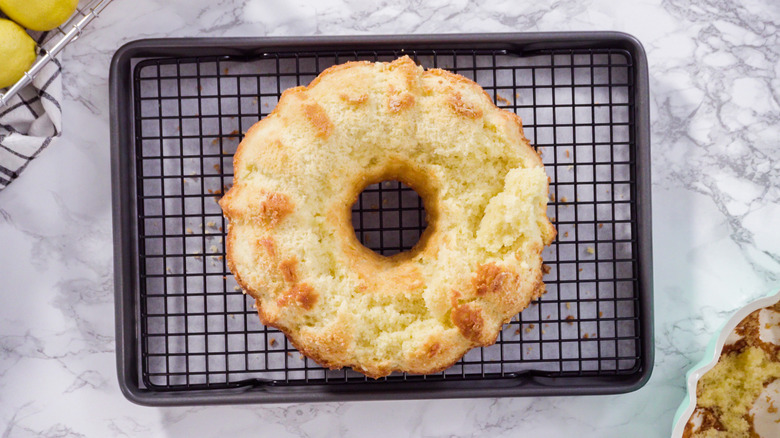
One of the most common problems that may occur when making a Bundt cake is that it breaks apart when the pan is flipped over. Ragged chunks of cake are left stuck in the pan, and the rest of your cake looks like your dog decided to have a little taste test behind your back.
One of the most important things you can do to prevent this is to ensure your pan is well-greased. Edd Kimber, winner of The Great British Bake Off, explains that the added curves and designs in a Bundt cake pan increase the chances of the fully baked cake getting stuck in the pan.
There are multiple ways to grease your Bundt cake pan, including coating the pan with butter and a thin layer of flour or using aerosol baking sprays. However, both Kimber and The Seattle Times swear by using "cake goop," a mixture of equal parts vegetable oil, shortening, and plain flour. By spreading a thin layer of cake goop into the crevices of your Bundt pan with a bristled pastry brush, you can prevent your cake from sticking.
No matter which method you use to grease your Bundt cake pan, King Arthur Baking recommends greasing only right before you fill it with batter. This ensures that your greasing agent does not melt and collect in the bottom of the pan before you can fill it.
2. Let your cake cool for a few minutes before unmolding it
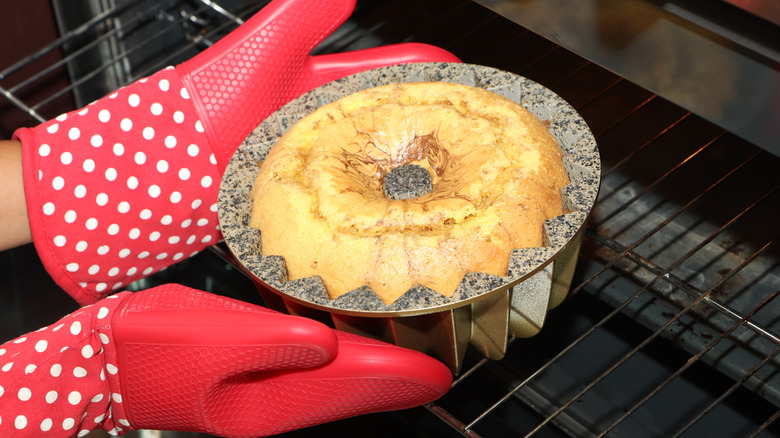
After several hours of measuring ingredients, mixing batter and baking, you are rife with anticipation when the cake comes out of the oven. But resist removing the cake from its pan immediately out of the oven.
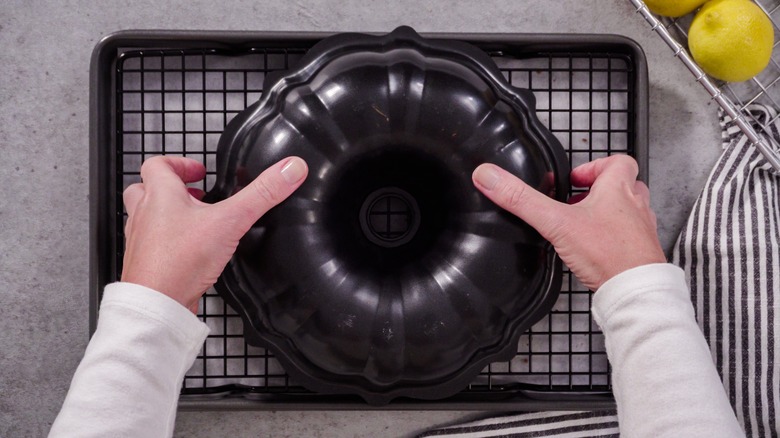
Another important factor in preventing your cake from breaking apart is letting it cool for several minutes before turning it out of the pan. Food writer Erin McDowell advises leaving your Bundt cake to cool for 15 minutes before unmolding, in order to allow "the cake's structure to set." If the cake is flipped over straight out of the oven, it may break even if it comes out from the pan cleanly.
However, it is equally important that you not let the cake cool completely in its tin before removing it. As the heat is unable to escape, letting the cake fully cool in the pan allows condensation to occur on the surface of the cake. Southern Living explains that this causes the surface of the cake to become moist and sticky and adhere to the pan — causing problems with unmolding.
3. Do not overfill your Bundt pan
Bundt pans come in all different designs, ranging from the classic Bundt to even a Castle Bundt pan. They also come in several sizes that vary according to manufacturer.
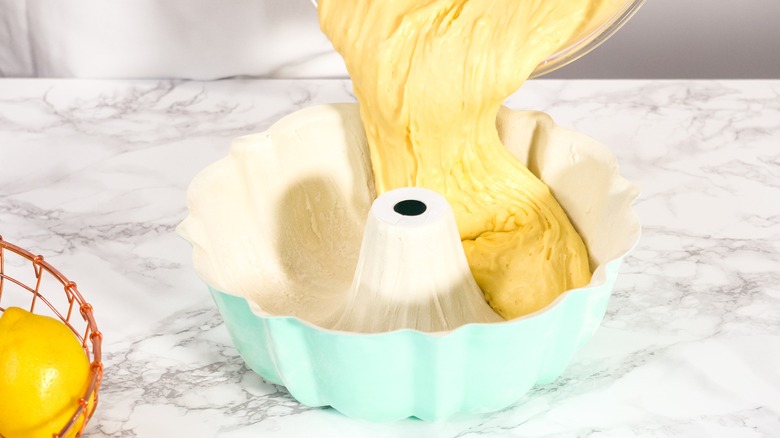
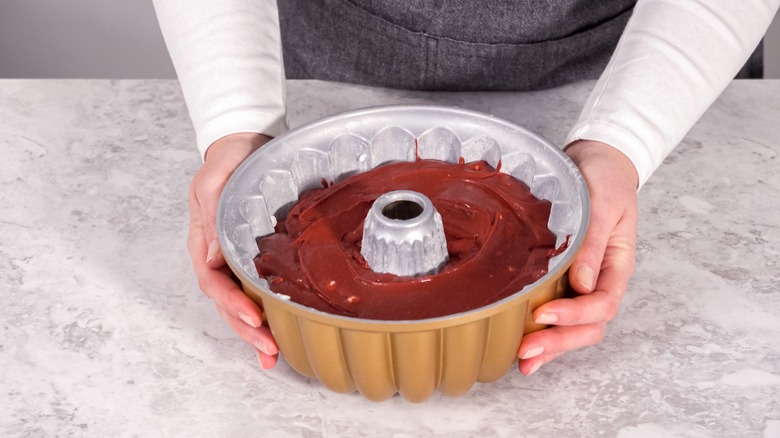
With the variety of recipes in cookbooks or online, you may come across a recipe designed for a 10-cup Bundt pan when you only have a 6-cup pan. Or you may want to try baking a pound cake recipe usually baked in two loaf pans in a Bundt pan. In these situations, you may have more cake batter than you actually need. If you have too much batter from the recipe, Nordic Ware recommends only filling your Bundt pan ¾ of the way, in order to prevent the batter from overflowing in the oven.
But to prevent making excess batter, you should measure your Bundt pan's bakeable capacity, or the maximum amount of batter you should be using to fill your pan. King Arthur Baking explains that the amount of water you get by filling your Bundt pan up to 1 ¼ to 1 ½ inches below the top is the volume of your pan's bakeable capacity. For example, if you fill a 10-cup Bundt pan according to this test, you'd most likely get approximately 6 cups of water, which is the ideal amount of batter for a pan of this size. With this test, you should be able to find out how much batter you need for your pan, and convert the recipe accordingly.
4. Use the right batter
It may be tempting to bake your favorite sponge cake recipe in a Bundt cake pan. After all, this reliable and delicious recipe can only be made better in the elegant form of a Bundt cake!
Not quite. Not all cake batters work well in a Bundt tin. Cook's Illustrated found that baking batters traditionally used for layer cakes in a Bundt pan produced cakes that were less airy and delicate than their usual form, and were also a little dry at the edges. Erin McDowell also explains that due to the larger amount of air bubbles in the batter, lighter and fluffier sponge batters often result in pockmarks across the surface of your Bundt cake.
In order to produce a smooth exterior that showcases the detailed designs of your Bundt pan, McDowell suggests using a recipe for a cake that has a denser texture and tighter crumb. Nordic Ware advises avoiding boxed cake mixes and recommends recipes that include heavier ingredients that keep the cake moist – like butter, sour cream, yogurt, and cream. These include recipes like sour cream pound cake or banana bread.
5. Do not overmix your cake batter
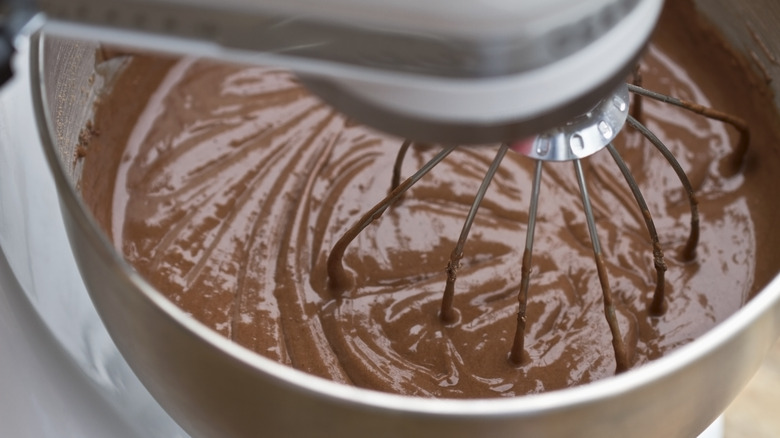
Not just applicable to Bundt cakes, overmixing your batter is a surefire way to ruin the texture of your cake. Southern Living cautions against overmixing, stating that it is what causes "a tough, rubbery cake."
This change in texture is caused by excessive development of gluten in the batter. As proteins in the flour are hydrated by the wet ingredients, gluten begins to form, and through the action of mixing, gluten development is accelerated further (per King Arthur Baking). While a strong gluten development is what we want in our crusty, chewy loaves of bread, it is not ideal in cakes.
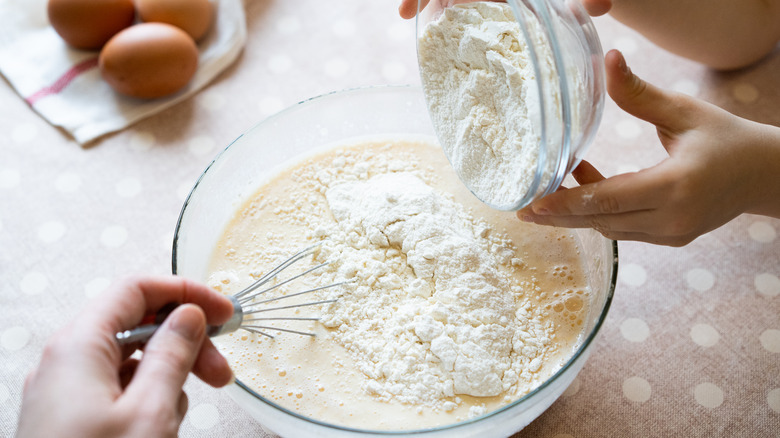
Overmixing also causes tunneling, where unsightly, elongated holes form in the interior of the baked cake. Los Angeles Times explains that due to the strong gluten structure, the gasses produced by the leavening in the cake batter are unable to escape, forming tunnels as they are forced through the crumb of the cake as it bakes. To prevent too much gluten from forming, Southern Living recommends only mixing until the wet or dry ingredients are just incorporated into the batter, producing a more tender and even crumb in your cakes.
6. Bake your Bundt cake low and slow
While the magic number for baking most cakes and cookies is 350 degrees Fahrenheit, Bundt cakes benefit more from baking at a slightly lower temperature. Most Bundt cake recipes are dense and contain high amounts of rich ingredients like butter and eggs. This, coupled with the deeper volume of a Bundt tin, results in a longer baking time – Cook's Illustrated found that baking in a Bundt pan resulted in baking times two to three times longer than a layer cake.
Due to this extended bake time, Masterclass suggests reducing the oven temperature to 325 degrees Fahrenheit for baking pound cake batter in a Bundt pan. Cookbook author Sally McKenney echoes this suggestion, citing that 350 degrees Fahrenheit is too high a temperature for a Bundt cake recipe to bake evenly, as it causes the crust to cook and color more quickly than the interior, which remains under-baked. At 325 degrees Fahrenheit, your Bundt cake is able to cook more uniformly, resulting in a golden brown exterior and perfectly-set interior.
7. Make sure your oven temperature is accurate
After following the steps of your recipe closely, your Bundt cake may still come out of the oven less than perfect. In this case, the problem might not be you, but your oven. Your oven may not be accurate to your desired temperature, fluctuating higher or lower instead. This often happens to ovens that are older or are used frequently (via BBC Good Food).
When the calibration of your oven temperature runs higher or lower than desired, the difference in temperature can affect your Bundt cake. Taste.com.au states: "Too hot an oven is the usual cause of severe cracking, uneven rising or cakes with a high dome but low sides." Conversely, an oven that is not hot enough can dry out your cake, as the low temperature causes the interior of the cake to take longer to bake, and the crust dries out during the extra baking time (via King Arthur Baking).
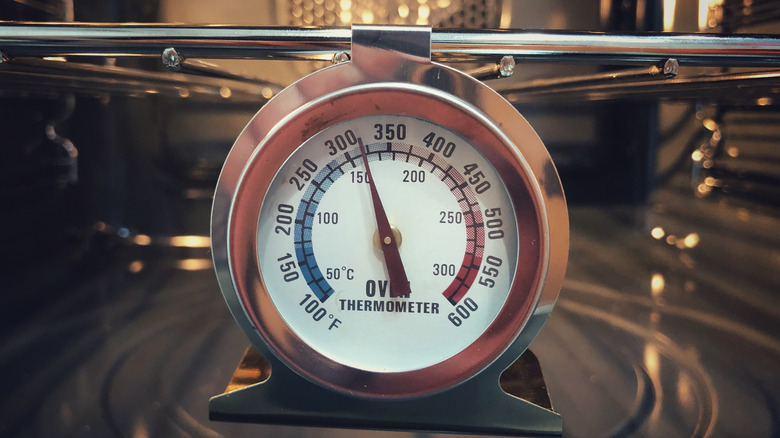
To ensure that your oven temperature is always correct, you can purchase an inexpensive oven thermometer that allows you to measure the accuracy of your oven easily. To get the most accurate reading, Cook's Illustrated advises to place your oven thermometer in the center of your oven, where whatever you are baking usually sits.
8. Ensure your cake ingredients are at room temperature
A good cake recipe will always remind you to have all your ingredients at room temperature. But while most of us remember to soften our butter, many of us are not aware of the importance behind letting our eggs or milk come to room temperature as well, and this step is often either disregarded or forgotten.
However, ensuring that all the ingredients for your cake batter are at room temperature is important. Sally McKenney explains that when ingredients like dairy products and eggs are at room temperature, they are able to combine more easily and trap more air in the cake batter, resulting in a lighter and more even crumb structure.
Additionally, if your eggs or milk products are used straight from the fridge, the difference in temperature may cause the butter in cake batter to solidify, and the batter will curdle (via Kenwood). This results in an uneven mixture, where there are small pieces of butter that are not properly incorporated into the batter. A simple way to avoid curdled batter and achieve a Bundt cake with a fine, even crumb is to take your eggs and dairy products out of the fridge a couple hours before mixing your batter.
9. Knock out any air bubbles
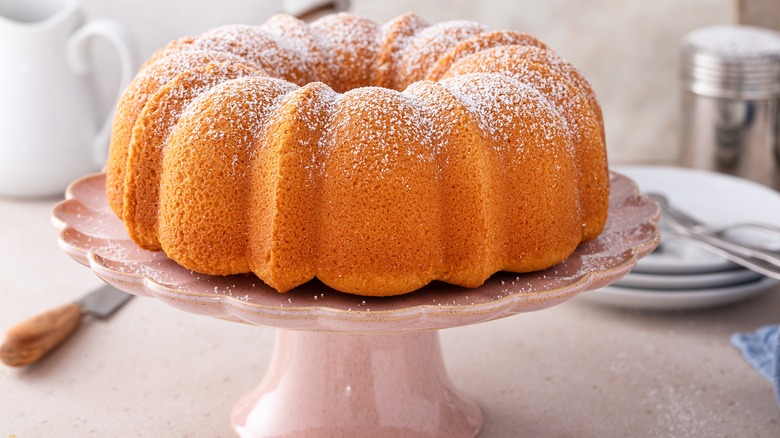
A mark of a perfect Bundt cake is, well, the lack of marks on its exterior. A smooth, blemish-free crust baked to a rich golden brown is what makes a Bundt cake so appealing, especially if you plan to serve it unadorned or with a simple dusting of confectioner's sugar.
However, small holes may appear on the exterior of your finished Bundt cake due to the rising of air bubbles trapped in the cake batter. In order to expel these air bubbles before baking, Nordic Ware suggests banging your cake pan against a firm surface like a cutting board or your work surface with a dishcloth laid upon it. Additionally, you can avoid creating these air pockets by gradually filling the pan with spoonfuls of batter, instead of pouring it directly into the pan (per Southern Living). This helps you achieve a flawless crust in your Bundt cake, which is especially helpful on days when the additional step of making a glaze or frosting seems like too much work.
10. Choose the best Bundt tin
Since its invention in the late 1940s, the Bundt cake pan has seen a variety of designs, not only from its original inventor Nordic Ware, but from a range of other manufacturers as well. If you are looking to purchase your first Bundt tin, or are thinking of buying a new one, there are several things to look out for in an ideal Bundt pan.
The material and color of your Bundt pan are important factors to take into consideration. According to Southern Living, the best Bundt cake pan is one made out of metal – preferably non-stick aluminum or steel – that is of a lighter color. Metal pans conduct heat the most evenly out of the available options (the others being glass, ceramic, and silicone), and a lighter-colored material ensures that the crust does not brown too quickly.
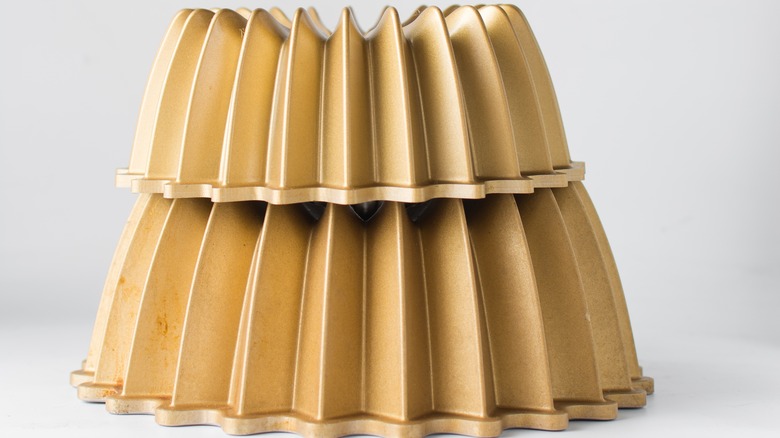
The design of a Bundt pan also affects how well your cakes may turn out. Southern Living cautions bakers to take extra care greasing pans with more complex designs, as they present a greater surface area and potential for the cake to stick. Cookbook authors Matt Lewis and Renato Poliafito also advise that cakes made with intricately designed Bundt pans are often ill-suited to decorate with certain glazes or finishing techniques (via Food & Wine).
11. Finish your Bundt cake of with an icing or frosting
While a well-made Bundt cake has enough charm to be left plain or dusted with confectioner's sugar, you can make the cake look even more impressive by adding a topping to it. This also allows you to add another layer of complexity to your cake, as a contrasting flavor or texture in the icing or frosting brings your cake up a notch.
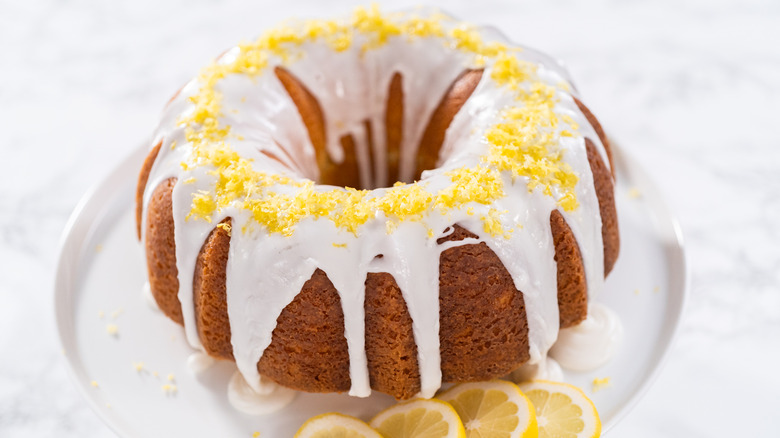
A simple icing can be made with confectioner's sugar mixed with a flavorful liquid ingredient like milk or fruit juice, and drizzled over the cake. Masterclass states that a benefit of using a looser icing is its ability to coat the Bundt cake while still allowing its design to show. Another method of applying icing is to brush it on the cake instead, giving your Bundt cake a shell that is not only visually attractive, but also helps keep it moist (via King Arthur Baking).
On the other hand, thicker frostings like ganache, buttercream, or cream cheese frosting provide more flavor and more potential for design. Due to the Bundt's characteristic curves and the hole in its center, Masterclass recommends using a piping bag to apply these frostings on your cake. Whether you are using an icing or frosting, or even simply dusting it with sugar, just remember to let your cake cool completely before decorating.
