Signs To Know Your Bread Is Kneaded
Recently, the New York Post reported soaring prices of bread due to inflation, with a loaf of artisan-style bread costing as much as $10 in some grocery stores around the country. With that price tag, it is not surprising that more people are breaking out their mixing bowls and loaf tins to make homemade sandwich loaves and focaccia instead.
But if you are new to bread making, the process may seem daunting. Many newbie bakers fret about being able to tell if their dough is proofed and ready to bake, or whether their loaves are done in the oven. While those are indeed essential steps in bread making, an equally important skill is knowing when your dough has been kneaded enough. According to Bob's Red Mill, the kneading process is what develops the gluten in the dough, which gives it the strength and elasticity to trap gas produced by yeast.
Dough that has not been kneaded enough has weak gluten development and is not able to retain gas well, resulting in a loaf that is dense and has poor rise. On the other hand, BBC Good Food explains that over-kneaded dough also produces bread with a heavy texture and a flat appearance, but this time due to overworking the gluten, causing it to tear and break apart. Well-kneaded dough results in a light, airy crumb in your loaf, and learning the signs of when your dough has been kneaded enough is vital for making good bread.
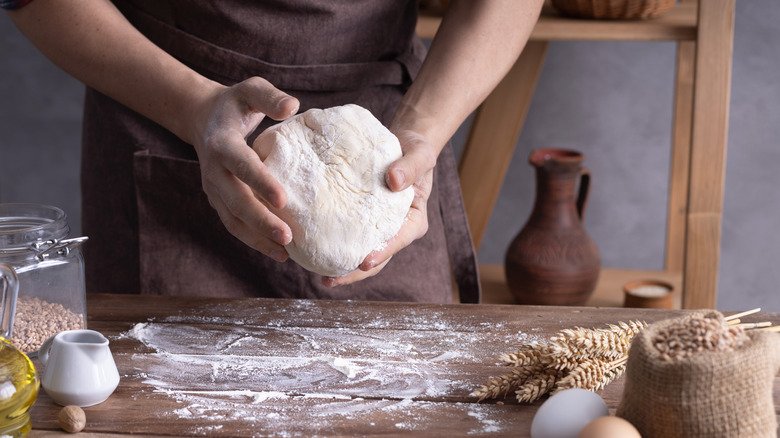
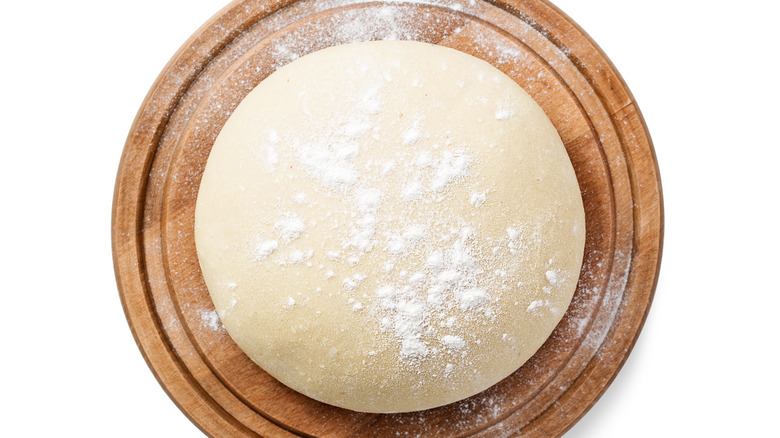
1. The surface of your dough is smooth
In its initial stages of mixing, the dough's appearance is shaggy and rough, with pockmarks and dimples scattered across its surface. After some time in the mixer or under your hands, the dough transforms into a smooth and supple mass, signaling that it's time for you to stop kneading it.
The Guardian instructs bread bakers to "stop [kneading] when the dough ceases to tear under your hands and forms a smooth, elastic surface." This smooth surface is due to the proper development of gluten in the dough created through the action of kneading. During the kneading process, smaller fragments of protein in the flour are interconnected to form longer, more continuous strands of gluten and a silkier texture in your dough. So, once you see the transformation of your dough from a craggy, uneven mass into a cohesive ball, you know it's time to stop kneading.
2. The dough passes the windowpane test
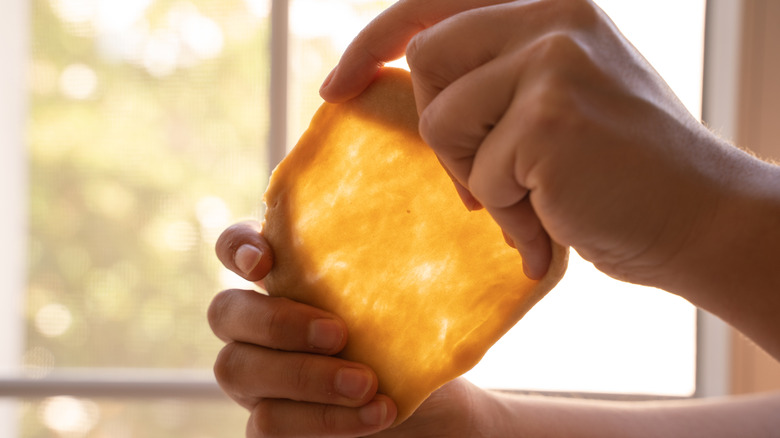
If your imagination conjured up images of throwing dough at a windowpane, per the urban myth of throwing spaghetti at a wall to see if it's done (which was debunked by the folks at Rachael Ray), you'll be sorely disappointed. Instead, the windowpane test is where a piece of dough is delicately stretched between your hands. According to Modernist Cuisine, a well-kneaded dough with proper gluten development will stretch thin enough to let light through without tearing (hence the name), passing the windowpane test.
However, this test does not work on all types of bread dough. Ankarsrum suggests relying on the windowpane test for doughs only made with wheat, as other grains with a lower gluten content often give different results. Additionally, King Arthur Baking goes on to state that dough made with large amounts of whole wheat flour may not pass the windowpane test despite being fully kneaded. This is due to the "sharp edges" of bran particles in whole wheat flour that can cut through the gluten strands in the dough, preventing it from forming a windowpane.
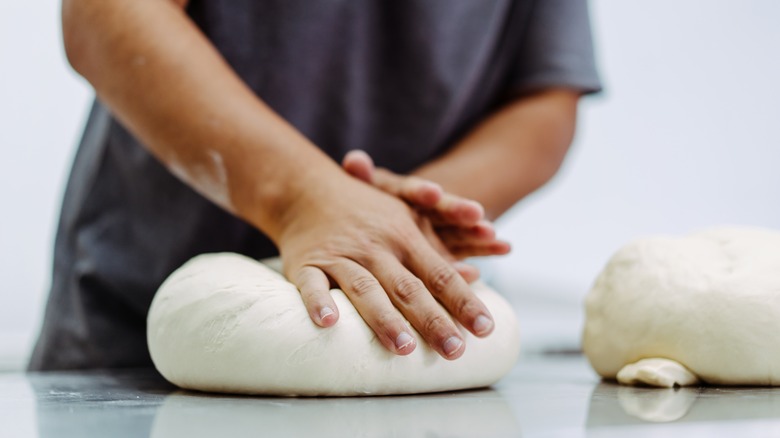
3. If it springs back when poked
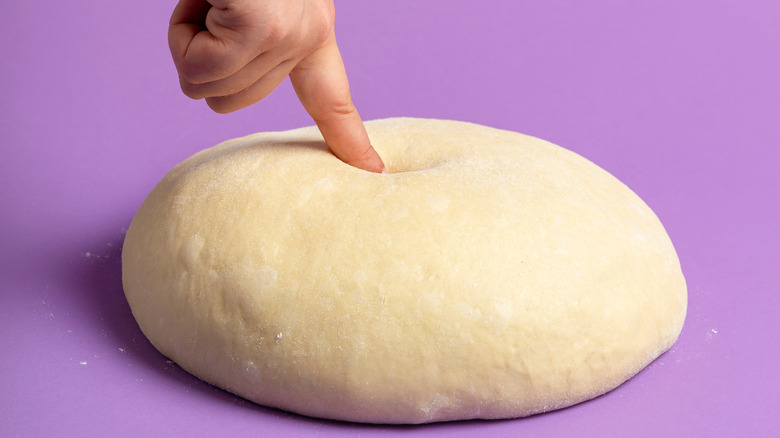
You may have heard of the poke test when it comes to checking the proof on your shaped loaves or rolls, where a properly proofed dough will "slowly spring back when touched, refilling the indent from your finger in about 10 seconds," according to Challenger Breadware. Similarly, you can also poke your dough to check if it has been properly kneaded. The outcome that you want, however, is that the dough springs back quickly rather than slowly. This elasticity is a result of a well-developed gluten structure.
To carry out this test, Nigella Lawson recommends gathering the dough into a ball and pressing it with your finger. If the dough does not spring back promptly and your finger leaves a dent, it still needs more elbow grease or time in the mixer. Although times vary, the dough should typically be kneaded for 5 to 10 minutes.
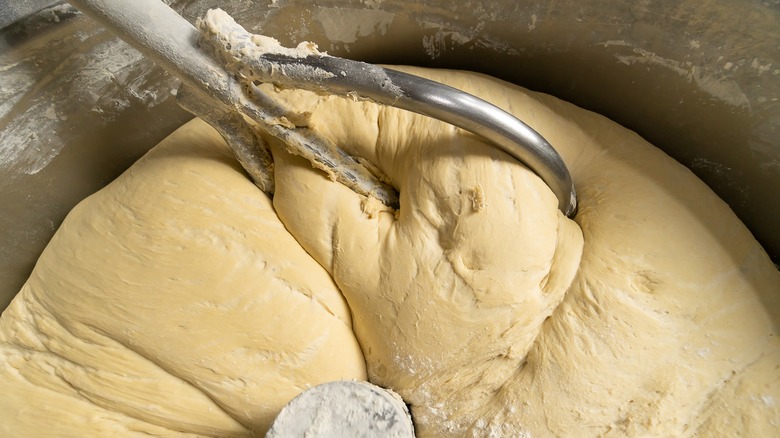
4. When the dough clears the sides of the mixing bowl

If you prefer to use your stand mixer to knead your dough, as opposed to mixing it by hand, you can hardly be blamed for wanting to rely on machinery. Kneading dough by hand can be tiring, especially if you have prior injuries or are of a more advanced age. Mechanical mixers can help with the heavy lifting, and they can do it faster. KitchenAid boasts that kneading dough for 2 minutes in one of their mixers is the equivalent of 10 to 12 minutes of hand kneading, cutting down both time and effort in the bread-making process.
Kneading with a stand mixer also presents another visual cue to help you check if your dough is done mixing. As the dough nears the stage of proper gluten development, it forms a more cohesive structure on the dough hook, and the sides of the bowl are no longer smeared with dough.
In the initial stages of mixing dough in a stand mixer, it will not be formed into a ball and will stick to the sides of the bowl. Once it has been mixed enough, the dough will pull away from the bowl and form more of a ball shape. This is when you know that your dough has been fully kneaded in a stand mixer.
5. The dough does not feel too warm
Over-kneading is something that usually occurs with the use of a stand mixer. With the power and efficiency of the machine, you may at times miss the signs that your dough has reached the desired stage of kneading. Compared to a stand mixer, the possibility of you over-kneading your dough by hand is low. As MasterClass states, "While a stand mixer can easily over-knead dough, your arms will probably tire out before the gluten bonds break down."
To prevent over-kneading in a stand mixer, keep an eye on the temperature of your dough. The action of kneading your bread dough increases its temperature through friction. This rise in temperature is known as the friction factor, and King Arthur Baking estimates an increase of between 22 to 24 degrees Fahrenheit for mixing and kneading for 7 minutes in a stand mixer, and 6 to 8 degrees Fahrenheit when kneading by hand for 8 minutes.
When the dough has been extensively kneaded in the mixer, it starts to get too warm due to friction. If you are unsure about whether your dough has been fully kneaded in the stand mixer, pay attention to how the dough feels, and stop kneading if it starts to feel too warm.
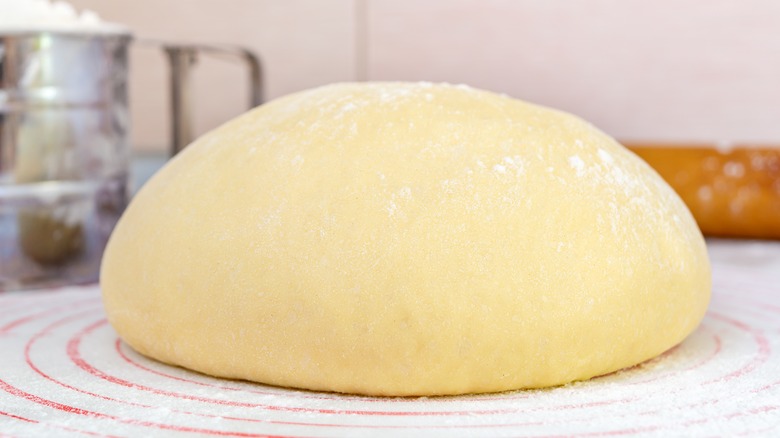
6. The dough holds its shape
Have you ever tried to shape your dough into a neat ball to proof after kneading, only to have it lose its form a mere 10 seconds later? That's a clear sign that your dough is under-kneaded.
Scientific American explains that gluten is the framework that allows the properly kneaded dough to be elastic and keep its shape even outside a container. Without proper gluten development, your dough feels loose and weak, unable to hold itself in the form you have shaped it.
If you are faced with dough that is weak and shapeless, Bob's Red Mill recommends shaping it into a ball and letting it rest for several minutes before beginning to knead again. With a few extra minutes of kneading, your dough should get stronger and more elastic, resulting in a baked loaf that is tall and airy, instead of flat and dense.
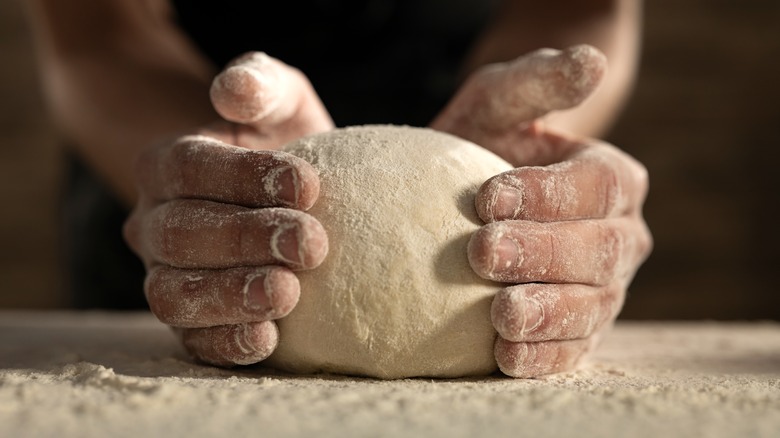
7. The dough is not sticky, but tacky instead

In the beginning stages of kneading, your bread dough is often a sticky mess. It sticks to your hands, the bowl, and the table as well. You might even start to panic at the gluey mess in front of you, wondering if you've messed up somehow.
But fret not, a sticky dough is often just a sign of under-mixing. BBC Good Food states that it is usual for the dough to be somewhat wet or sticky to begin with, but through the process of kneading, it becomes easier to manage, and eventually clears your hands of residual dough.
This stage where the dough has formed enough structure to stop leaving a sticky mess on your hands is described as tacky and signals that you have finished kneading it. Better Homes & Gardens describes a test to check if your dough has reached this stage: "When you've finished kneading, press your hand on the dough. If it sticks to the dough but releases without leaving much dough on your hand, then the dough is slightly tacky."
8. When it makes the right sound
Enriched doughs like brioche are made with the addition of a combination of eggs, milk, butter, and sugar. According to The Great British Bakeoff finalist Ruby Tandoh, these added ingredients make enriched doughs slightly more complicated than your regular loaf. Because of this, she stresses the importance of taking the time to ensure that they are fully kneaded.
A handy audio cue to tell if your enriched dough is done kneading in the mixer is the sound of the dough hitting the sides of the bowl. When the enriched dough has been properly developed, it gathers on the dough hook and smacks the walls of the bowl.
In an episode of "Baking With Julia," Nancy Silverton once made a crème fraîche custard brioche tart that rendered Julia Child speechless and nearly made her cry. When kneading her brioche dough in the stand mixer, Silverton stated, "You can hear the slapping sounds at this stage also, and you know that you are almost there," signaling it was time to stop the mixer.
9. You've let your dough rest
There may come a time where you've kneaded your dough to proper development, but it fails the windowpane test and tears when pulled. Thinking that your dough has not been fully developed, you knead your dough even more, only to end up with an over-kneaded ball that results in a flat and crumbly loaf.
Weekend Bakery explains that as the dough is kneaded, more gluten proteins join together and cause it to become tauter. At this stage — right after stopping the mixer or pausing your kneading — the dough is still tight from being kneaded continuously for several minutes. If you attempt to test the dough's stretchiness by pulling it or doing a windowpane test at this point, it may give you a false reading.
"After you've done the kneading and the hard work, let [the dough] rest up for a minute" cookbook author Jack Sturgess states. "The dough has been through quite a stressful time, and it's really quite difficult to figure out what is going on inside of the dough straightaway after kneading."
So if you've been kneading your dough for the suggested time in the recipe, but are still unable to pinpoint the signs of it being ready, let it rest for a few minutes before checking again. As you continue on your bread journey, knowing when your dough is fully kneaded will soon become second nature, resulting in beautiful, airy loaves that will grace your table.