9 Steps To Successful Deep-Frying Slideshow
OK, this may seem obvious, but you'd be surprised how many home cooks don't have one in their kitchen. (Do you have one? We're willing to bet the answer to that is a mumbled "No.") But, not just any old fire extinguisher will do. Look for a Class K fire extinguisher, which contains a special chemical (potassium acetate, for the MythBusters crowd who really want to know) and dispenser that sprays at a lower pressure so that oil doesn't splash outside of the pot or fryer. Fire extinguishers also have an expiration date, so make sure to check on it once in a while. After all, the best way to avoid an accident is to prevent one.
2. Frying Oil
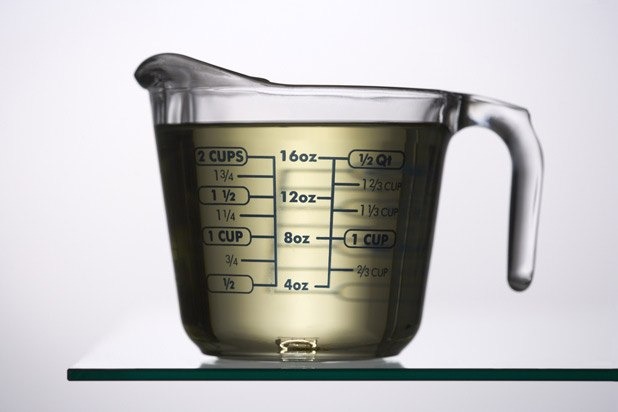
Before anything goes for a swim in the golden pool, it's best to fill it with the proper stuff. Use a neutral-flavored oil with a high smoke point such as safflower, canola, or peanut oil. Avoid using olive oil, which breaks down at low temperatures, imparts a bitter taste, and is unsuitable for frying.
3. Frying Thermometer
As briefly mentioned in the previous slide, oils have smoke points and flash points. The smoke point is the temperature at which the oil begins to break down and emit vapors, and the flash point, even higher on the temperature scale, is the point at which it will spontaneously ignite. Do not exceed this or you will be glad you purchased a fire extinguisher.
The best way to keep that from happening is to get a frying thermometer, available at any home goods store, so that you know exactly how hot the oil is. Many recipes will specify an exact temperature or range of temperatures. Using a frying thermometer will ensure consistent results, since oil temperature drops when food is added. Ultimately, it will allow you to adjust the burner level on the stove to compensate.
4. Deep Pot
Perhaps the pot pictured to the left is a bit of an exaggeration and too much for most purposes (unless one is deep-frying a turkey, in which case, we might opt for a more stable setup than the one pictured) but since oil expands as food is added and fried, using a heavy-bottomed deep pot (preferably not nonstick) is probably a good idea. Fill up the pot only one-third to one-half of the way up to play it safe.
5. Paper Towels
"Meez" is what separates the great cooks from the good cooks — have everything in place and ready to go. Chances are you'll want to drain the oil from whatever's being fried, so set up some paper towels on a plate or on a baking sheet (depending on how much food is being fried) to soak up the oil right after food leaves the fryer. This way, it won't turn soggy or greasy.
Paper towels are also important before anything hits the fryer. When frying foods, it's always a good idea to make sure they are as dry as possible, as oil and water don't mix. (In fact, just don't put any water or water-based liquids near the fryer.) With foods containing a good deal of moisture, such as thinly sliced shallots, pat them dry thoroughly. Sometimes, a bit of flour also helps, too.
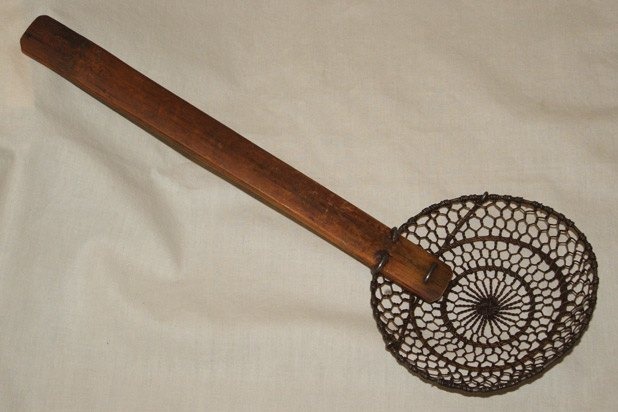
6. Wire Skimmer
Slotted spoons work great for small amounts of food being fried, but when there's a bigger batch of food involved (or you like getting everything in one shot), a wire skimmer is invaluable — it just makes life easier. Just make sure that whatever pot you use is big enough to accommodate one.
7. Batter
If using a batter, don't dip the food into the batter until just before it hits the oil. Otherwise, it'll turn soggy. Resist the urge to have everything battered up in advance. However, to stay efficient, you can set up an assembly line leading up to the fryer. For example, if doing a flour, egg wash, and breadcrumb batter, set it up in that order to speed things along.
8. Don't Overcrowd
Put too much food in the fryer and the oil temperature will drop. When the oil temperature drops, it takes longer to fry the food and consequently, it absorbs more oil and turns greasy.
9. Season Immediately
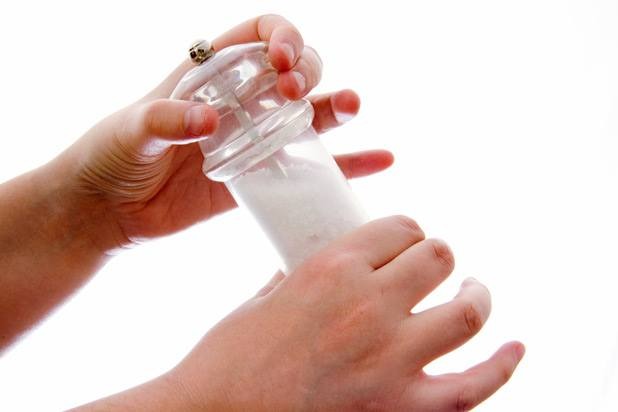
Don't forget to season the food! The best time to do it is just after it leaves the fryer, since it will absorb the salt, pepper, and other seasonings more readily.
