12 Mistakes Everyone Makes With Homemade Simple Syrup
Simple syrup is a staple ingredient in countless recipes, you can use simple syrup for anything from cocktails and mocktails to desserts and baked goods. While you can find this versatile sweetener in virtually any grocery store, there are many benefits to making your own. Store-bought simple syrup generally has a higher sugar content or contains preservatives to keep it fresh longer. In contrast, homemade simple syrup allows you to control the quality of the ingredients and customize or experiment with taste and sweetness according to your taste. Making your own simple syrup can also be more cost-effective and environmentally friendly, as you can reuse the containers and avoid packaging waste.
Fortunately, making your own simple syrup is really, well, simple. Just combine sugar and water, gently simmer, stir, or shake until the sugar dissolves, and you have a sweet mixture ready to enhance any recipe. However, as simple as it is, there are common mistakes you should avoid to make when making simple syrup at home, as these mistakes can impact the flavor, consistency, and even the safety of your syrup. From using the wrong ratio to not storing your syrup properly, understanding these pitfalls and how to avoid them is key to making sure your homemade simple syrup turns out perfectly every time.
1. Not using the correct ratio
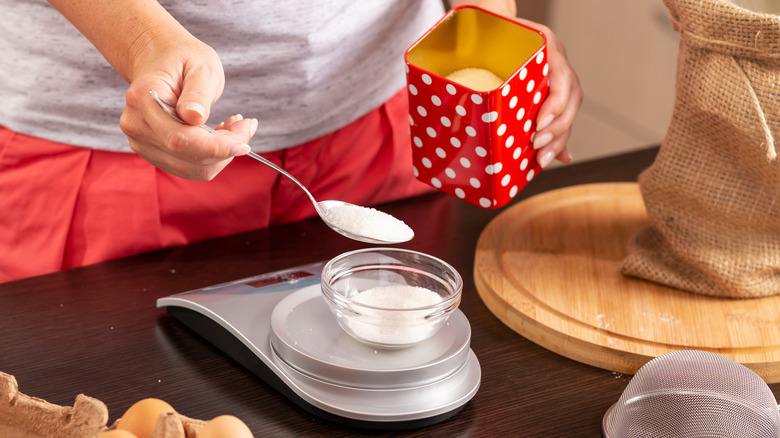
The standard ratio for making simple syrup is equal parts sugar and water (1:1), creating a syrup with a medium thickness and a sweetness level that is versatile for a wide range of recipes. However, if you prefer a richer and sweeter syrup, simply use a 2:1 ratio of sugar to water, which will result in a thicker consistency and a more intense sweetness. While that seems pretty straightforward, there's still room for interpretation that can lead to subtle but noticeable differences. Many people measure this ratio by volume, using one cup of sugar for one cup of water. However, for accuracy, measuring by weight is recommended to achieve the balanced sweetness level often preferred by bartenders. Since water weighs slightly more than sugar, using the same volume actually results in more water than sugar by mass, producing a less sweet simple syrup.
Even if you choose to measure by volume, it's important not to measure sugar and water together in the same container. For instance, adding sugar first and then water to the same container until reaching the total volume desired can lead to inaccuracies. Water can seep in between the sugar granules, resulting in a higher water content than intended and disrupting the ratio. Instead, it's best to measure sugar and water separately and then combine them before proceeding to the next step.
2. Using low-quality tap water
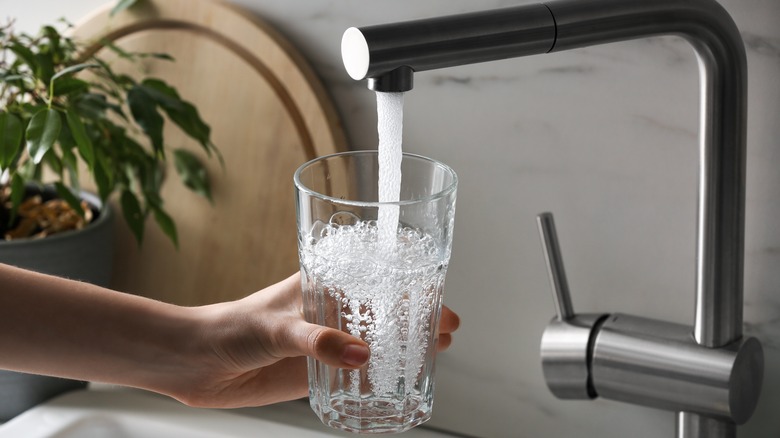
No one wants a funky taste in their water, and certainly not in their simple syrup. The quality of your water significantly impacts the taste and quality of your homemade simple syrup, as it constitutes half of the ingredients. Tap water with impurities or a strong chlorine taste can result in a syrup that is off-flavored or has an unpleasant aftertaste, which can ruin the overall taste of your cocktails or desserts. That being said, if you wouldn't drink your tap water, don't use it for making simple syrup, hoping that the sugar will mask any odd tastes (it doesn't).
If you don't have good-quality tap water in your area, use filtered water to make your simple syrup instead. Alternatively, using bottled water can provide a consistent quality and flavor for your syrup. Boiling tap water can also help remove microorganisms and chlorine, making it safer to use in your syrup. Simply let the water boil for a minute, and then cool it before using it in your syrup. To be safe, avoid using hot tap water because it may contain more lead from the pipes than cold water. Another thing to consider is that a high mineral content can also impact the taste of your syrup, so it's best to avoid mineral water if you want to achieve a more neutral flavor profile.
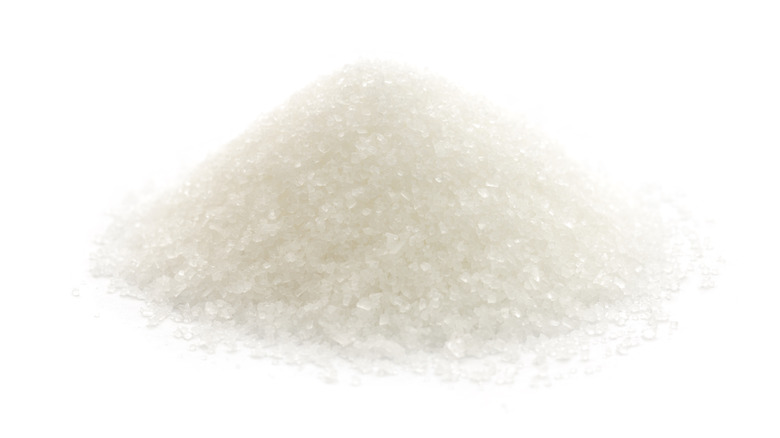
3. Using the wrong sugar

When it comes to making your own simple syrup, the type of sugar you choose can significantly influence the flavor and appearance of your final product. While there are no inherently 'wrong' sugars to use, selecting one that doesn't align with your taste or intended flavor can lead to unsatisfactory results.
To avoid this misstep, start by considering the flavor you want to achieve. For a traditional simple syrup, refined white sugar is often the preferred choice. Refined sugar dissolves quickly and creates a syrup with a neutral flavor and clear appearance, making it versatile for various recipes.
If you desire a more complex flavor, demerara and turbinado sugar are popular alternatives worth trying. They provide a subtle molasses and warm sweetness that pairs well with dark liquor such as whiskey and brandy, and are especially ideal for coffee cocktails. Exploring further, palm sugar adds a hint of coconut fragrance that makes it perfect for cooking and baking. That being said, you can use any type of sugar to make a simple syrup, as long as you're aware of their characteristics and differences. Regardless of your choice, it's a good idea to stick to granulated sugar and avoid powdered sugar. Powdered sugar's fine texture requires a different ratio and its cornstarch content can make your syrup cloudy. If you're keen to experiment, try making small batches with different sugars to see which one best complements your taste.
4. Using old sugar
Sugar is a low-maintenance staple that you can just buy once every other month and forget about. Indeed, it doesn't go bad and can last in your pantry forever because it is resistant to microbial growth. In fact, sugar was even used as a preservative before the invention of the refrigerator. Despite its long shelf life, sugar does have a best-before date, typically around two years.
Sugar can decline in quality if you don't store it properly. Over time, sugar can absorb moisture from the air, causing it to clump together and become harder to dissolve in water, which can result in inconsistencies in your syrup. Sugar also absorbs odors easily, especially when stored in a plastic container. To prevent these issues, store sugar in an airtight container once opened, rather than leaving it in its original packaging. Place the container in a cool, dry, and odor-free spot. Proper storage can help maintain the quality of your sugar and make sure your simple syrup turns out perfectly. Lastly, if you suspect that your sugar is old or has absorbed moisture and odor, it's best to get a fresh batch of sugar for a smooth and consistent syrup
5. Not stirring (or shaking) enough
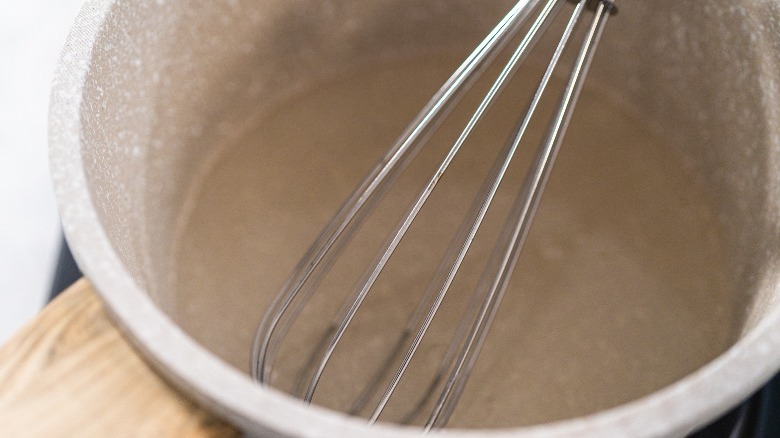
After making sure you have the right measurements and ingredients, it's time to focus on using proper techniques for making simple syrup. There are two main methods: hot and cold. The hot method uses heat from the stove to dissolve water and sugar together. The cold method achieves the same result without the heat, simply by shaking the two ingredients together in an airtight bottle or container.
Whichever method you choose, proper stirring or shaking is a crucial part of making sure that the sugar fully dissolves and the syrup is well-combined. Inadequate stirring can result in sugar sticking at the bottom of the pan, causing a gritty texture and uneven taste in your syrup. As a basic rule, if you still see crystals inside your pan or jar, continue stirring until they are gone.
The cold method takes longer because sugar dissolves longer at room temperature. You may need to shake or stir for up to 15 minutes or until the sugar crystals are fully dissolved. While the taste of syrups produced by the two methods is comparable, the cold method typically produces a thicker syrup because there is no heat to break down the sucrose. Additionally, because heating actually helps kill bacteria, simple syrup made with the cold method is more prone to molding.
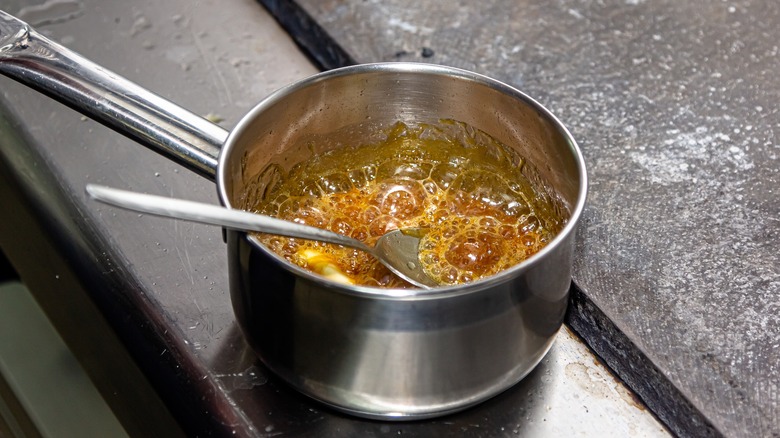
6. Using high heat

If you choose the hot method to make simple syrup, pay attention to the heat level you use, as it can significantly impact the outcome. Using high heat can lead to caramelization, where water is removed and sugar is broken down into other compounds that form new flavors, aromas, and colors. The result is a more pronounced caramel, nutty flavor in your simple syrup. While this may be desirable in some uses, if you want a versatile and neutral simple syrup, it's best to stick to low-medium heat. Using high heat also poses a risk of burning the syrup.
There's one trick you can try to make the cooking process faster without accidentally caramelizing your syrup. You can start by heating the water first on high heat until it is just about to boil. Once the water is hot enough, reduce the heat to low to medium before adding the sugar and continue stirring until all the sugar has dissolved. This method allows you to speed up the process while maintaining control over the heat level, making sure that your syrup remains light and neutral in flavor.
7. Boiling the mixture for too long
Aside from controlling the level of heat, boiling time is also an important factor to consider when making your simple syrup. Boiling the mixture for too long can cause the water to evaporate, resulting in a thicker and more concentrated syrup than intended. This reduction in water will also affect the sweetness level, as it alters the initial ratio of sugar to water. To avoid this, monitor the syrup closely while heating and remove it from the stove as soon as it reaches the desired consistency.
Also remember that the mixture will naturally thicken when it cools down, so don't worry if it still seems thin when you finish heating it. The goal is not to boil the mixture but to ensure that the sugar fully dissolves into the water, which can be achieved in about 3 minutes. Once this is achieved, remove your simple syrup from the heat. After that, allow your simple syrup to cool before using or storing it.
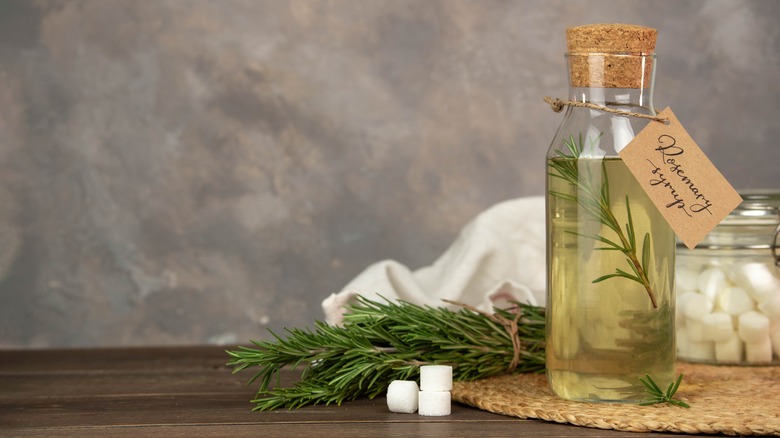
8. Not infusing your ingredients properly
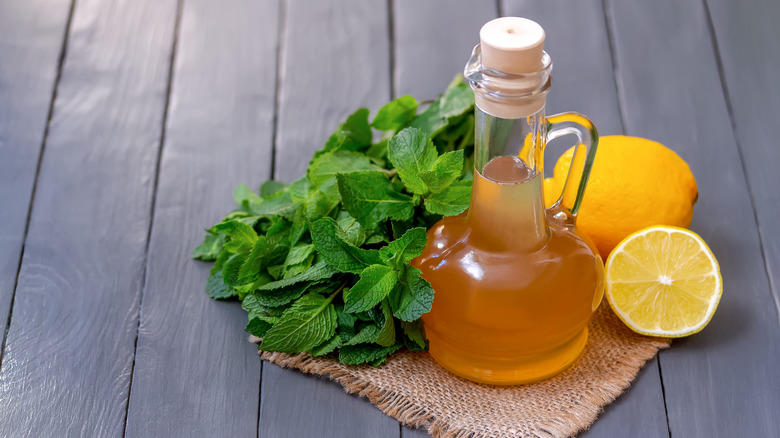
The beauty of making your own syrup is that it can be as simple or as sophisticated as you want. While sugar and water alone make an excellent simple syrup, you can elevate your mixture by infusing it with additional depth and flavor. Infusing your syrup allows you to experiment with a wide range of ingredients, including fresh herbs, fruits, dried flowers, or tea to add a unique twist.
To make an infused simple syrup, start with the basic steps as if making the classic recipe. Once your sugar dissolves, turn off the heat and add your chosen flavoring ingredient. Let the infusion steep for about 30 minutes or until your syrup cools completely, then strain it to remove any small particles. As an alternative, you can also simmer the mixture over low heat for up to 7 minutes, tasting the sweetness level and intensity along the way. Be careful not to oversteep, as this can result in a bitter taste. For a more subtle and delicate flavor, consider cold-infusing the syrup by steeping the ingredients in the syrup in the refrigerator overnight.
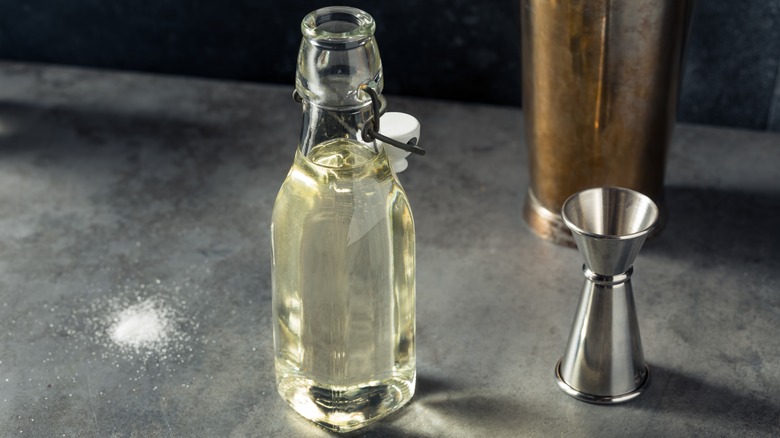
9. Not storing your syrup in a glass container
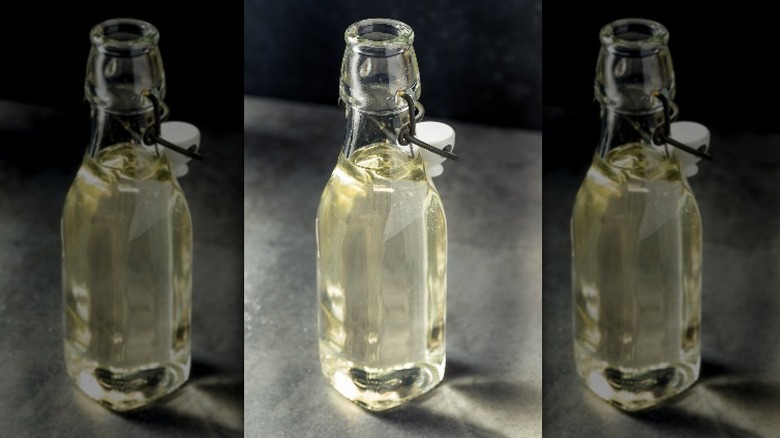
After making your perfect simple syrup, it's now up to you to make sure it stays fresh as long as possible, starting with choosing the right storage container. The best option for preserving your syrup's taste and quality is a glass container. A glass bottle or the versatile mason jar provides a secure seal, preventing your simple syrup from absorbing unwanted odors and flavors. It's also important that your container is airtight to minimize the syrup's exposure to oxygen, which can create an environment for mold and bacteria to thrive. Another advantage of using a glass container is that it makes it easier to check for any signs of mold or color changes, making sure that your syrup remains fresh before consumption.
Plastic containers, on the other hand, are more prone to retaining odors and flavors from previous contents, potentially affecting the taste of your syrup. Plastic also provides minimal protection against oxygen, as it can gradually permeate through the material over time. Metal containers are also not recommended for storing your simple syrup, as they can react with the syrup and alter its flavor.
10. Not sterilizing your container
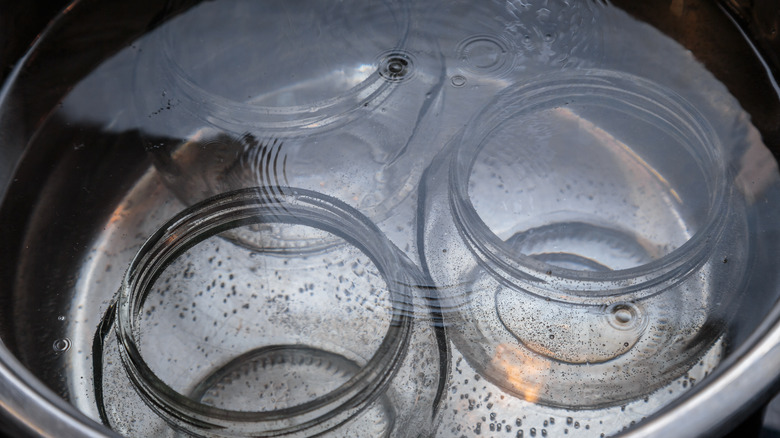
Making sure your simple syrup stays fresh begins with choosing the right type of container, but even the best glass jar won't help if it's not clean. Failing to properly sterilize your syrup container can cause bacteria and microorganisms to thrive, leading to contamination that affects the taste and quality of your simple syrup. Even if you're using a brand-new container that looks clean, it's best to sterilize them because they can be contaminated during manufacturing or storage.
There are several ways to thoroughly sterilize your syrup container. Start by washing it with soap, and scrubbing thoroughly to remove any dirt or residue. Once clean, you can choose to either submerge the container in a pot of hot water and allow it to boil for about 10 minutes or place it in a microwave and heat it for approximately one minute. The key is using heat to effectively kill bacteria before pouring your simple syrup in.
Make sure you use the container while it's still warm, so time it properly with when your syrup will be ready. If the container cools down to room temperature before you are ready to use it, consider heating it again. It's also important to sterilize any tools you use in the syrup-making process, such as funnels or stirring utensils. These can be sterilized using the same methods as the container.
11. Not putting your syrup in the fridge (or freezer)
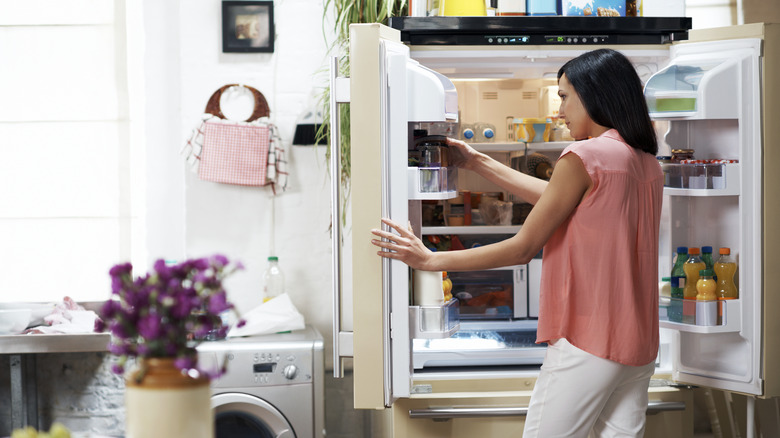
At room temperature, your simple syrup can stay fresh for less than two weeks before it starts to crystalize. However, when you store simple syrup in the fridge, it can last up to a month, given you've chosen the right container and sterilized it properly. Rich syrup with a 2:1 ratio of sugar to water can last up to six months in the fridge because the higher sugar content acts as a preservative. Flavored or infused syrups, on the other hand, last about two weeks due to the addition of ingredients that can spoil or degrade over time, such as fruit juices, extracts, or herbs.
If you want to extend the syrup's shelf life even longer, you can freeze it for at least three months. But instead of freezing a whole block of syrup, try freezing it in small cubes or batches so you can use what you want without having to thaw and refreeze repeatedly, which can affect the syrup's freshness and quality. When ready to use, thaw the syrup in the refrigerator overnight or at room temperature. Avoid microwaving the frozen syrup directly, as this can cause uneven heating and potentially affect the syrup's texture and flavor.
12. Not labeling your syrup container
Unlike store-bought syrups that come with expiration dates, homemade syrups require you to track their freshness on your own. It can be overwhelming to remember when your homemade simple syrup is still good, especially if you like experimenting with different ratios and flavors. Labeling your homemade simple syrup container properly can help put your mind at ease, making it easier to identify when the syrup was made and how long it's still good for.
While a spoiled simple syrup can show changes in color, consistency, and mold growth, some contamination may not produce visible signs. This means that even if your syrup appears fine, it may not be safe to consume, so it's best to stick to the best-before date you set for yourself. Conversely, if your syrup shows any signs of color changes, unusual odor, or mold, it's best to discard it, even if it hasn't reached the expiration date yet.
Use a permanent marker or label maker, and write the types of syrup — simple 1:1 syrup, rich syrup, or certain flavored syrup — on the container, along with the date it was made. Depending on the type of syrup, write down the best-before date. If you reuse containers for your syrup, consider using removable labels that can be easily replaced when you make a new batch.