11 Ways To Clean Your Kitchen (Slideshow)
Often times the countertop becomes the nucleus of the kitchen, no matter how vast or small the space. It can be a space designated for unloading groceries or everyday appliances like the coffeemaker. Either way, it can become sketchy quickly and before you know it you have an episode of the American Horror Story proliferating under the counter surface.
This is one of those areas you want to clean often and after each use, particularly after doing prep work. Always clean and dry so as not to encourage bacterial growth. Luckily, cleaning isn't too strenuous of a task when it comes to most countertops. Microfiber towels and a mixture of water and mild liquid dish detergent are good cleaning agents to use on almost all types of countertops. Natural material countertops differ in their cleaning needs so always check manufacturer instructions.
Sink
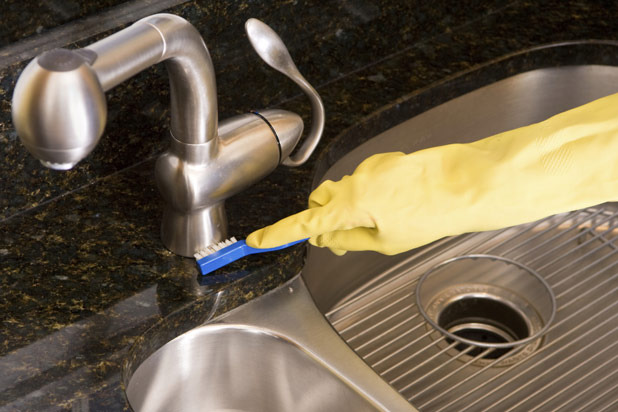
Like countertops, the composition of a sink will determine what you should use to clean it. For porcelain and stainless steel sinks, baking soda and a (clean) rag or sponge will do the trick. Wet your sink and then sprinkle the baking soda over it. Scrub it until a paste forms and clean the surface, using a toothbrush to reach crevices of the faucet and other pesky areas. Wash away all the baking soda residue with warm water. Using a clean, dry towel, wipe the sink dry. Next, you want to soak paper towels in vinegar and drape over your sink completely for 20 minutes. This will serve as a disinfectant. Rinse your sink with warm water to remove any remnants of baking soda or vinegar and then dry once more. You're done! Those of you with copper or stone sinks are going to want to stay away from these tricks though. Copper sinks can get a through rub down with mild dish soap and a clean towel, making sure to pat dry with another clean towel. Stone sink owners, you can easily make your owner cleaner by mixing 2 cups of liquid castile soap, ½ cup warm water, ½ cup lemon juice and mix. Put mixture in a spray bottle and clean with a clean towel. Remember to pat dry afterwards. Congratulations all sink owners, you just decreases the risk of E.Coli contamination in your kitchen!
Under The Sink
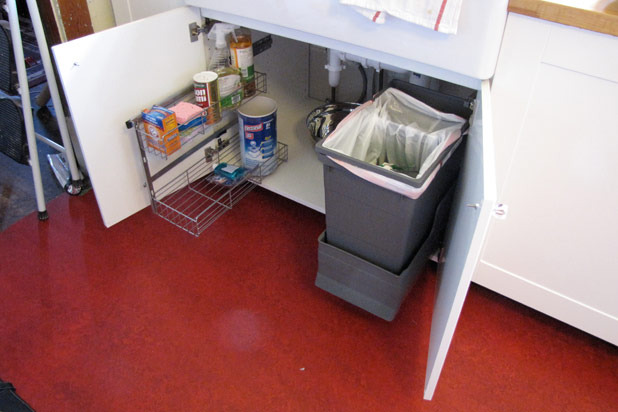
This area of your kitchen can quickly become neglected. Out of sight, out of mind, right? But not for little rodents and bugs. They love to nest in dark, damp, cluttered areas. So first things first, take everything out and throw away any damp clothes or sponges. They are mildew magnets and little hot spots for bugs. Disinfect the bottom of the cupboard by mixing one part white vinegar to one part water, putting the mixture in a spray bottle, and wiping down the insides. Make sure to use a clean towel to dry area as the last thing you ever want to do is keep this dark area moist. Placing a liner helps tidy up the space.
A Lazy Susan is a great under sink organization tool to have. Standard versions are readily available in dollar stores. Seeing your cleaning products at a quick glance with a swivel of your Lazy Susan will motivate you to keep your space clean as you won't have to wade through brushes, plastic bags, and other space offenders to get to your cleansers. Speaking of plastic bags, a great way to keep them organized is by storing them in an empty tissue box. If you feel like going the extra mile and getting a little creative, putting a paper towel holder under the sink on the inside of the cabinet to hold garbage bags is nothing short of brilliant. Hooks also go a long way in reducing clutter. You can hang your gloves or long handle cleaning brushes here, too.
Kitchen Drawers
Drawer space is prime kitchen real estate. Before anything, clean it out and ask those hard to ask questions to yourself i.e. do I really ever use this no longer functional, phallic shaped potato peeler from my best friend's bachelorette party? You'll want your drawer space allocated for more frequently used (practical) items. Do away with all those items you never use or at the very least, store seasonal items i.e. Christmas cookie cutters, in a separate area. Clean with the vinegar-water spritzer earlier mentioned.
Now refocus attention on your kitchen wall and see how you can defer drawer items to that space. Place hooks on the wall and hang any utensils with handles. Befriend magnetic knife strips – they are the quickest way to save drawer and counter space if you're using bulky items like countertop knife blocks. Now back to actual drawer space. Utensil dividers go a long way here in keeping your sanity intact and again, may be purchased at most dollar stores. Your kitchen drawer is not where you want to celebrate diversity. Group like items together i.e. serving utensils with one another, daily cutlery, measuring cups and spoons, etc.
Kitchen Cabinets
Drawer and cabinet cleaning philosophies are pretty parallel. Again, use that wall of yours for clever storage. Kitchen railing and hooks are the quickest way to get coffee mugs out of cabinets and onto the wall. Time to clean now from the inside out. White vinegar diluted with water and sprayed to both the inside and outside of your cabinet will get it clean. Remember to pat dry.
Now that your cabinets clean, it's time to organize. Again, keep like items together and more frequently used items such as pots and pans in easily accessible areas. More so, if you have cabinetry with multiple shelves, you'll want to put those frequently used items on the bottom.
Pantry
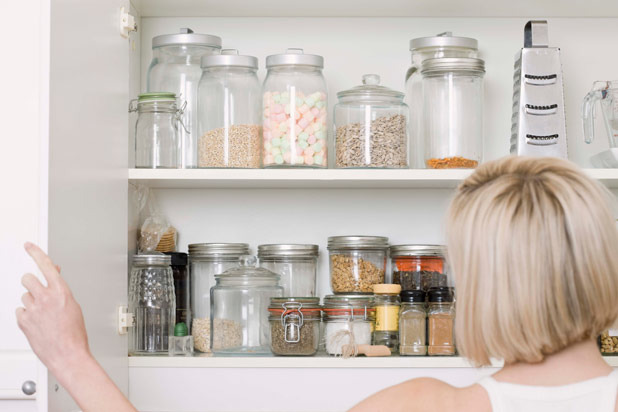
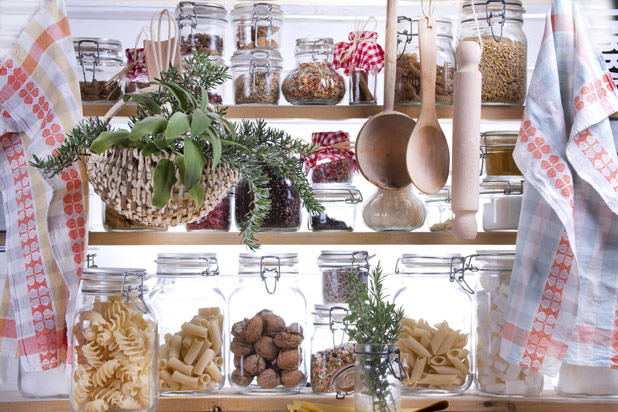
After you've done your routine wipe and pat down, it's time to take stock of what you've been hoarding. This is a great time to check expiration dates on your goods to make sure your pantry doesn't double as a time capsule. I know I'm beginning to sound like a segregationist here, but, it behooves you to, again, group like items and frequently used items together for a more user-friendly pantry. Air tight containers are great ways to store items like flour, sugar, and coffee and even more so, keeping products in clear, plastic containers allows you to see what you have on a glance. The benefit of using air tight containers are twofold: they keep your pantry organized and keep your foods fresher longer. Bravo.
Oven
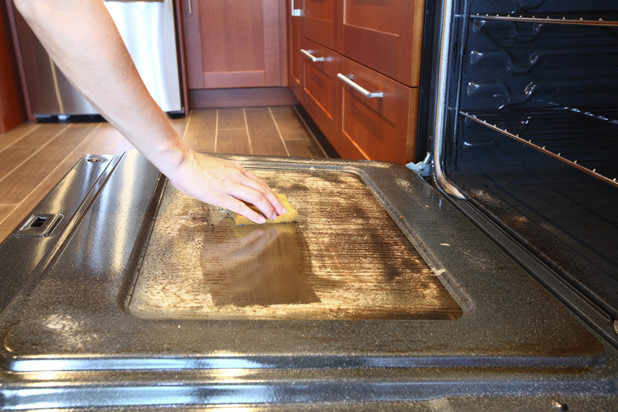
For oven maintaince and cleaning, you need to know your oven type. Ovens are usually self-cleaning, continuous cleaning. Ovens latent with grease and oil can quickly become serious fire hazards so you really want to make it a point to tackle this on your new year's cleaning list. No matter what type of oven you have, you never want to clean it with abrasive products.
Use your self-cleaning oven as frequently as you want, but don't take it at face value. Even with this type of oven, you still want to do a routine wash with mild dish soap and water to ensure your oven is truly grease-free. For continuous cleaning ovens, you can use a damp cloth to clean it down when it's cool. Finally, for the truly clean it yourself ovens, all-purpose cleaners and a nylon bristle brush are the best way to a clean, danger-free oven.
Microwave
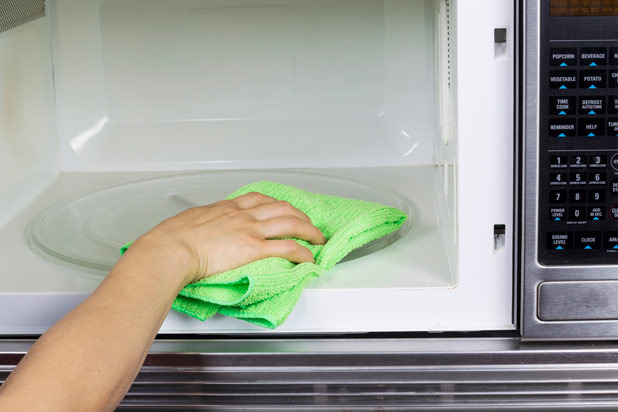
Yes, I know the old adage of making lemonade when life hands you a lemon. And there's the cleverer adage of grabbing tequila and salt when life hands you a lemon. Call it old age or practicality taking over me but now days I say if life hands you a lemon, you better clean my microwave. It's super easy and leaves a fresh scent to boot. Simply microwave two cups of water along with about 5 or 6 lemon slices (1 small lemon) for 3 minutes or until the mixture comes to a boil. Remove the bowl and wet a clean cloth with the citrusy water and get ready to watch grime easily come off of your microwave.
Stove Top
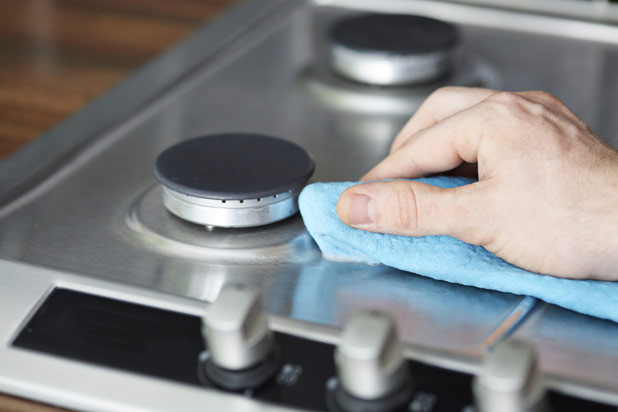
Fret not, that salt that you didn't use with the tequila now has a use that won't result in a hangover. Combine one tablespoon each of salt, baking soda, and water and make a paste. Take a cloth or sponge and dip in the paste and scrub down your stove top. Take another clean cloth and wipe away any residual paste.
You'll want to wash your stove grates and griddles by removing them and washing them in hot water and dishwashing liquid. Make sure to dry thoroughly before putting them back into the stove top.
Don't forget the hood of your stove. A clean cloth dipped in hot soapy water will get the hood clean. Remember to dry it.
Refrigerator
I saved this for last as it can be one of the more daunting tasks on your kitchen cleaning list. First, take all foods out and survey what is worth keeping. Keep food outside of the fridge until you have conducted a thorough cleaning – it's time to get intimate with your fridge. Take out any removable parts i.e. shelves and drawers and clean them with warm water and dish washing soap. Clean and dry the removable parts but don't put it back in just yet. Your fridge needs a further scrub down. Two tablespoons baking soda to one quart water and a sponge are going to go a long way in cleaning the inside of your fridge. Remember to wash away residue with a damp cloth and dry with another cloth. Your fridge is clean now but it's time to organize your food in an efficient, hygienic way.
You'll want to keep uncooked meat, fish, and poultry in its store wrapping to decrease the risk of exposing it to harmful bacteria. If these items didn't come in a Styrofoam tray, a plate underneath the product help catch drippings. Keeping these items on the bottom most shelf of your fridge will reduce the chance that any drippings will spill unto other food items and cause cross contamination.
Other storage wisdom comes with fruits and veggies. Both of them in your diet? Good for you! In your fridge? Not so much. You'll want to keep these separate as fruits and vegetables give off different gases and can cause deterioration in the other if kept together.
Restock your fridge now with the foods you took out pre cleaning but keep that beer out! Cheers! You've almost fulfilled your New Year Resolution!
Cleaning Supplies
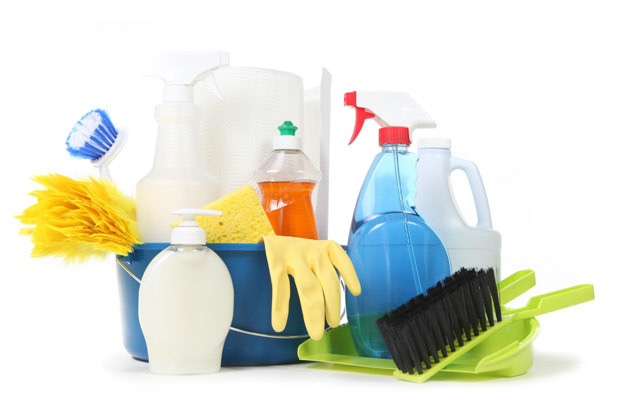
Yes, I'm serious. You just spent precious time and energy cleaning your kitchen. You don't want to negate your hard work and turn your kitchen back into a Sci Fi blockbuster complete with foreign pathogens and critters just because you didn't take care of your cleaning items properly.
Place your sponge in your (newly cleaned and scented!) microwave for two minutes on the highest setting. What you're doing is letting the high heat kill off bacteria. Once heated and dry, place sponge(s) in a dry, cool place so bacteria doesn't proliferate. Discard your sponges every two weeks.
To thoroughly clean your kitchen towels, add two cups of white vinegar to your washer and run a cycle with hot water. Add your towels after the cycle has begun and the water has mixed with the vinegar. Make sure to fully dry towels so as to dissuade mildew and mold from growing.
